

Unitek uHUB Q4+ 4-in-1 USB-C Hub with 10Gbps Data, HDMI and PD 100W
This uHUB is a luxurious USB hub that combines 2 ports USB expansion over USB3.2 Gen2 SuperSpeed plus 4K 60Hz ultra HD HDMI 2.0 and USB-C 100W 20V/5A PD with data. Zinc-alloy frame and advanced features make it a deluxe accessory.

Hub to Speeds
Discover advanced features with our USB-C 4-in-1 luxurious hub designed to enhance efficiency and boost productivity. Featuring a leather lanyard for portability, this hub serves as a stylish accessory. Its luxurious car-key-like appearance, crafted from black zinc alloy, gives your laptop and devices an extravagant edge, making it not just functional but also a statement piece!

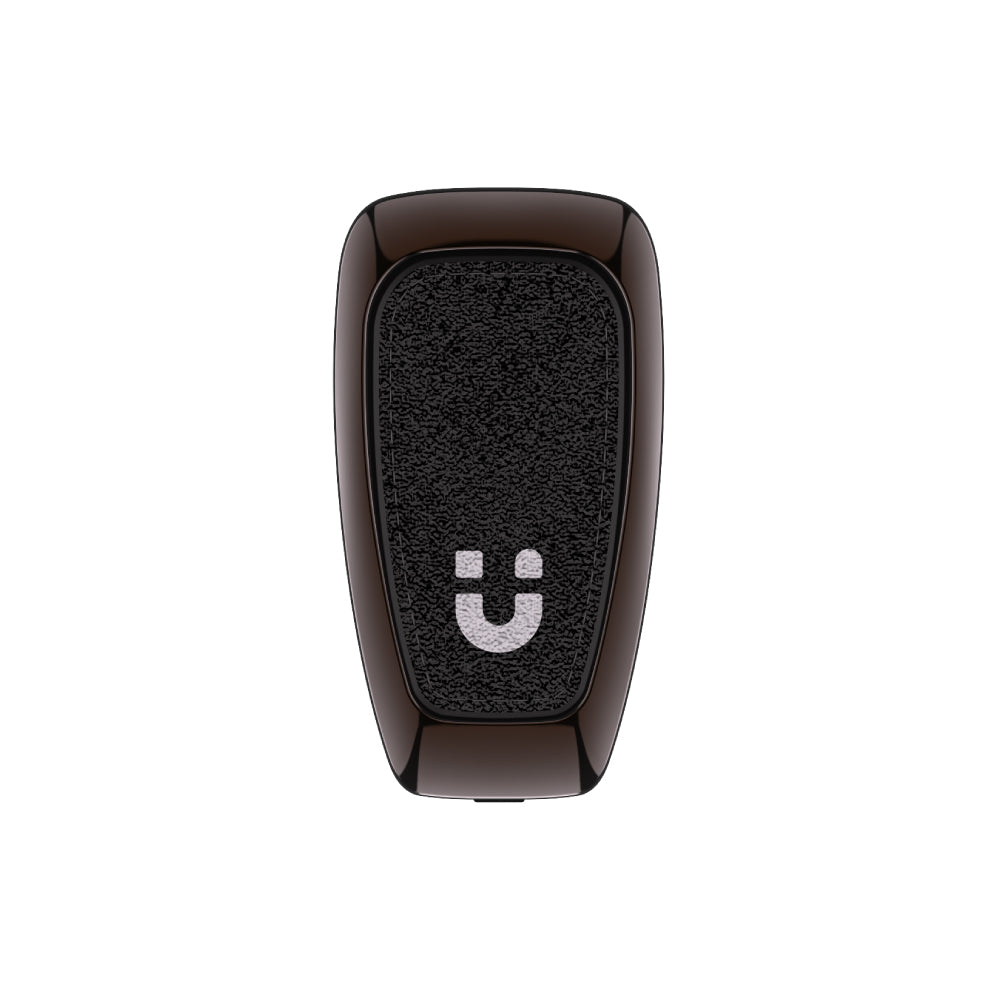
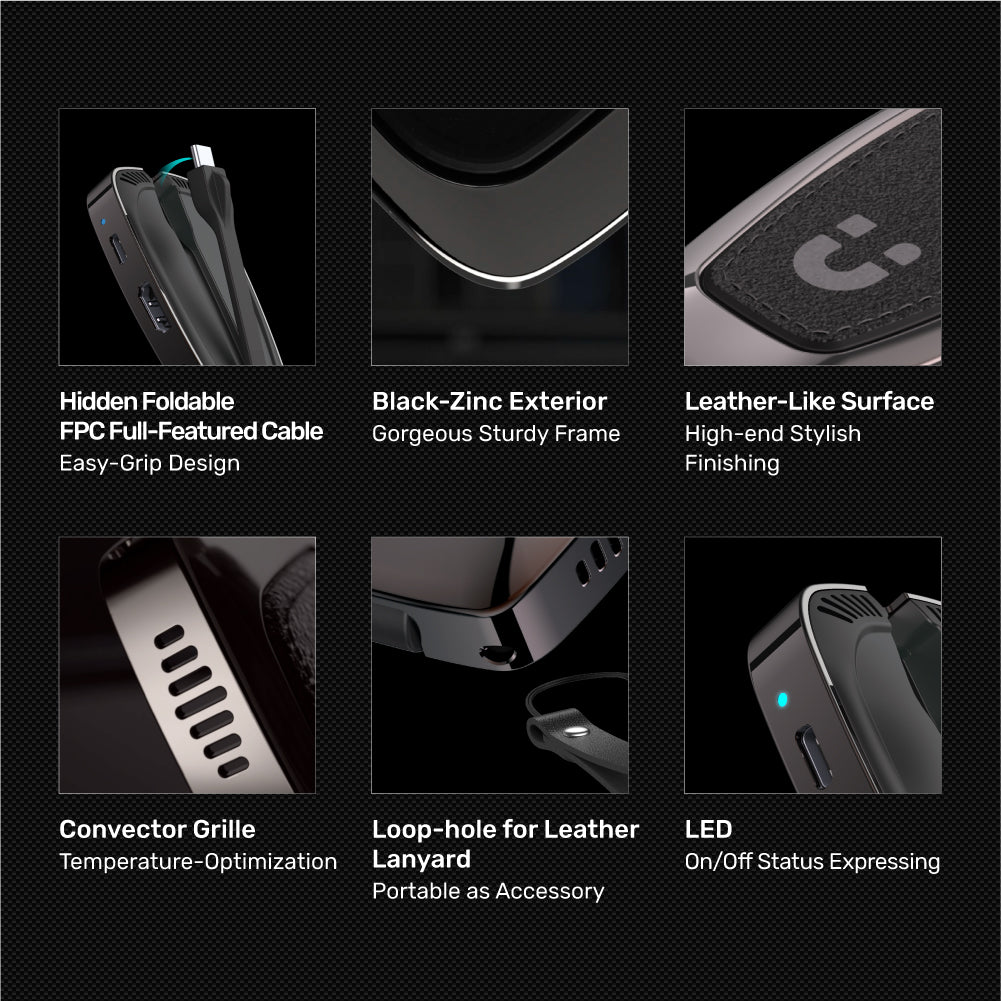
Luxurious Car-Key-Like Design
Experience an extravagant edge with our USB-C hub, featuring a sturdy black-zinc exterior, hidden foldable cable, leather-like surface, and portable lanyard loop, all enhanced by a stylish LED indicator.

4K@60Hz HDMI 2.0 Output
Enhance your viewing experience by enjoying movies and gaming on a larger screen, or make vivid presentations during conferences with our advanced HDMI output! Supporting up to 4K Ultra HD at 60Hz according to HDMI 2.0 specifications, this hub ensures you receive stunning visuals with HDR and HDCP 2.3/1.4 compatibility. Stream your favorite content seamlessly on platforms like Netflix, Prime Video, and DIRECTV, and bring your media to life like never before!

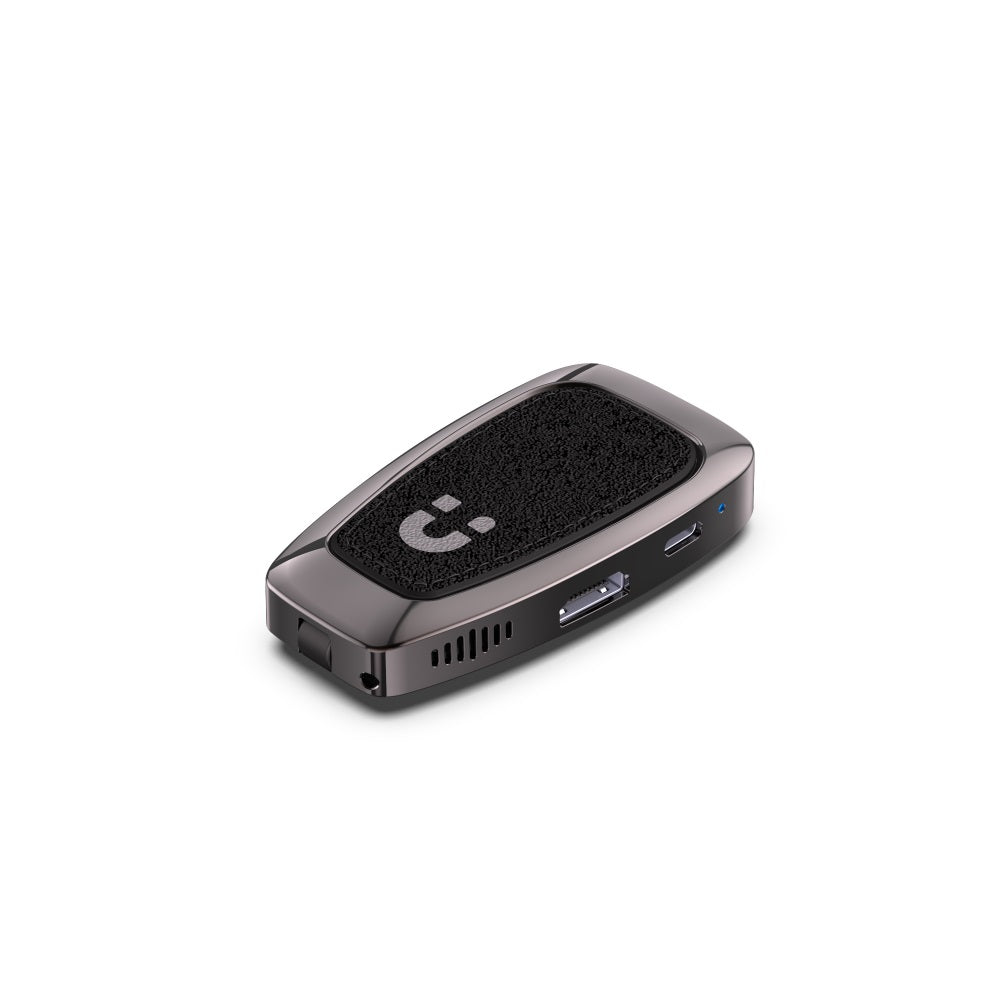
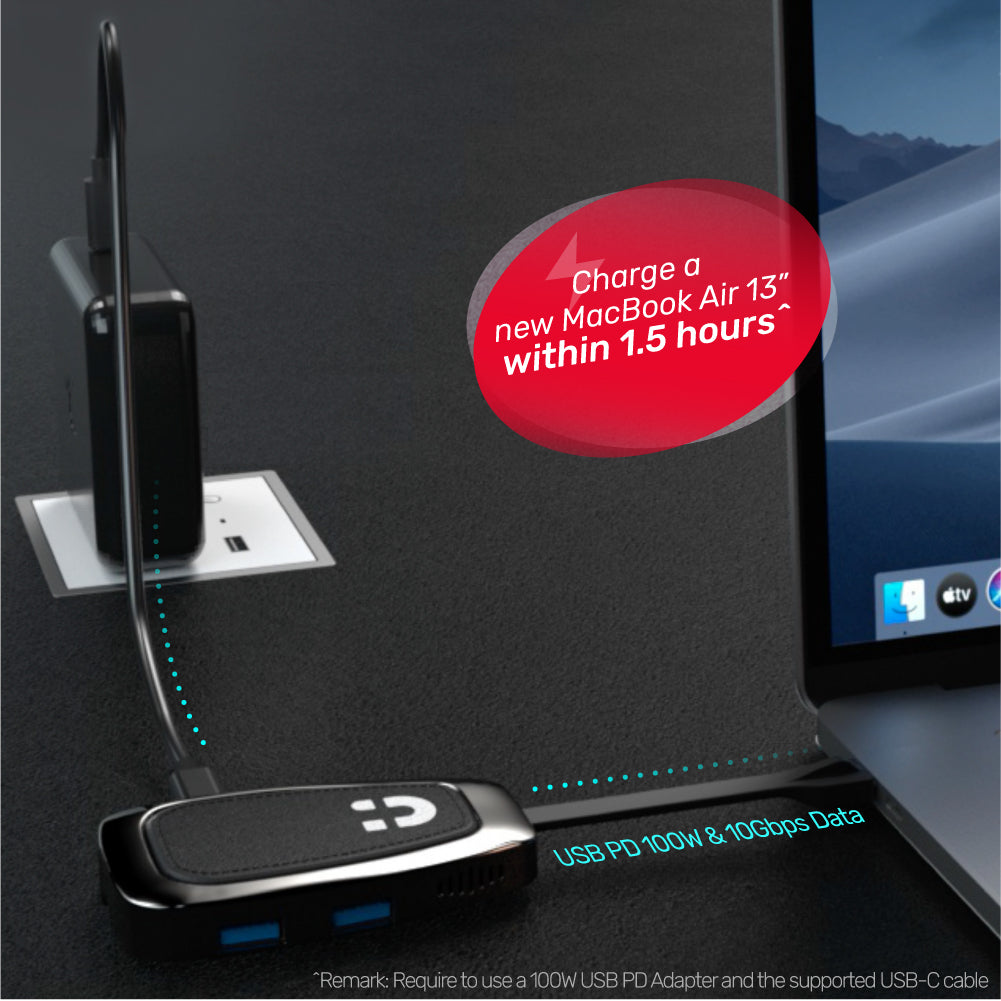
100W Charging & Data Compatible USB-C
Experience powerful charging capabilities with our USB-C port, providing up to 100W USB Power Delivery to meet the needs of most laptops and gadgets on the market. The USB-C port supports both charging and data sync under the USB Power Delivery 3.0 specification, allowing you to achieve a maximum power output of 100W (20V/5A) to your upstream host, including the latest MacBook Pro. Actual power output may vary depending on your power adapter and the number of connected devices. Plus, you can charge a new MacBook Air 13” within just 1.5 hours, ensuring you stay powered up!

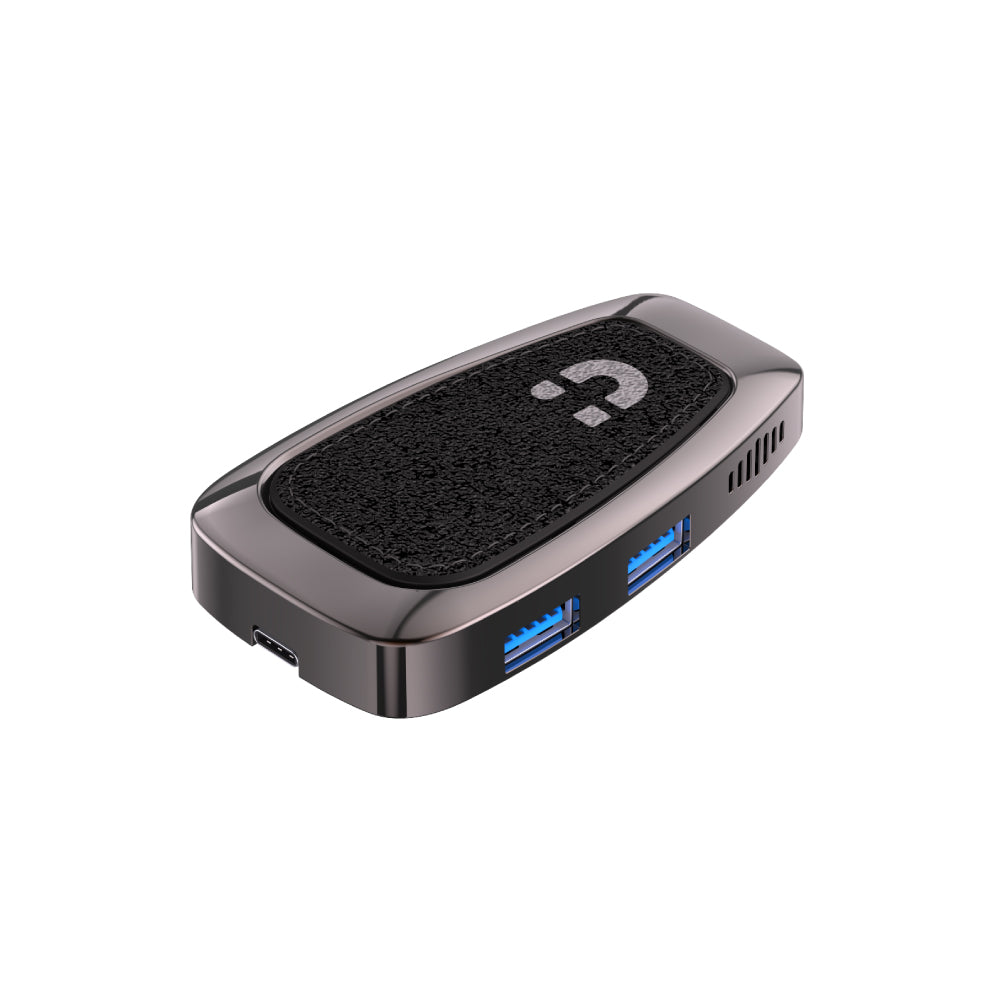
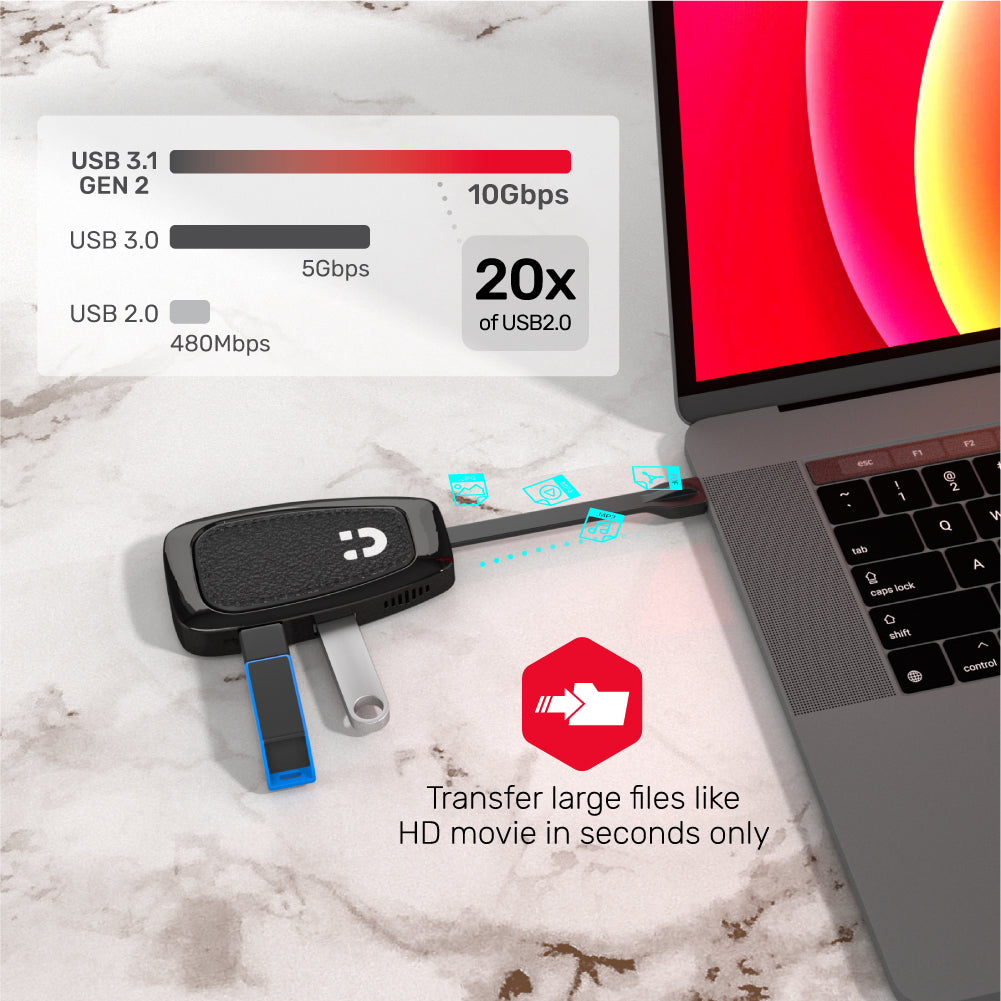
USB 3.2 Gen2 SuperSpeed Data
Unlock blazing-fast data transfer rates of up to 10Gbps with our USB 3.2 Gen 2 ports, including one USB-C and two USB-A slots. Designed for seamless compatibility, this hub is backward compatible with USB 3.0, 2.0, and 1.1, allowing you to transfer large files, like HD movies, in mere seconds. Experience 20 times the speed of USB 2.0, making your data management more efficient than ever!

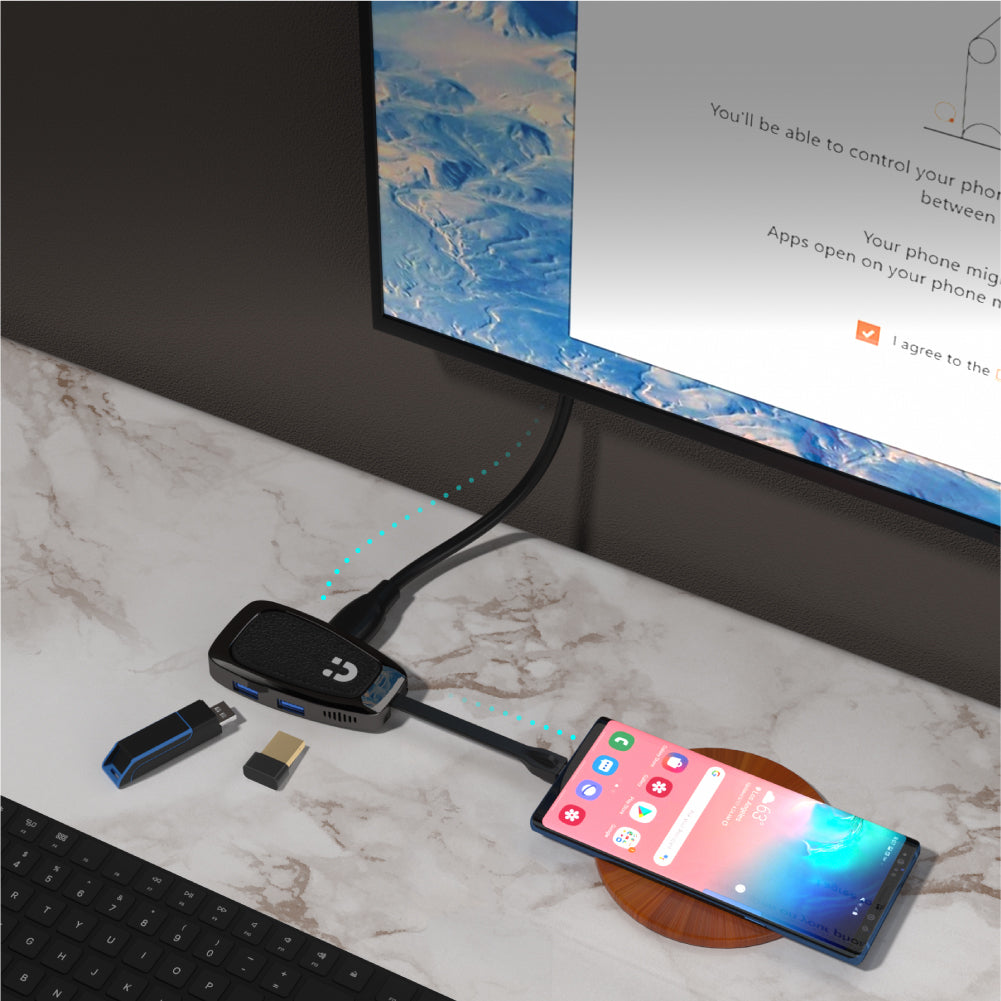
Unlock Your Phone's Possibilities
Transform your smartphone into a powerful PC-like experience anytime with this versatile accessory hub. Seamlessly connect your phone to a larger display and enjoy full control over your applications, allowing for enhanced productivity and entertainment on the big screen. Whether you're making presentations, streaming content, or managing files, this hub provides the flexibility you need to maximize your device's potential.

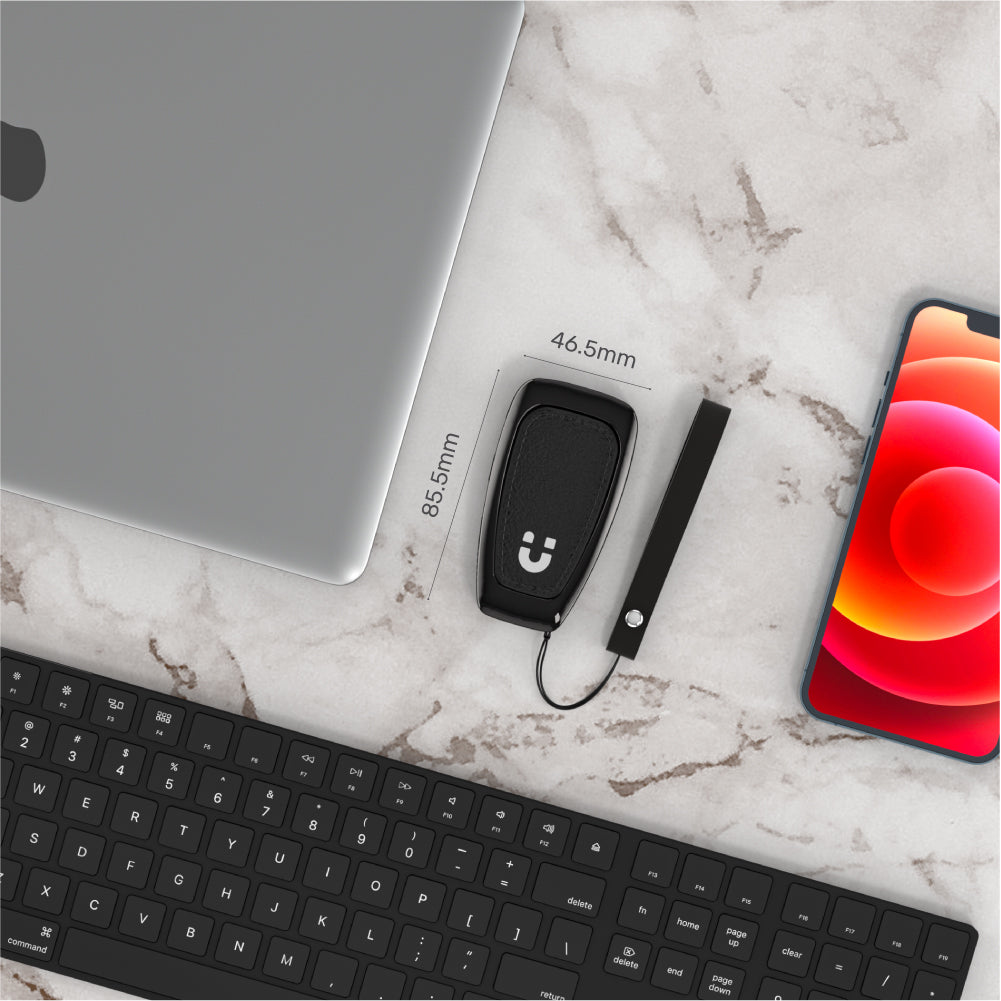
Diminutive Dimension
Experience the perfect blend of functionality and style with our compact USB-C hub, designed to be as small and portable as a car key. Crafted with a luxurious black zinc-alloy finish, this multifunctional hub adds an extravagant touch to your laptop and accessories. With dimensions of 85.5mm x 46.5mm, it’s easy to carry and fits seamlessly into your routine, making it the ultimate companion for tech-savvy individuals on the go. Elevate your connectivity without compromising on aesthetics!

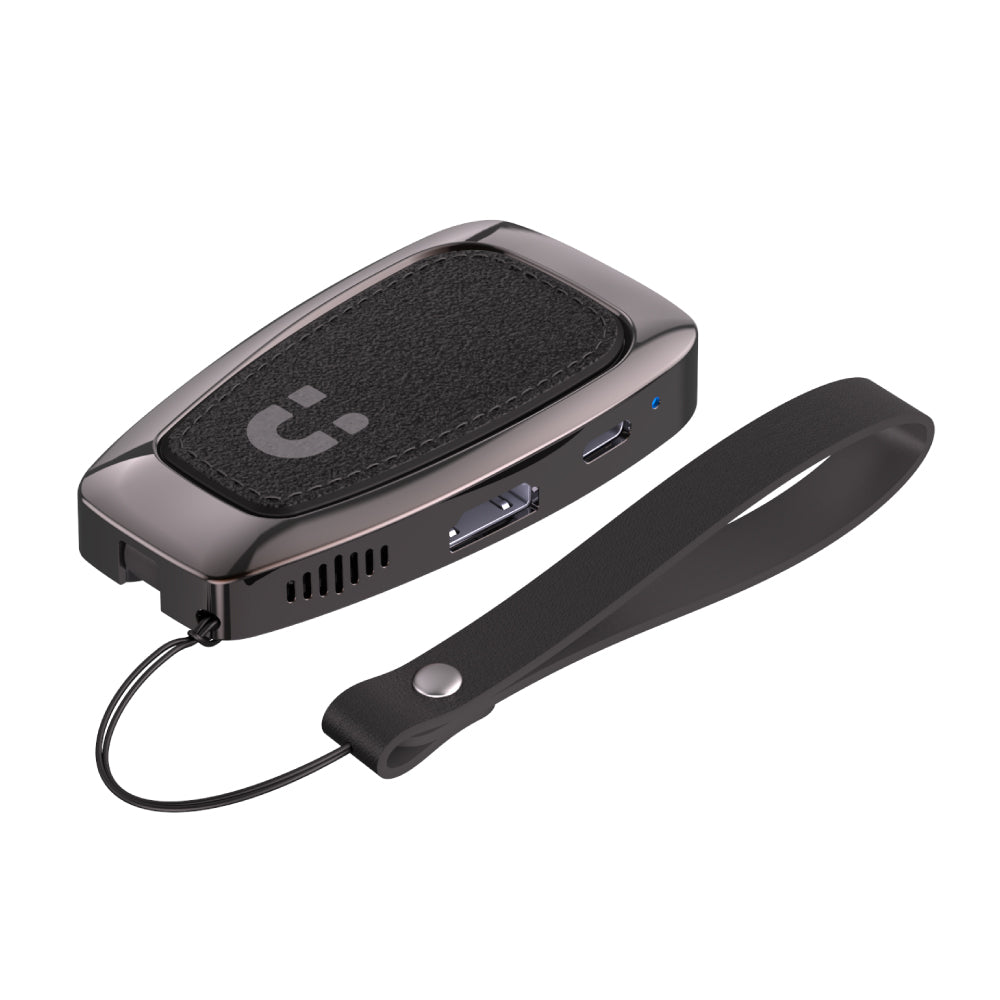
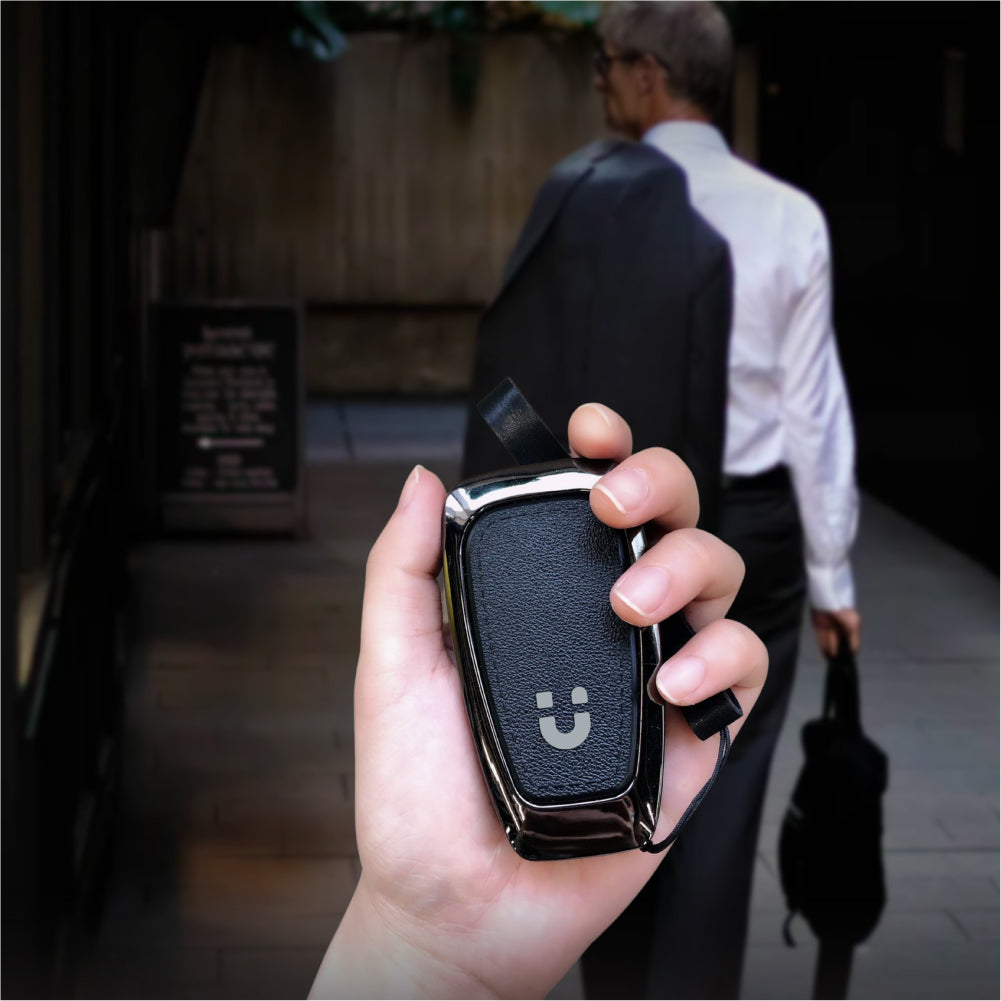
As Your Belongings
Elevate your tech experience with our luxurious USB-C hub, designed not just as a gadget but as a stylish accessory. Featuring a premium leather lanyard for easy portability, this multifunctional hub seamlessly combines luxury and utility. Perfectly fits in your hand, making it a sophisticated addition to your daily essentials as you move through the day. It's not just an accessory; it's a statement of elegance and functionality!
This uHUB is a luxurious USB hub that combines 2 ports USB expansion over USB3.2 Gen2 SuperSpeed plus 4K 60Hz ultra HD HDMI 2.0 and USB-C 100W 20V/5A PD with data. Zinc-alloy frame and advanced features make it a deluxe accessory.
Hub to Speeds
Discover advanced features with our USB-C 4-in-1 luxurious hub designed to enhance efficiency and boost productivity. Featuring a leather lanyard for portability, this hub serves as a stylish accessory. Its luxurious car-key-like appearance, crafted from black zinc alloy, gives your laptop and devices an extravagant edge, making it not just functional but also a statement piece!
Luxurious Car-Key-Like Design
Experience an extravagant edge with our USB-C hub, featuring a sturdy black-zinc exterior, hidden foldable cable, leather-like surface, and portable lanyard loop, all enhanced by a stylish LED indicator.
4K@60Hz HDMI 2.0 Output
Enhance your viewing experience by enjoying movies and gaming on a larger screen, or make vivid presentations during conferences with our advanced HDMI output! Supporting up to 4K Ultra HD at 60Hz according to HDMI 2.0 specifications, this hub ensures you receive stunning visuals with HDR and HDCP 2.3/1.4 compatibility. Stream your favorite content seamlessly on platforms like Netflix, Prime Video, and DIRECTV, and bring your media to life like never before!
100W Charging & Data Compatible USB-C
Experience powerful charging capabilities with our USB-C port, providing up to 100W USB Power Delivery to meet the needs of most laptops and gadgets on the market. The USB-C port supports both charging and data sync under the USB Power Delivery 3.0 specification, allowing you to achieve a maximum power output of 100W (20V/5A) to your upstream host, including the latest MacBook Pro. Actual power output may vary depending on your power adapter and the number of connected devices. Plus, you can charge a new MacBook Air 13” within just 1.5 hours, ensuring you stay powered up!
USB 3.2 Gen2 SuperSpeed Data
Unlock blazing-fast data transfer rates of up to 10Gbps with our USB 3.2 Gen 2 ports, including one USB-C and two USB-A slots. Designed for seamless compatibility, this hub is backward compatible with USB 3.0, 2.0, and 1.1, allowing you to transfer large files, like HD movies, in mere seconds. Experience 20 times the speed of USB 2.0, making your data management more efficient than ever!
Unlock Your Phone's Possibilities
Transform your smartphone into a powerful PC-like experience anytime with this versatile accessory hub. Seamlessly connect your phone to a larger display and enjoy full control over your applications, allowing for enhanced productivity and entertainment on the big screen. Whether you're making presentations, streaming content, or managing files, this hub provides the flexibility you need to maximize your device's potential.
Diminutive Dimension
Experience the perfect blend of functionality and style with our compact USB-C hub, designed to be as small and portable as a car key. Crafted with a luxurious black zinc-alloy finish, this multifunctional hub adds an extravagant touch to your laptop and accessories. With dimensions of 85.5mm x 46.5mm, it’s easy to carry and fits seamlessly into your routine, making it the ultimate companion for tech-savvy individuals on the go. Elevate your connectivity without compromising on aesthetics!
As Your Belongings
Elevate your tech experience with our luxurious USB-C hub, designed not just as a gadget but as a stylish accessory. Featuring a premium leather lanyard for easy portability, this multifunctional hub seamlessly combines luxury and utility. Perfectly fits in your hand, making it a sophisticated addition to your daily essentials as you move through the day. It's not just an accessory; it's a statement of elegance and functionality!
| Works With | Windows 7/8/10/11 (32/64bit), Linux kernel 3.x, Mac OS 10.6 or above |
|---|---|
| Host Port Compatibility | USB-C |
| Max Output Resolution | 4K@60Hz |
| HDMI | 1 |
| USB-A | 2 x 10Gbps (Downstream) |
| USB-C | 1 x 10Gbps (Downstream) |
| Cable Length | 9.7cm |
| Power Supply | 20V5A |
| Power Source | USB-C |
| Dimensions | 85.5mm x 46.5mm x 16mm |
| Material | Aluminum Alloy |
| Colour | Black |
- 1 x uHUB Q4+
- 1 x Leather Lanyard
- 1 x User Manual
Choose options