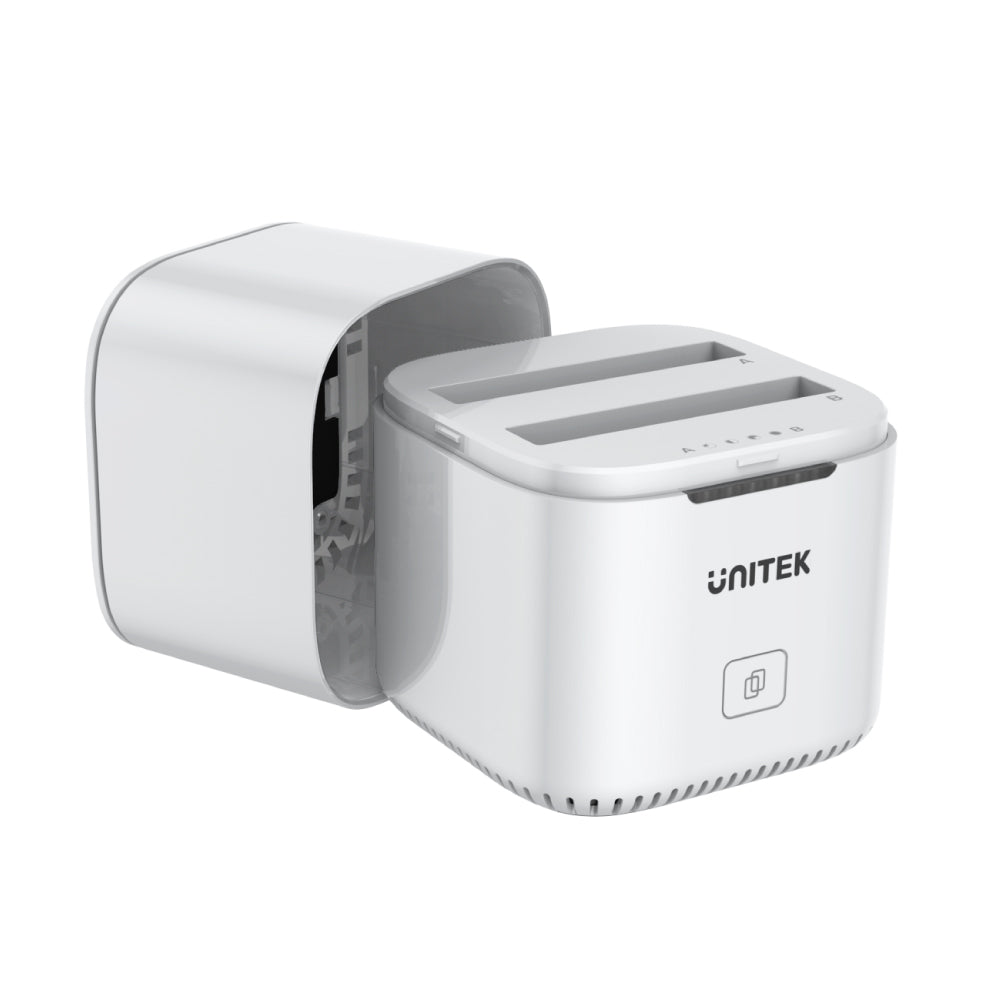


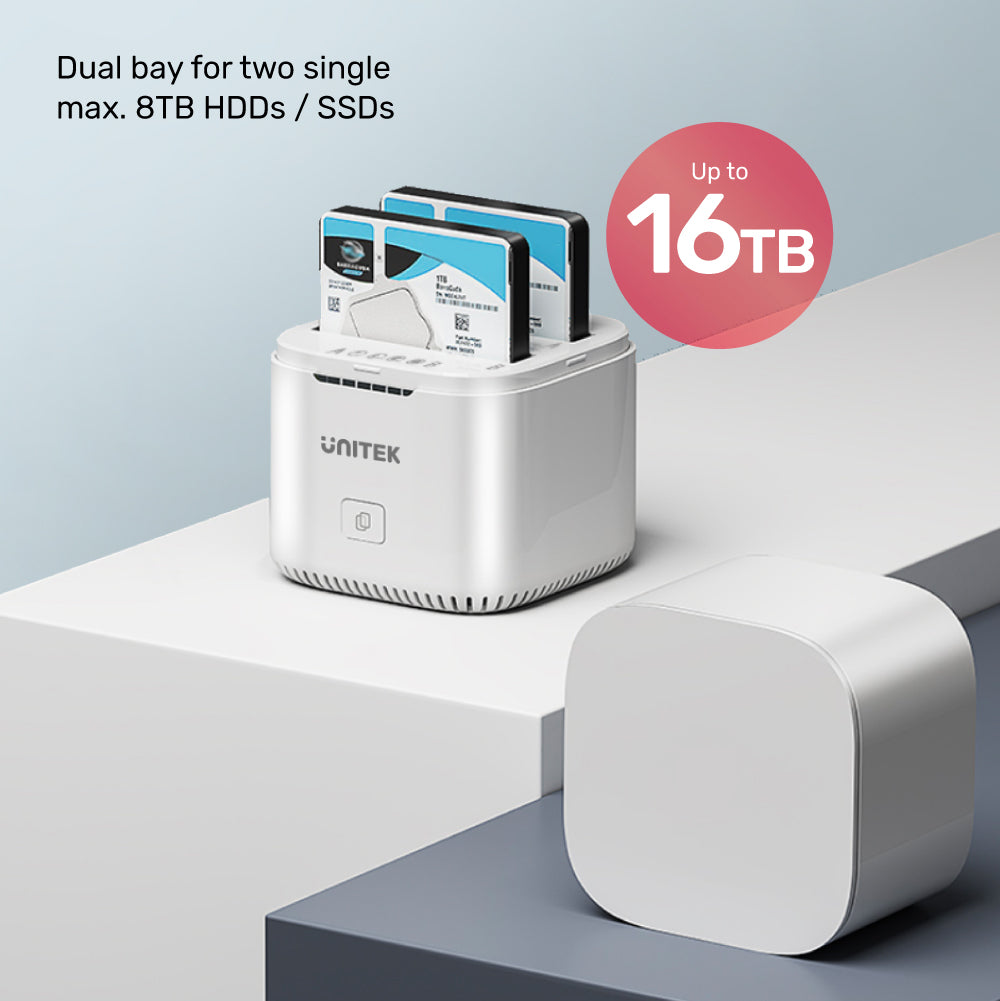

SyncStation Marshmallow 2.5” USB3.0 to SATA6G 2.5" Docking Station with UASP Function
Plug:UK
Color: White
Products Features:
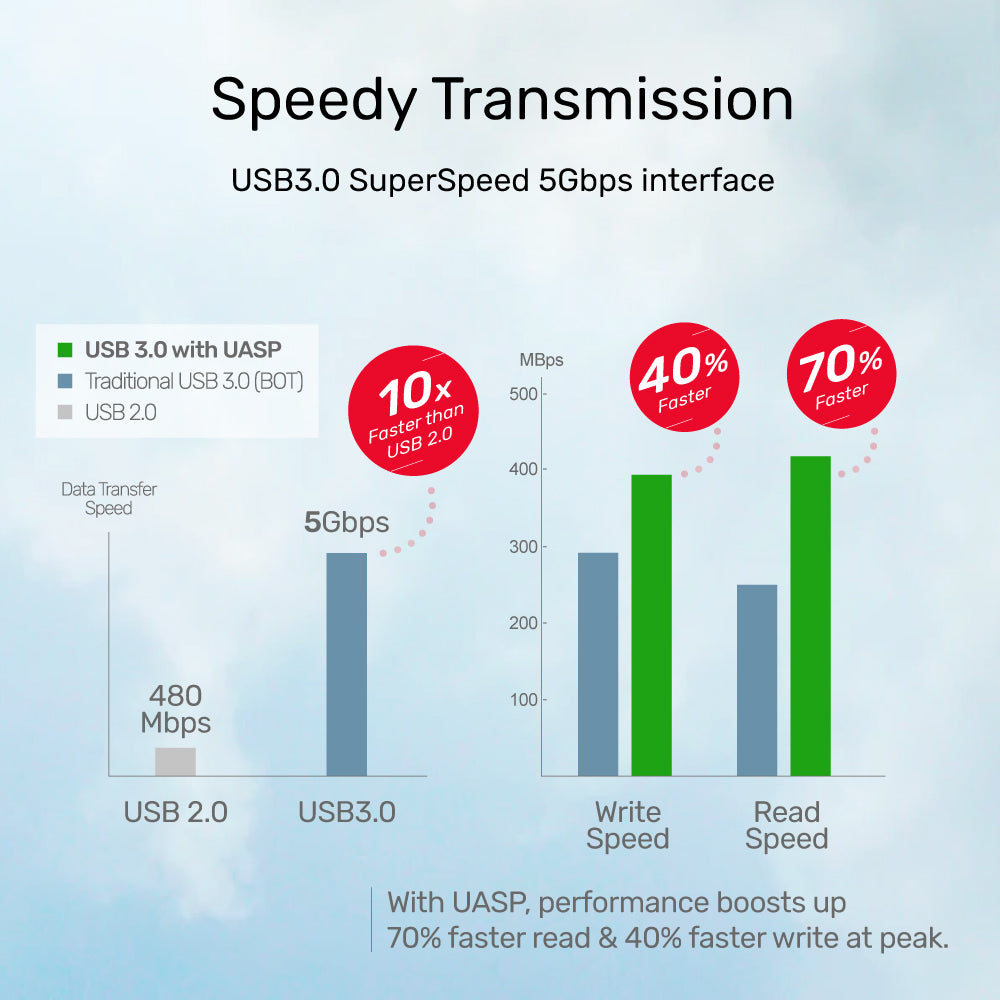
- With USB3.0 specification, the data transfer rate up to 5Gbps. Backward compatible with USB2.0/1.1.
- With UASP (USB Attached SCSI Protocol), accelerates the data transfer speed.
- With the offline clone function, copy Disk A to Disk B just simply press the clone button.
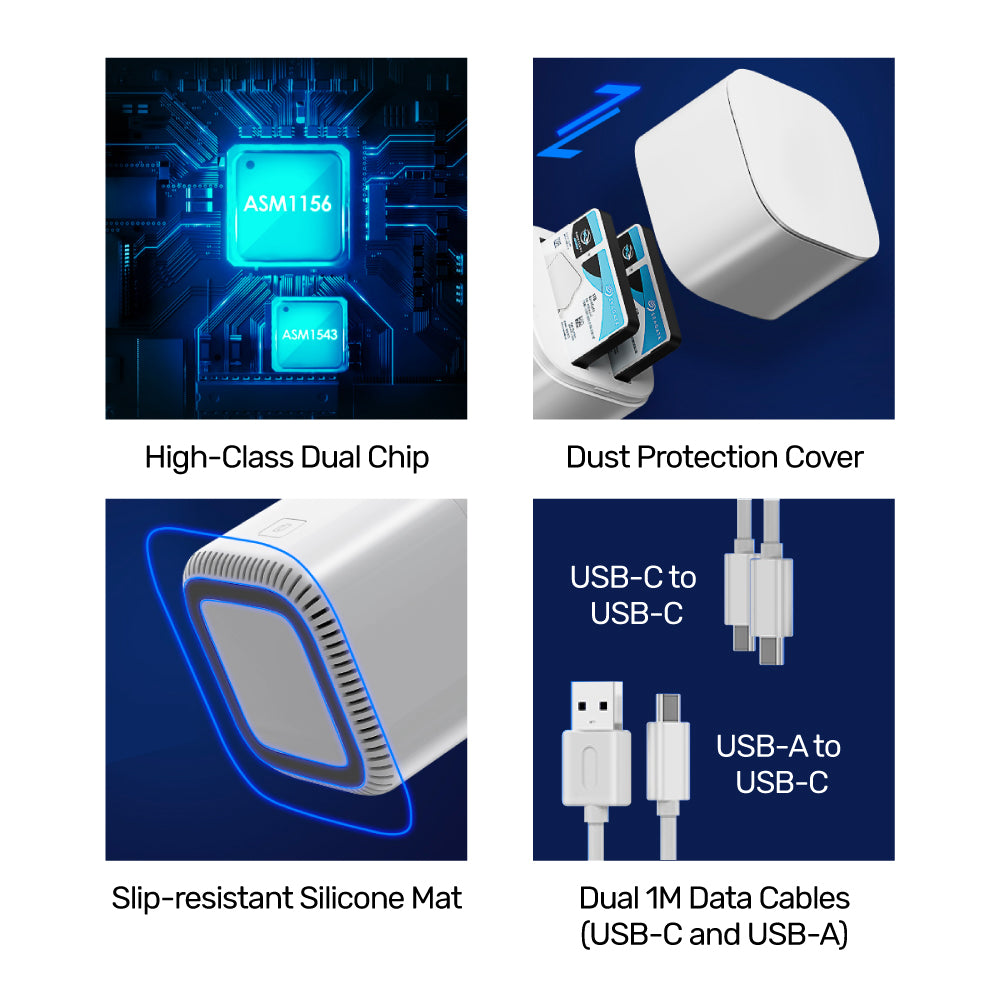
- Dual chip for maximizing the performance even all-day usage (24 hours x 7 days)
- Thoughtful design with the dust protection cover and slip-resistant mat.
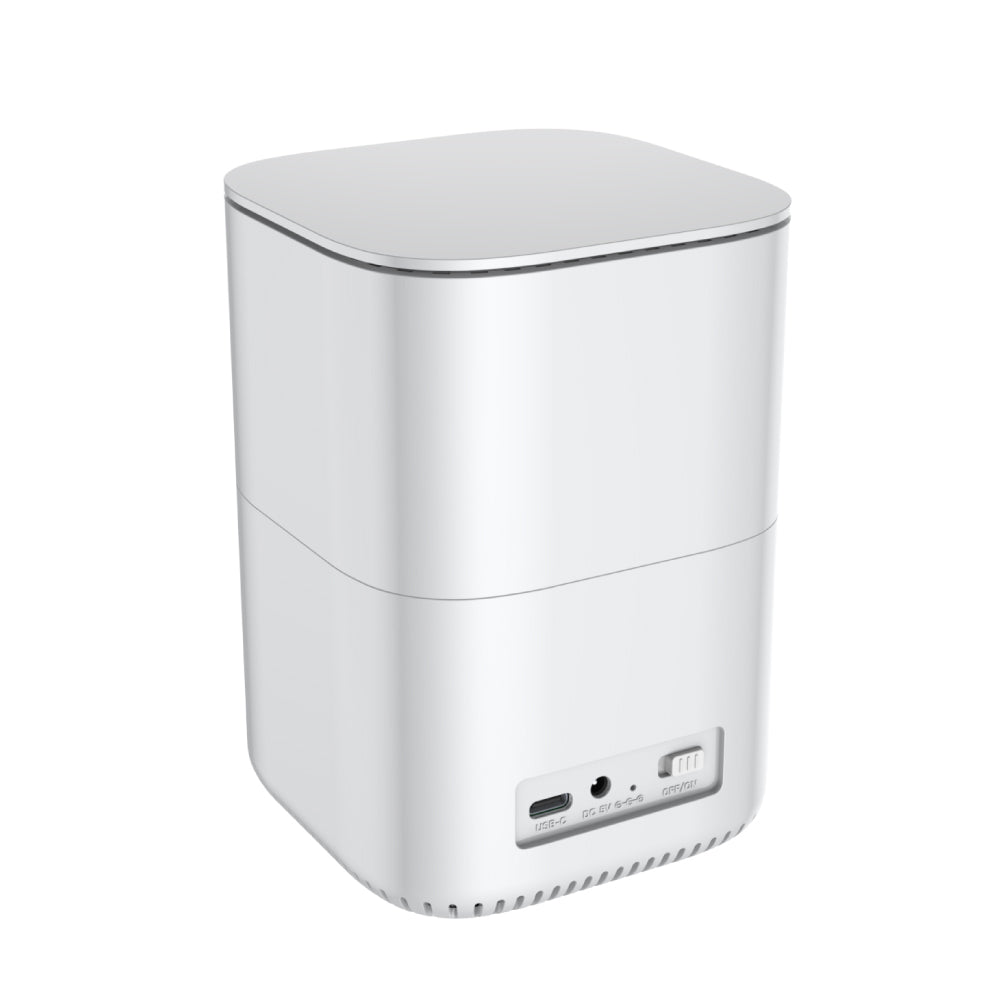
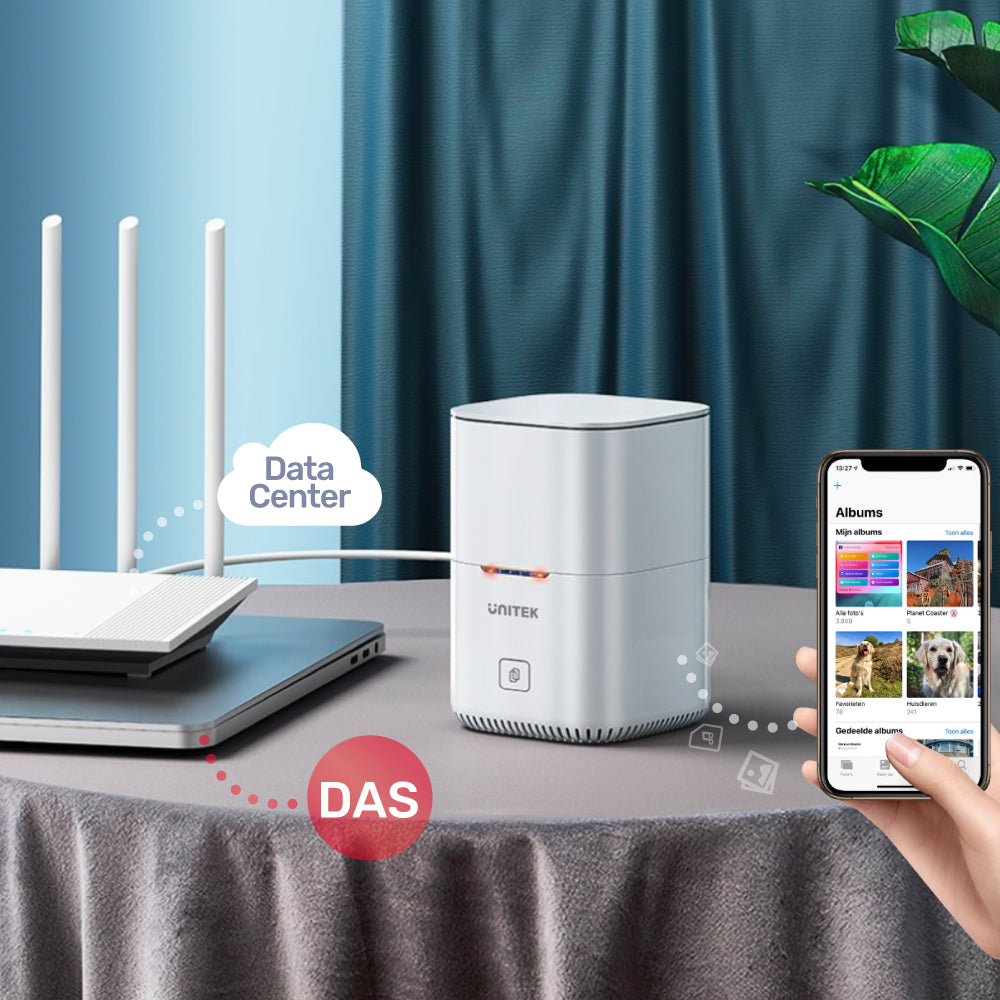
- USB-C interface allows you to simply connect with a computer and a tablet, with the USB-C cable for data sync (the USB-C port on your device requires data transfer function).
- With sleep mode function for energy-saving while idle 30 minutes.
- With the LED indicators, expresses the working status of the hard drive as well as the progress of the offline clone.
- An efficient 5V2A power adapter makes sure a stable and reliable energy supply.
- Tool-free installation. Plug and play, no driver required.
Specifications:
- Material: ABS
- Product Dimension: 93mm x 93mm x 132mm
- Chipset: ASM1156 + ASM1543
- USB Specification: USB3.0 5Gbps SuperSpeed
- Upstream: USB-C
- Downstream: SATA I / II / III
- Power: 5V2A
- DC Size: 3.5*1.35 mm
Package Contents:
- 1 x SyncStation Marshmallow 2.5”
- 1 x USB-C to USB-C Data Cable (1M)
- 1 x USB-C to USB-A Data Cable (1M)
- 1 x 5V/2A Power Adapter
- 1 x User Manual
Packaging: UNITEK Gift Box
Shipping cost will be calculated during checkout. International duties & taxes may apply and are not calculated at checkout.