

uHUB Q4 Lite 4-in-1 USB-C Hub with HDMI and 100W Power Delivery
Elevate your connectivity experience with our Premium USB-C Hub, meticulously designed to complement the iPad Pro's sleek aesthetics while transforming a single USB-C port into an array of versatile connections. Perfect for professionals and creatives, this hub delivers both functionality and style.

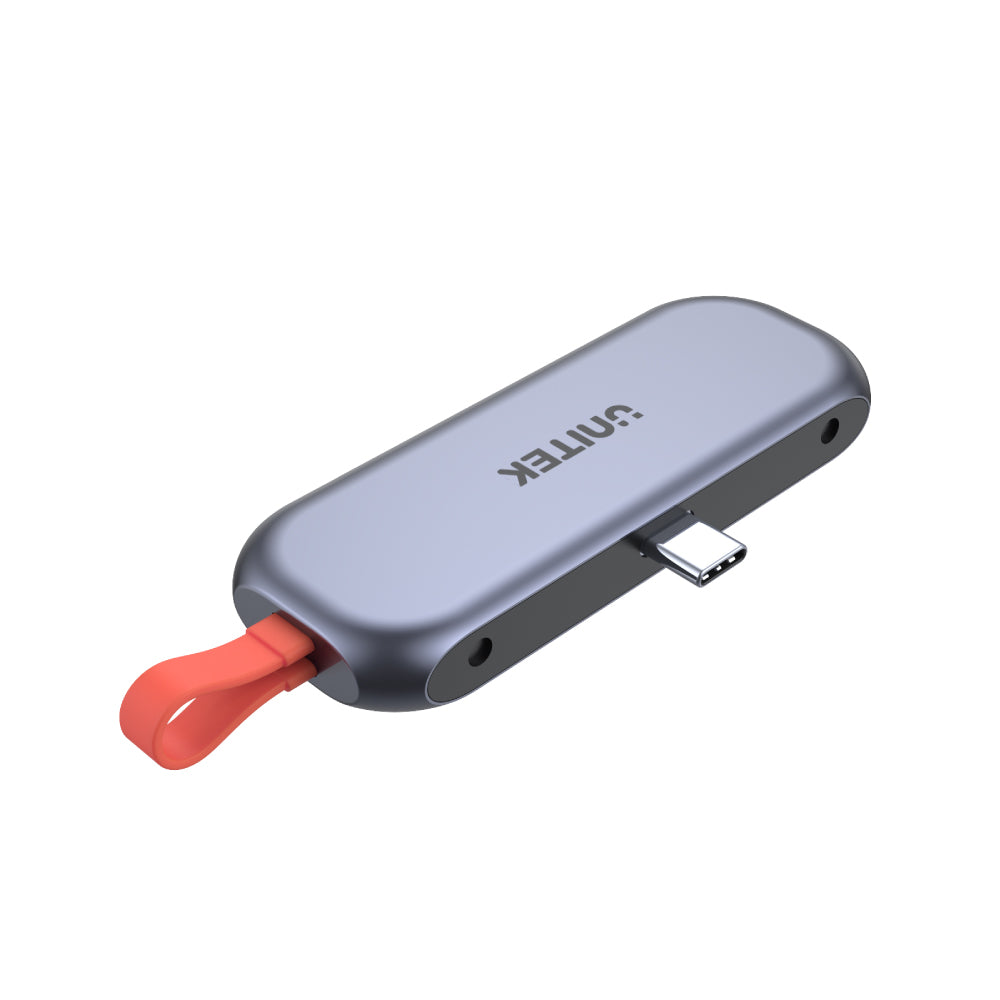
uHUB Q4 Lite 4-in-1 USB-C Hub
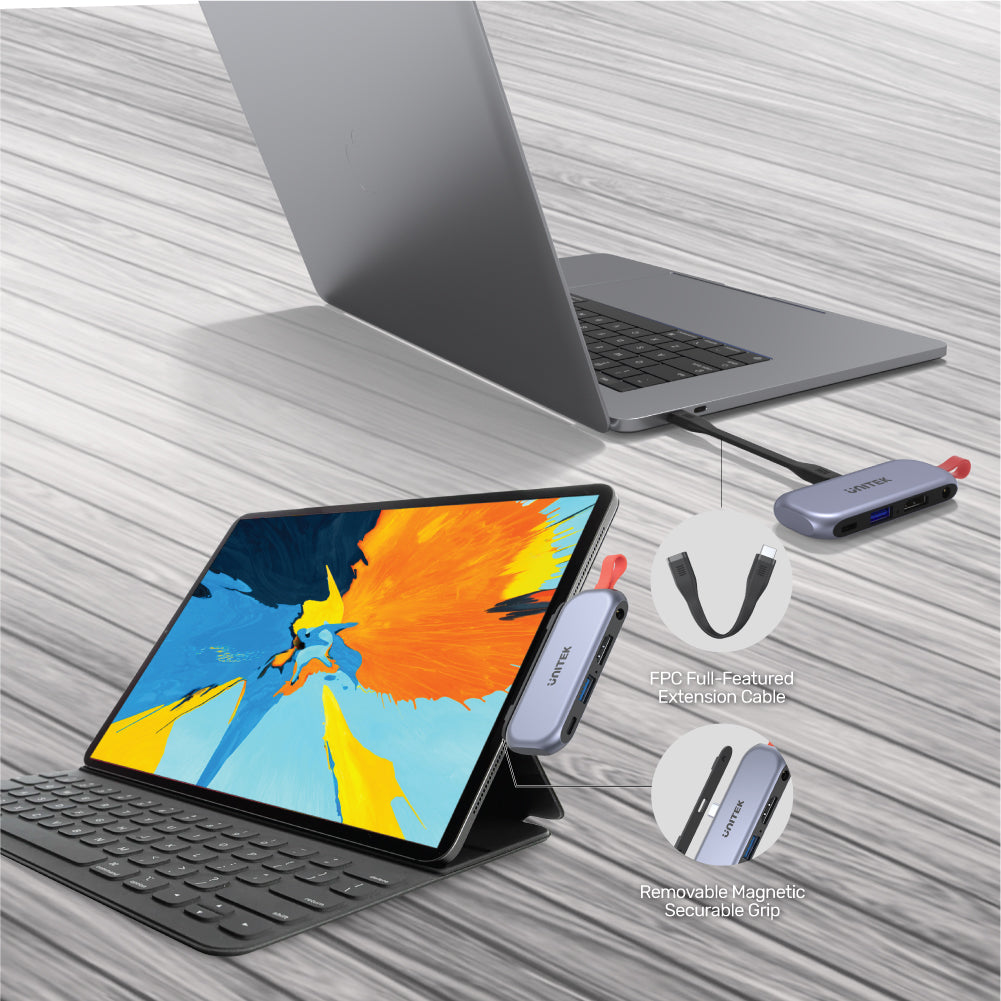
Featuring HDMI and 100W Power Delivery. Designed for greater applicability, it can be mounted on the iPad Pro or connected to various USB-C devices via detachable USB-C cables.
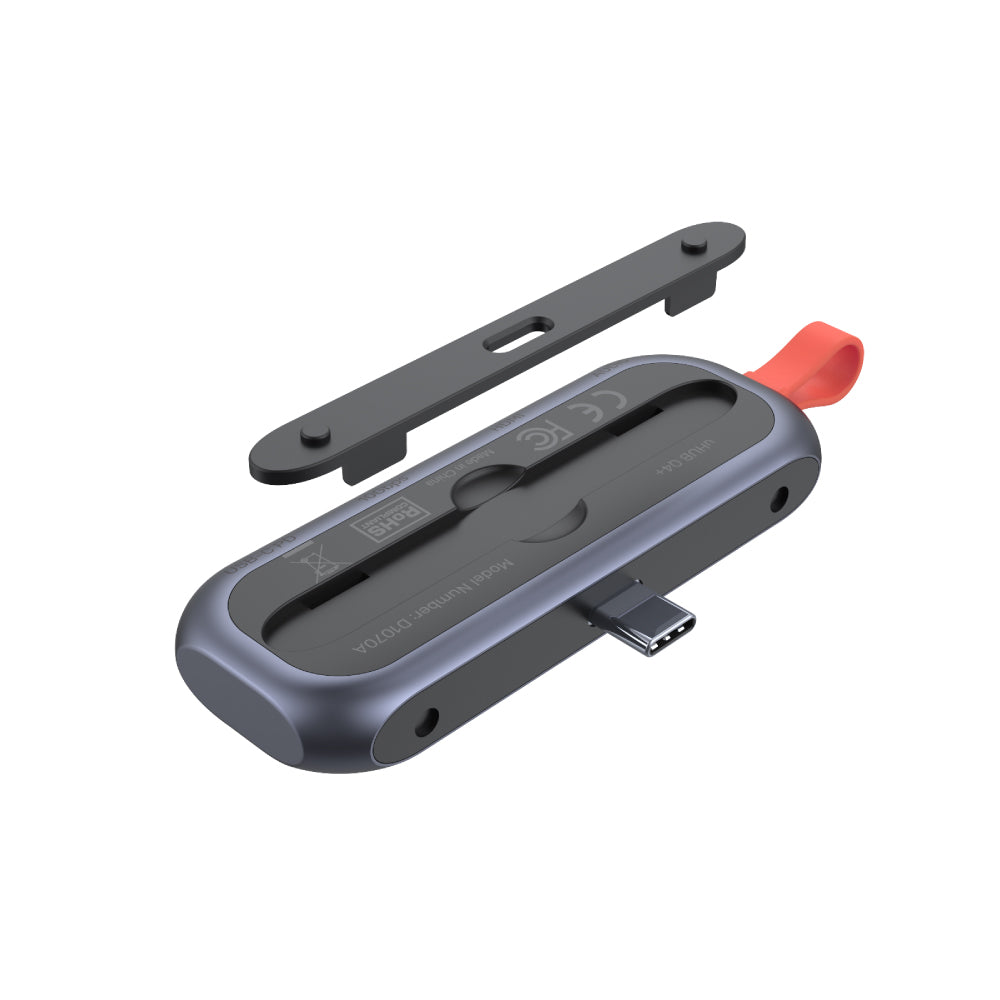
Equipped with an FPC full-featured extension cable, this hub ensures seamless connectivity. The removable magnetic securable grip provides added convenience, making it easy to attach and detach as needed. Enhance your productivity with this essential accessory for your tech setup.

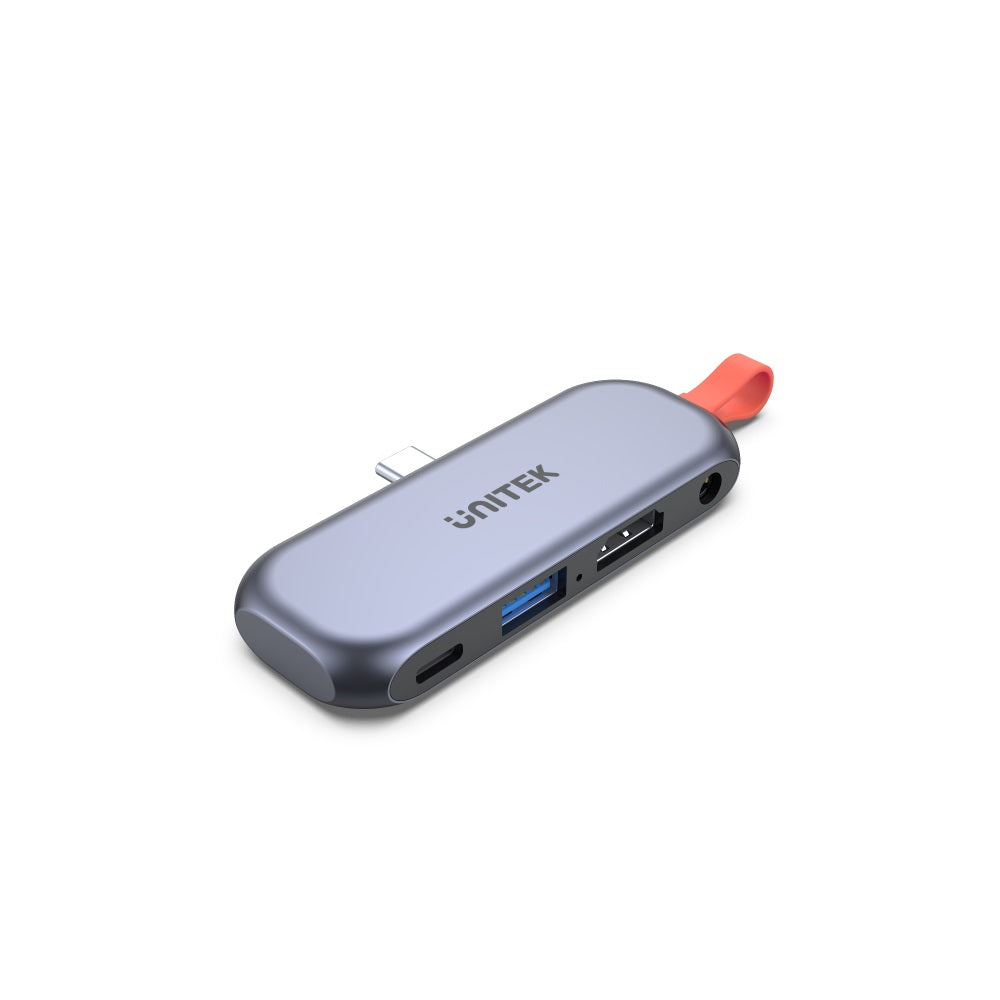
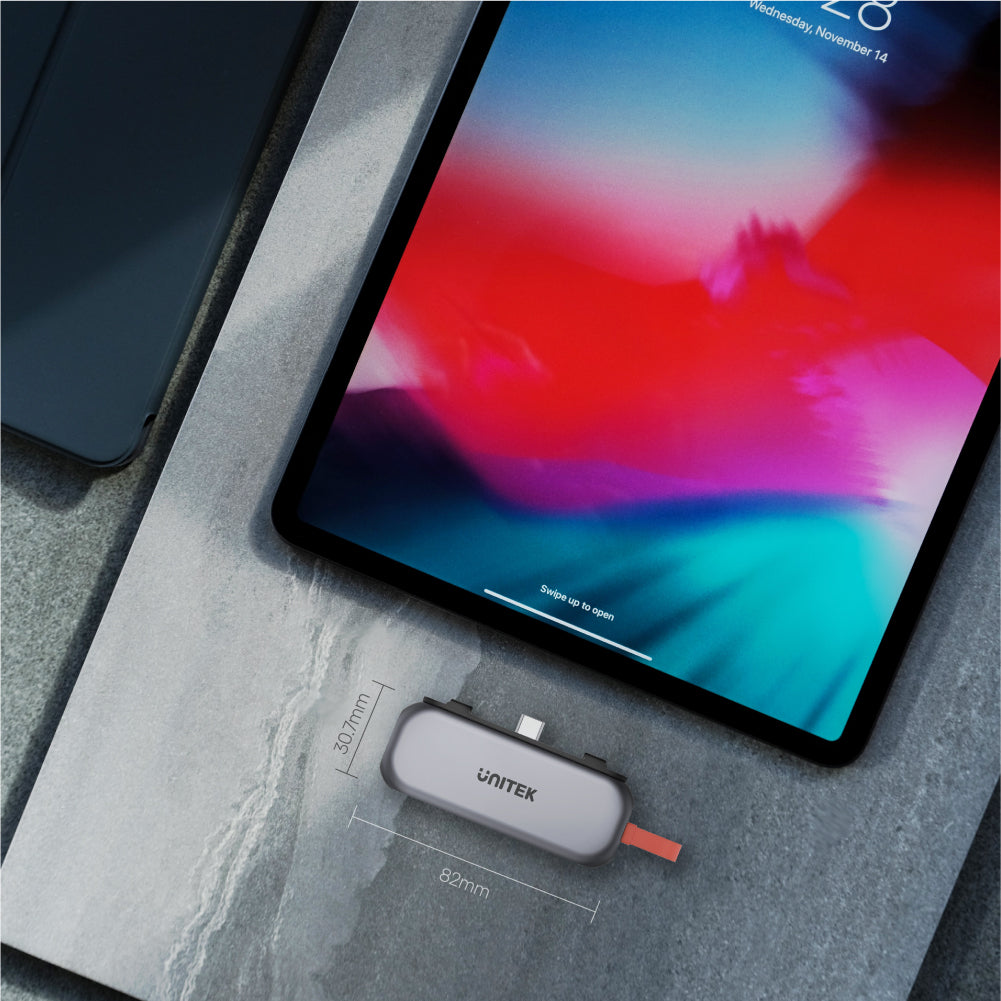
Compact 4-in-1 USB-C Hub
Offering four essential connections via a single USB-C port, including HDMI and 100W Power Delivery, all in a compact 82mm x 30.7mm design. Its high portability makes it perfect for travel, allowing you to expand your device's capabilities effortlessly. Ideal for users needing a versatile and space-saving hub for work or entertainment.

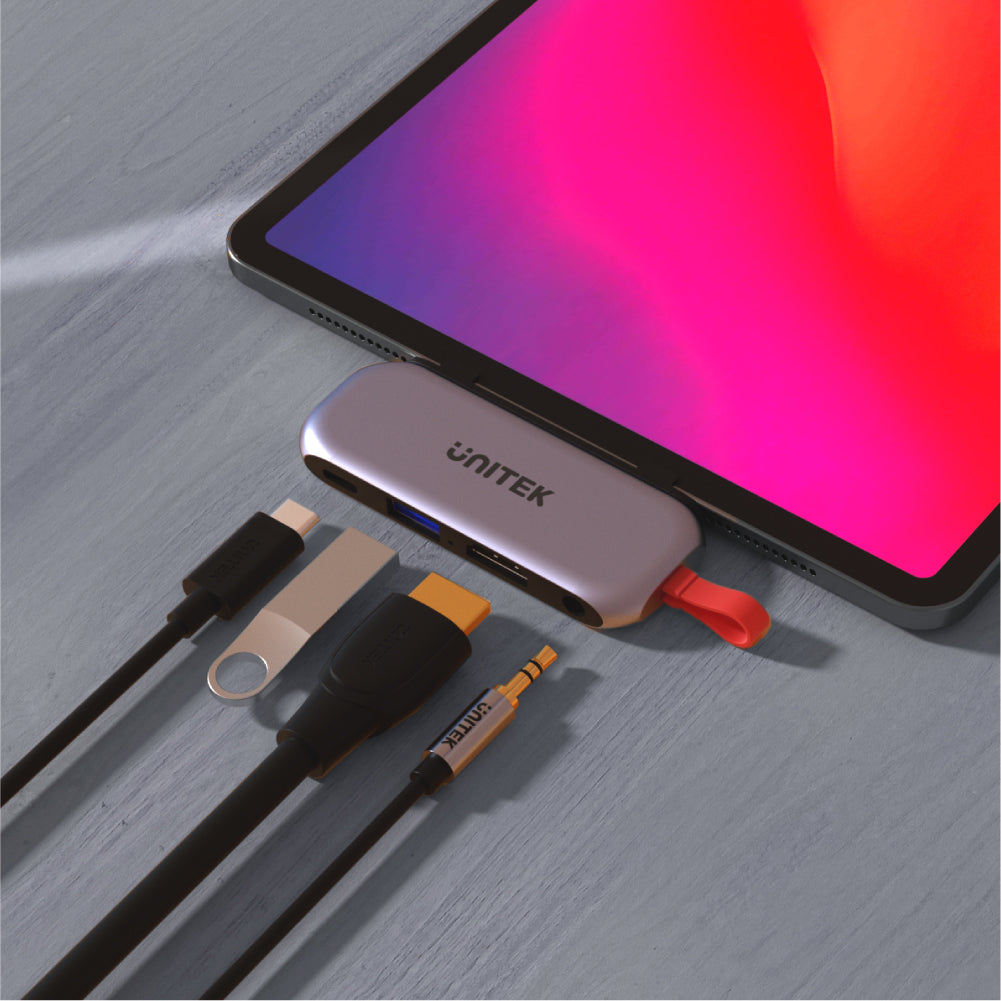
Expand Your Device’s Potential
Transforming a single USB-C port into four useful connections, including HDMI, USB, and audio ports, all while supporting 100W Power Delivery. Its compact design ensures high portability, making it easy to connect your tablet or laptop to multiple devices on the go. Perfect for users seeking a seamless and efficient multi-device setup.

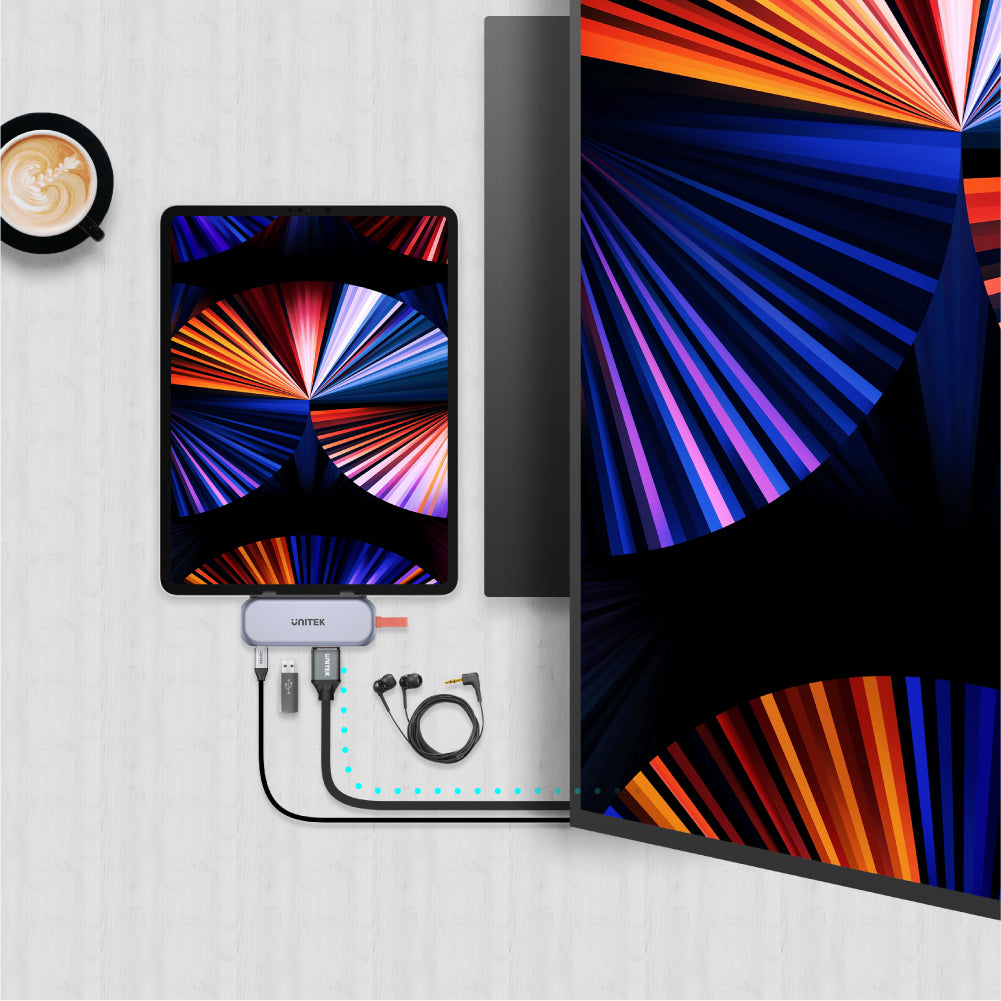
4K Out of the Box
Enhance your productivity with the uHUB Q4 Lite, allowing you to extend an additional desktop with Ultra HD visuals, all while utilizing your iPad Pro display. This hub supports HDMI up to 4K Ultra HD @ 30Hz with HDCP 2.2/1.4, and is backward compatible, ensuring seamless connectivity with a variety of devices.

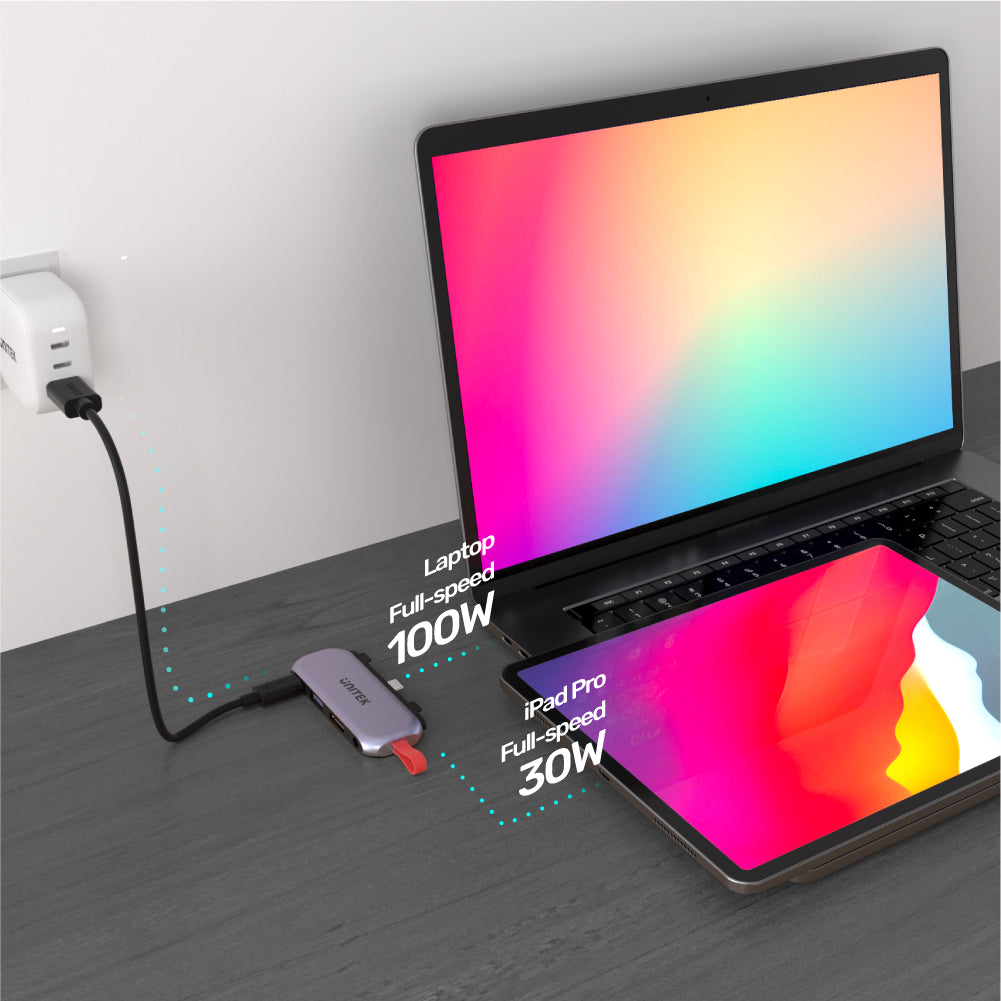
Full-Speed Pass-Through Charging
USB Power Delivery (PD) with up to 100W output, providing maximum power for most USB-C devices. It is equipped with a USB-C PD port that supports a maximum of 100W (20V/5A) charging to your upstream computer. This ensures that your devices stay charged quickly and efficiently while you work, maximizing productivity without sacrificing power.

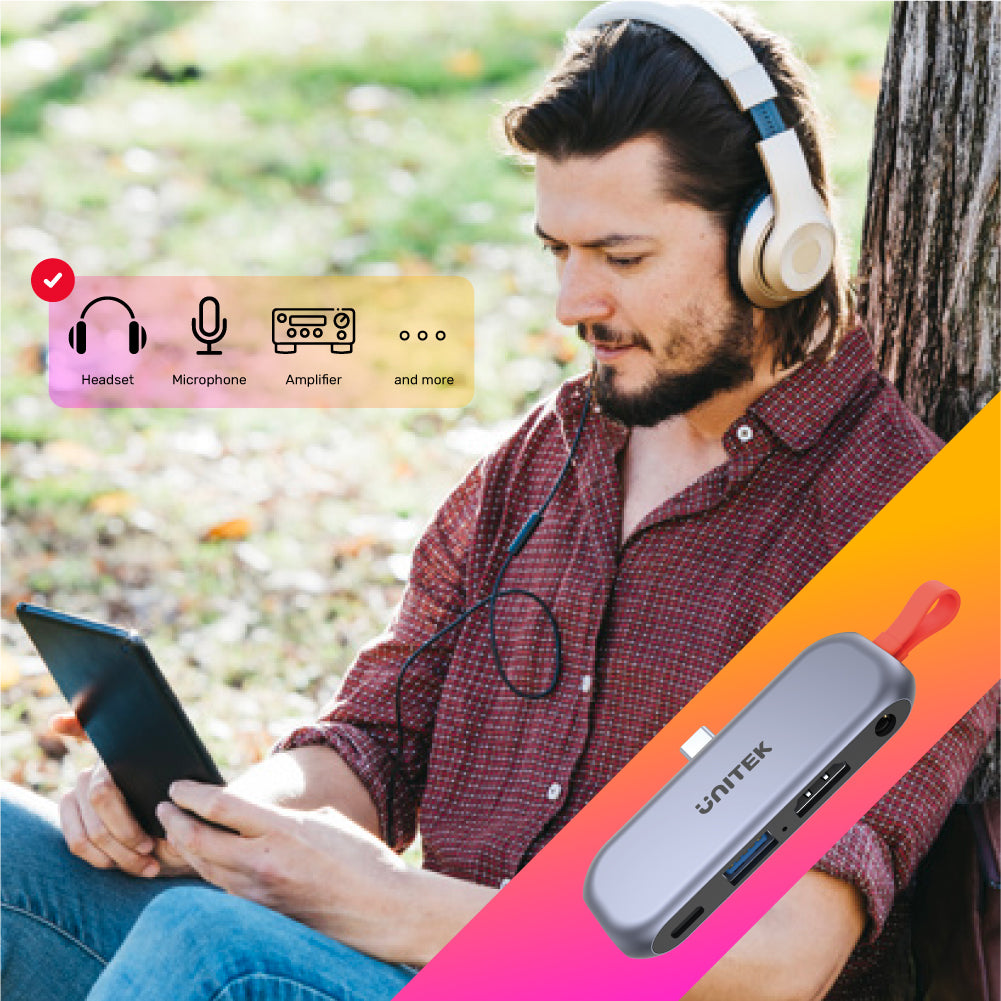
Make Good Use of Your Audio Equipment
Connecting all kinds of 3.5mm audio equipment seamlessly. It features a 3.5mm interface with a 4-pole design, supporting both audio output and microphone input. This design prioritizes audio connections over HDMI, ensuring you enjoy high-quality sound while using your devices. Perfect for enhancing your audio experience, whether for calls, music, or gaming.
Elevate your connectivity experience with our Premium USB-C Hub, meticulously designed to complement the iPad Pro's sleek aesthetics while transforming a single USB-C port into an array of versatile connections. Perfect for professionals and creatives, this hub delivers both functionality and style.
uHUB Q4 Lite 4-in-1 USB-C Hub
Featuring HDMI and 100W Power Delivery. Designed for greater applicability, it can be mounted on the iPad Pro or connected to various USB-C devices via detachable USB-C cables.
Equipped with an FPC full-featured extension cable, this hub ensures seamless connectivity. The removable magnetic securable grip provides added convenience, making it easy to attach and detach as needed. Enhance your productivity with this essential accessory for your tech setup.
Compact 4-in-1 USB-C Hub
Offering four essential connections via a single USB-C port, including HDMI and 100W Power Delivery, all in a compact 82mm x 30.7mm design. Its high portability makes it perfect for travel, allowing you to expand your device's capabilities effortlessly. Ideal for users needing a versatile and space-saving hub for work or entertainment.
Expand Your Device’s Potential
Transforming a single USB-C port into four useful connections, including HDMI, USB, and audio ports, all while supporting 100W Power Delivery. Its compact design ensures high portability, making it easy to connect your tablet or laptop to multiple devices on the go. Perfect for users seeking a seamless and efficient multi-device setup.
4K Out of the Box
Enhance your productivity with the uHUB Q4 Lite, allowing you to extend an additional desktop with Ultra HD visuals, all while utilizing your iPad Pro display. This hub supports HDMI up to 4K Ultra HD @ 30Hz with HDCP 2.2/1.4, and is backward compatible, ensuring seamless connectivity with a variety of devices.
Full-Speed Pass-Through Charging
USB Power Delivery (PD) with up to 100W output, providing maximum power for most USB-C devices. It is equipped with a USB-C PD port that supports a maximum of 100W (20V/5A) charging to your upstream computer. This ensures that your devices stay charged quickly and efficiently while you work, maximizing productivity without sacrificing power.
Make Good Use of Your Audio Equipment
Connecting all kinds of 3.5mm audio equipment seamlessly. It features a 3.5mm interface with a 4-pole design, supporting both audio output and microphone input. This design prioritizes audio connections over HDMI, ensuring you enjoy high-quality sound while using your devices. Perfect for enhancing your audio experience, whether for calls, music, or gaming.
| Works With | Windows 7/8/10/11 (32/64bit), Linux kernel 3.x, Mac OS 10.6 or above |
|---|---|
| Host Port Compatibility | USB-C |
| Max Output Resolution | 4K@30Hz |
| HDMI | 1 |
| USB-A | 1 x 10Gbps |
| USB-C | 1 x PD 100W |
| 3.5mm Aux jack | 1 (Audio In/ Out) |
| Cable Length | 11.6cm |
| Power Supply | 20V5A |
| Power Source | USB-C |
| Dimensions | 82.0mm x 30.7mm x 11.92mm |
| Material | Aluminum Alloy |
| Colour | Space Grey |
- 1 x uHUB Q4 Lite
- 1 x FPC Full-Featured Extension Cable
- 1 x Removable Magnetic Securable Grip For iPad Pro
- 1 x User Manual
Choose options