
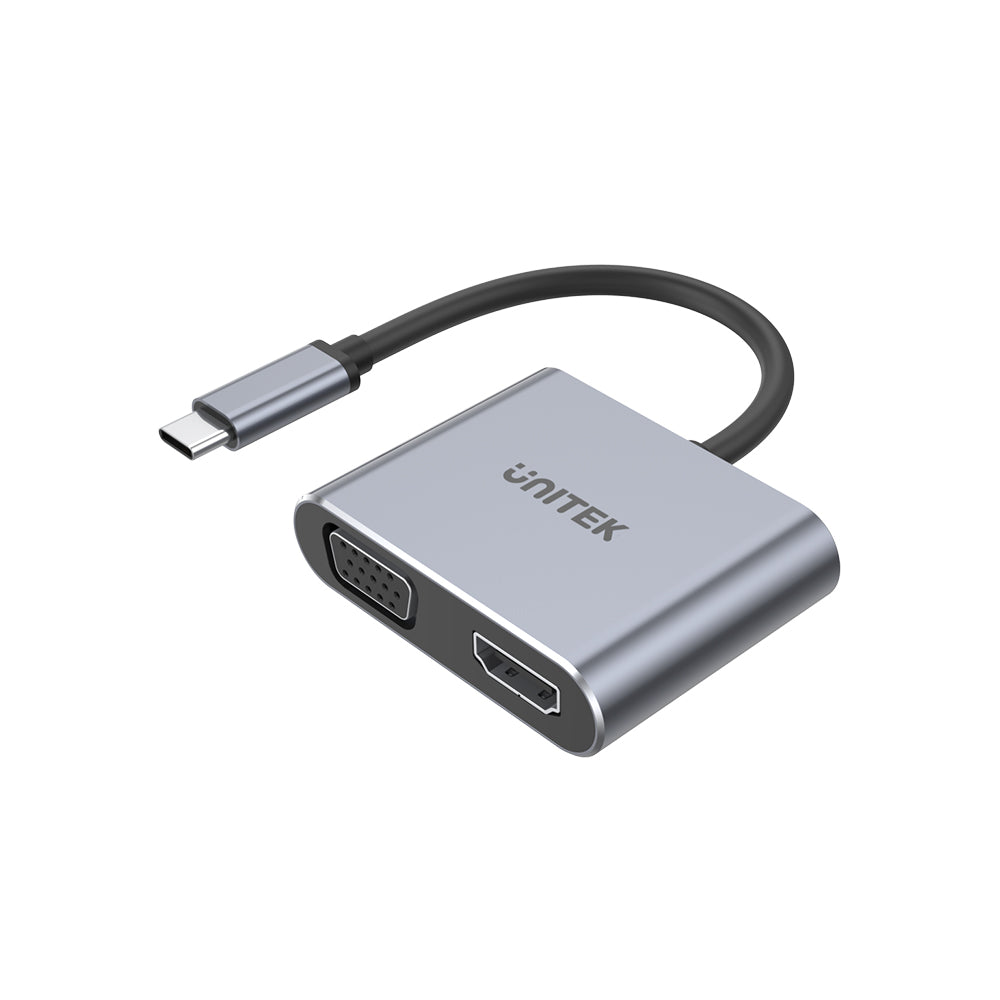
uHUB Q4 Lite 4-in-1 USB-C 허브(MST 듀얼 디스플레이 및 PD 100W 포함)
Enhance your workspace and maximize productivity with the Y-3089 USB-C Multi-Display Hub, designed to deliver outstanding performance and versatile connectivity. Whether you're working on a Mac or PC, this hub provides the tools you need to elevate your display and charging capabilities.

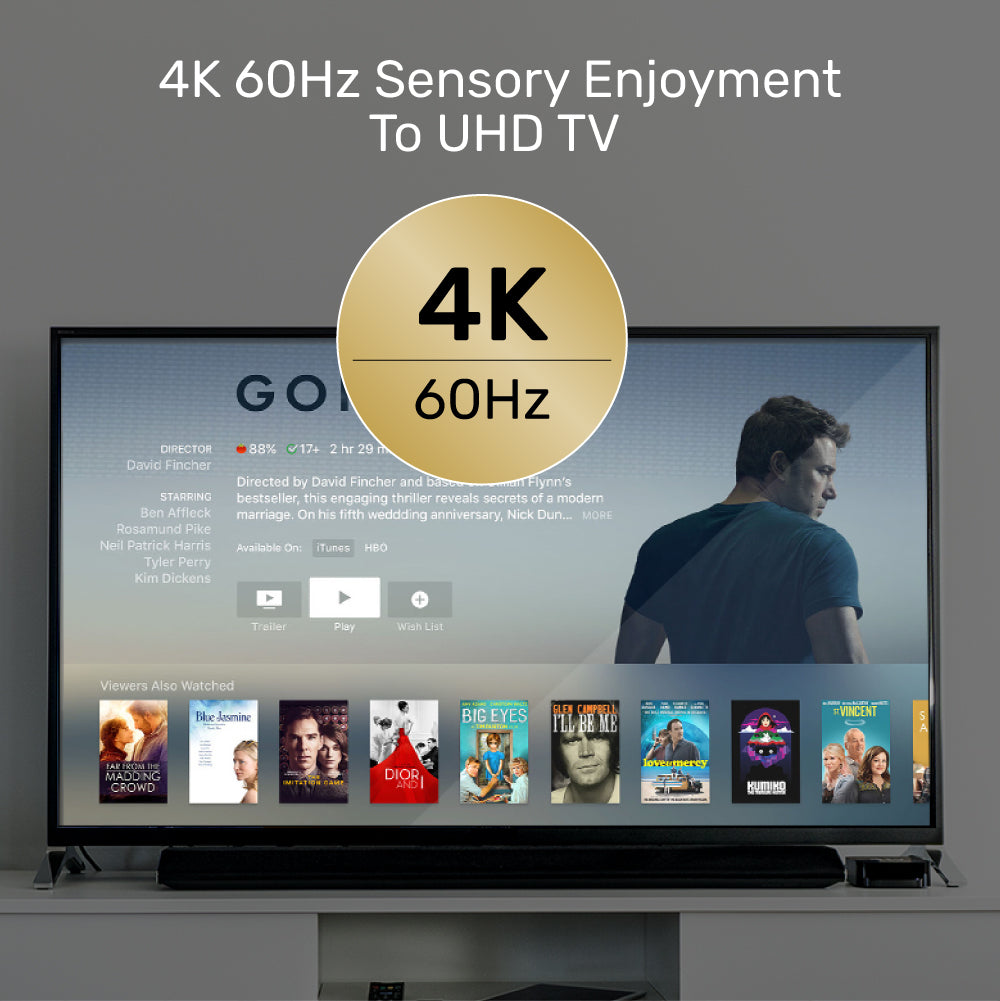
Elevate Your Viewing Experience with HDMI 2.0 Connectivity
Connect your TV using HDMI 2.0 to enjoy stunning 4K@60Hz Ultra-HD resolution. Perfect for sensory enjoyment, this solution extends from your Type-C device, unlocking vibrant visuals and crisp details. Note: USB-C requires DisplayPort Alt Mode for optimal performance.

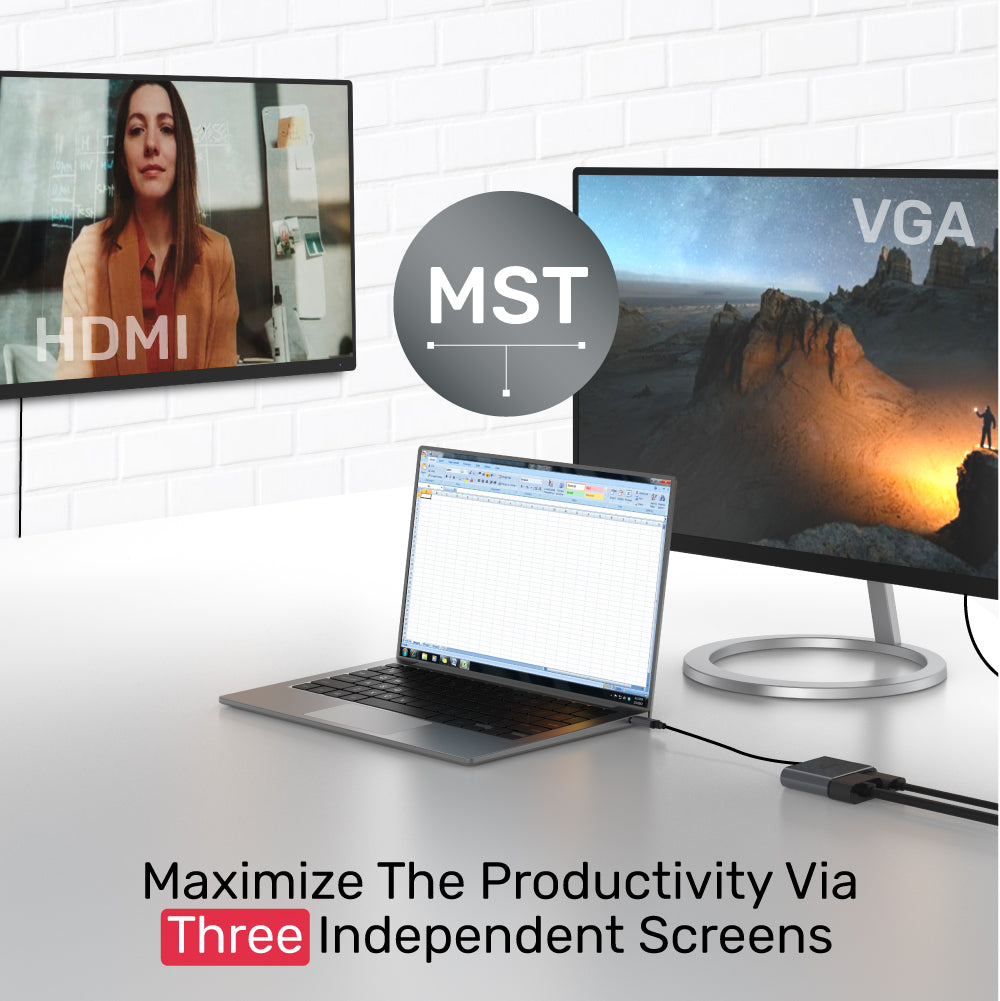
Unleash Triple Screen Productivity with MST
Supports Multi-Stream Transport (MST) for a seamless connection of up to 3 external screens via HDMI and VGA. Enjoy maximum output of 1080p at 60Hz for vibrant HD visuals. Note: MST mode is not supported on Mac OS, making this solution ideal for Windows users seeking to enhance their multitasking capabilities.

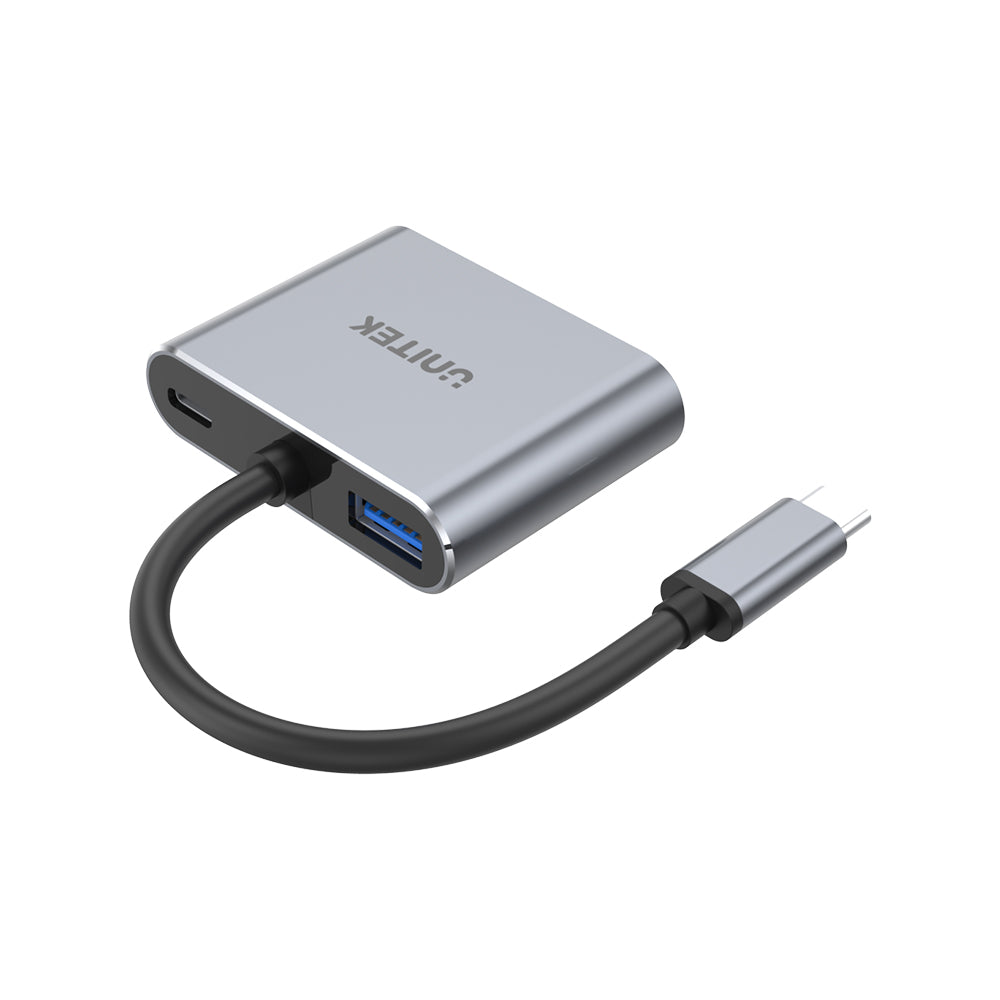
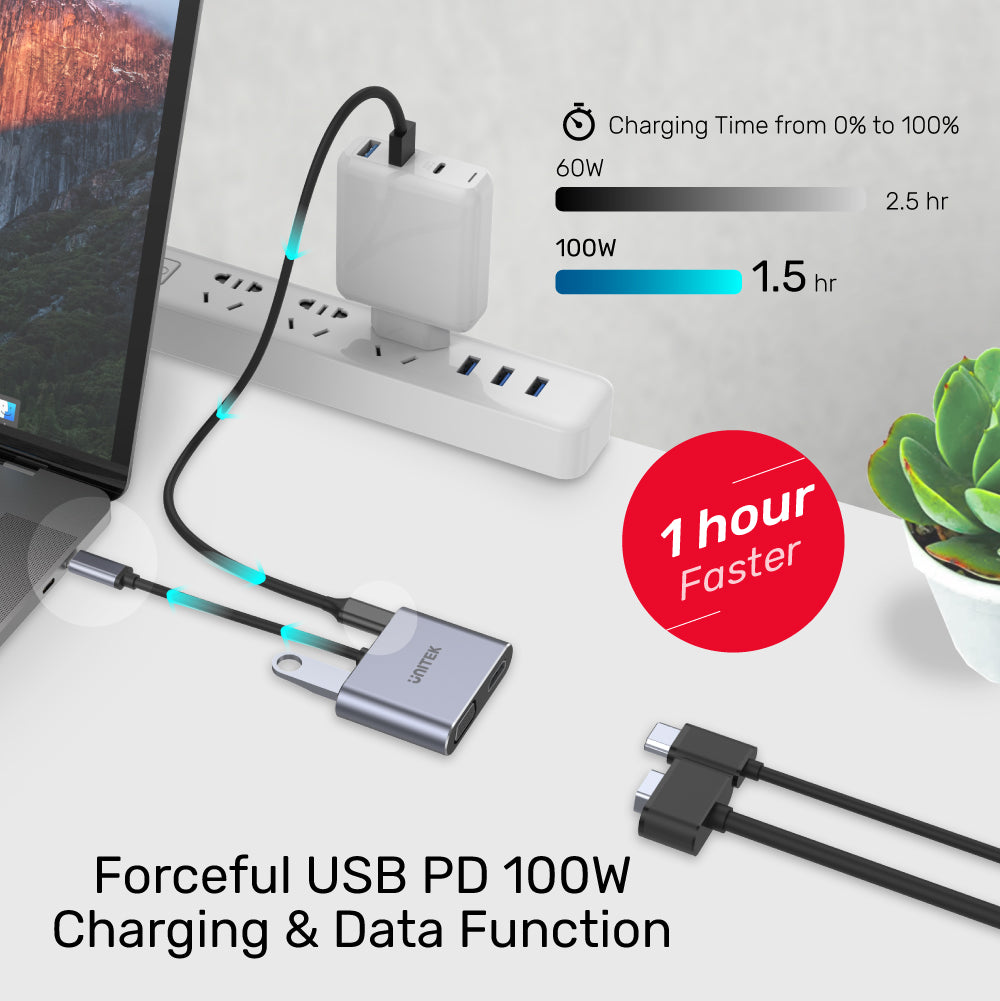
Experience Faster Charging with USB PD 100W
Achieve a full charge from 0% to 100% in just 1.5 hours using USB PD 100W—an hour faster than 60W charging, which takes 2.5 hours. Enjoy powerful charging and data functionality that keeps you connected and productive, all while minimizing downtime for your devices!
Enhance your workspace and maximize productivity with the Y-3089 USB-C Multi-Display Hub, designed to deliver outstanding performance and versatile connectivity. Whether you're working on a Mac or PC, this hub provides the tools you need to elevate your display and charging capabilities.
Elevate Your Viewing Experience with HDMI 2.0 Connectivity
Connect your TV using HDMI 2.0 to enjoy stunning 4K@60Hz Ultra-HD resolution. Perfect for sensory enjoyment, this solution extends from your Type-C device, unlocking vibrant visuals and crisp details. Note: USB-C requires DisplayPort Alt Mode for optimal performance.
Unleash Triple Screen Productivity with MST
Supports Multi-Stream Transport (MST) for a seamless connection of up to 3 external screens via HDMI and VGA. Enjoy maximum output of 1080p at 60Hz for vibrant HD visuals. Note: MST mode is not supported on Mac OS, making this solution ideal for Windows users seeking to enhance their multitasking capabilities.
Experience Faster Charging with USB PD 100W
Achieve a full charge from 0% to 100% in just 1.5 hours using USB PD 100W—an hour faster than 60W charging, which takes 2.5 hours. Enjoy powerful charging and data functionality that keeps you connected and productive, all while minimizing downtime for your devices!
| Works With | Windows 10/11 (32/64bit), Linux kernel 3.x, Mac OS 10.6 or above |
|---|---|
| Host Port Compatibility | USB-C, USB-A, HDMI, VGA |
| Host Power (PD) | USB-C PD 100W |
| Max Output Resolution | 4K@60Hz, 1080p@60Hz |
| HDMI | 1 x 4K@60Hz |
| VGA | 1 x 1080p@60Hz |
| USB-A | 1 x 480Mbps(하향) |
| USB-C | 1 x 5Gpbs(상류) |
| Power Supply | 20V5A |
| Power Source | USB-C |
| Dimensions | 44.05mm x 57.6mm x 14.6mm |
| Material | ABS Housing |
| Colour | Space Grey |
- 1 x USB-기가비트 이더넷 어댑터
- 1 x 사용자 설명서
Choose options