

듀얼 모니터 및 듀얼 카드 리더기가 장착된 Surface Pro용 uHUB H6+ 6-in-2 USB 3.0 허브
Elevate your connectivity experience with our Dual USB 3.1 Hub Adapter, engineered for speed, versatility, and convenience. Perfect for professionals and tech enthusiasts alike, this hub combines essential functionality with a sleek design, providing a comprehensive solution for modern devices.

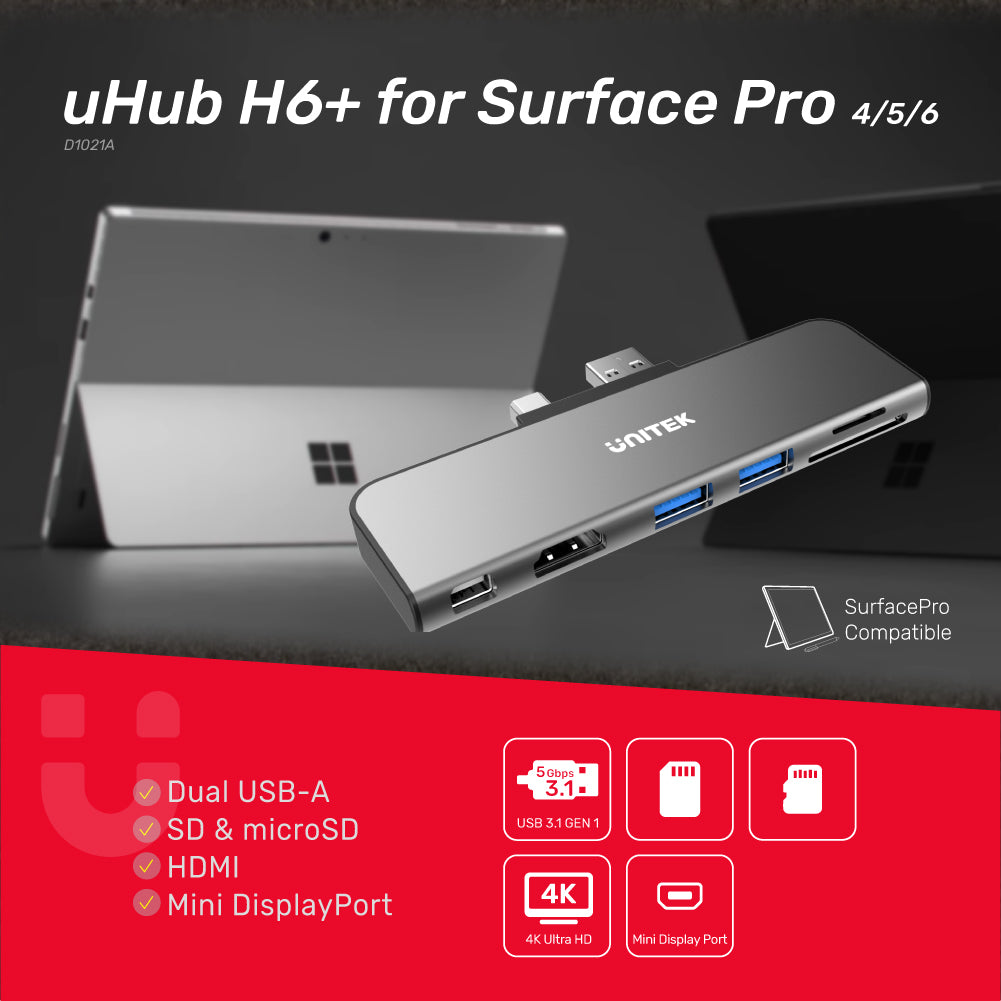
Ultimate Connectivity Hub for Surface Pro 4/5/6
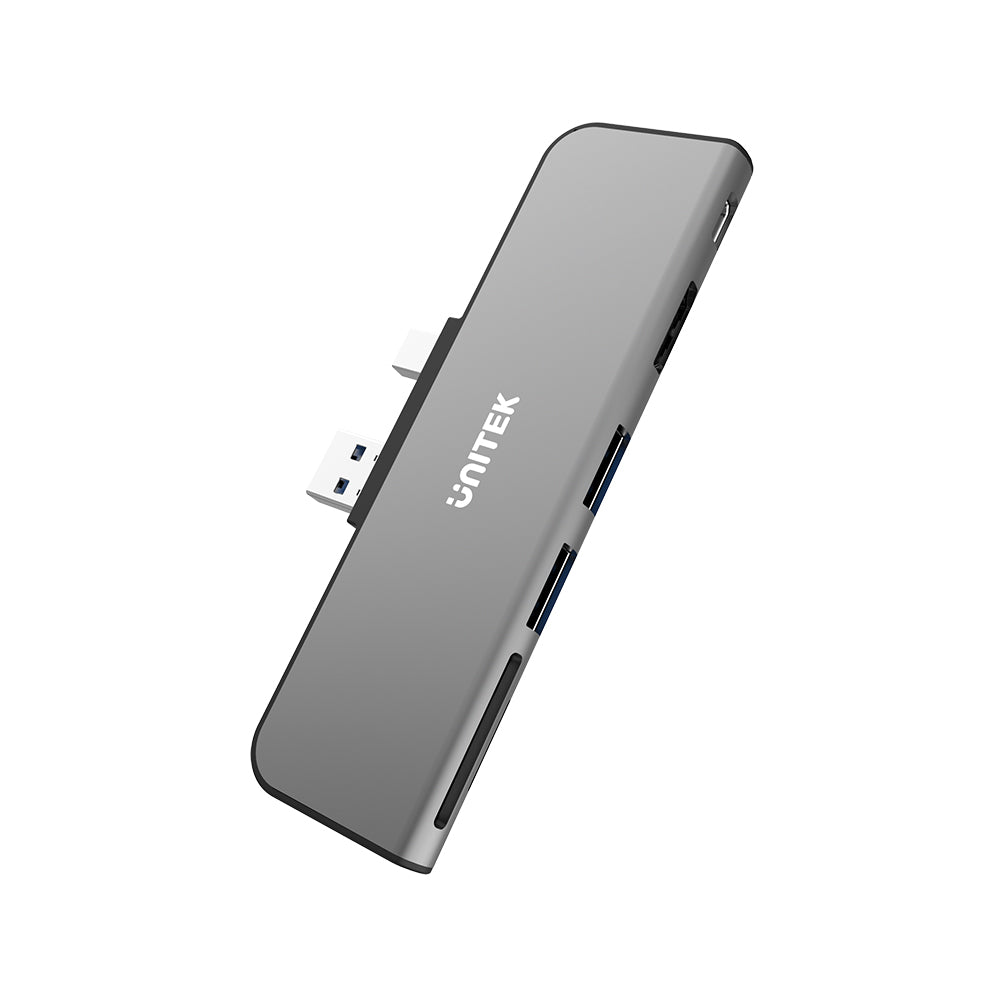
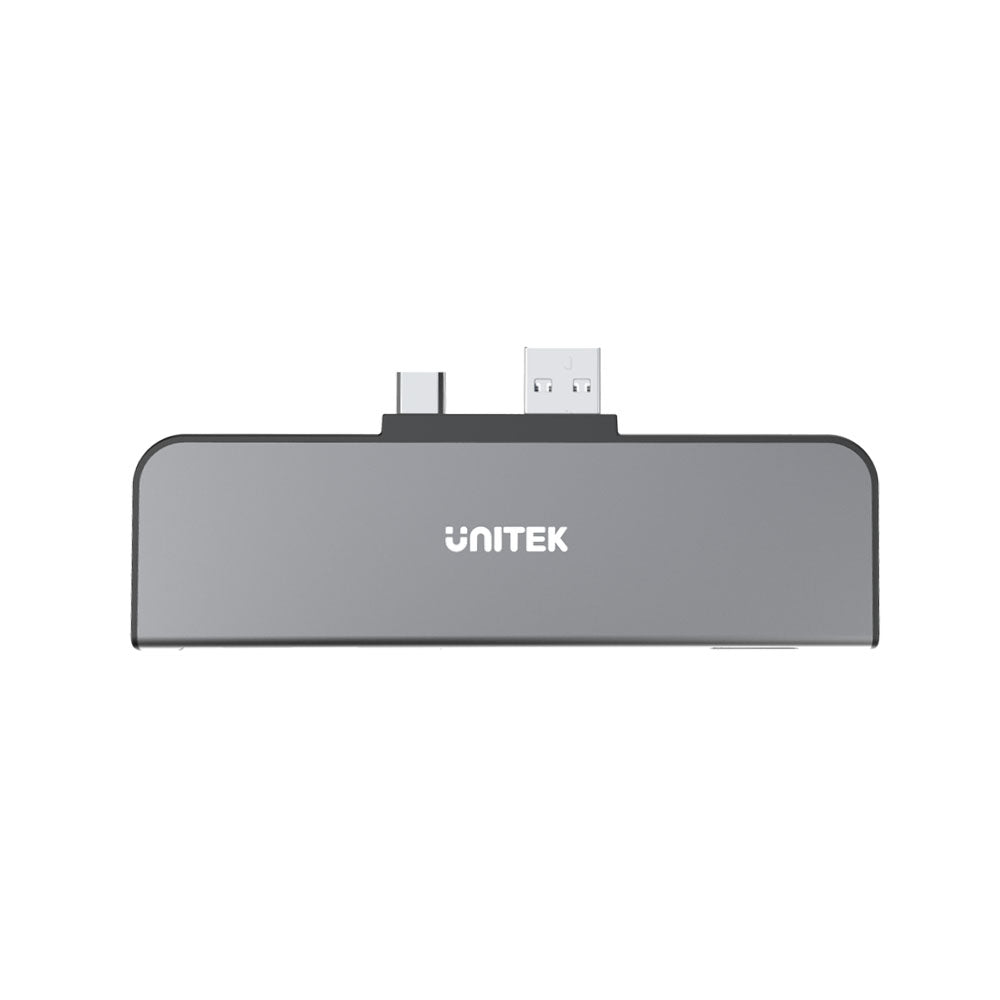
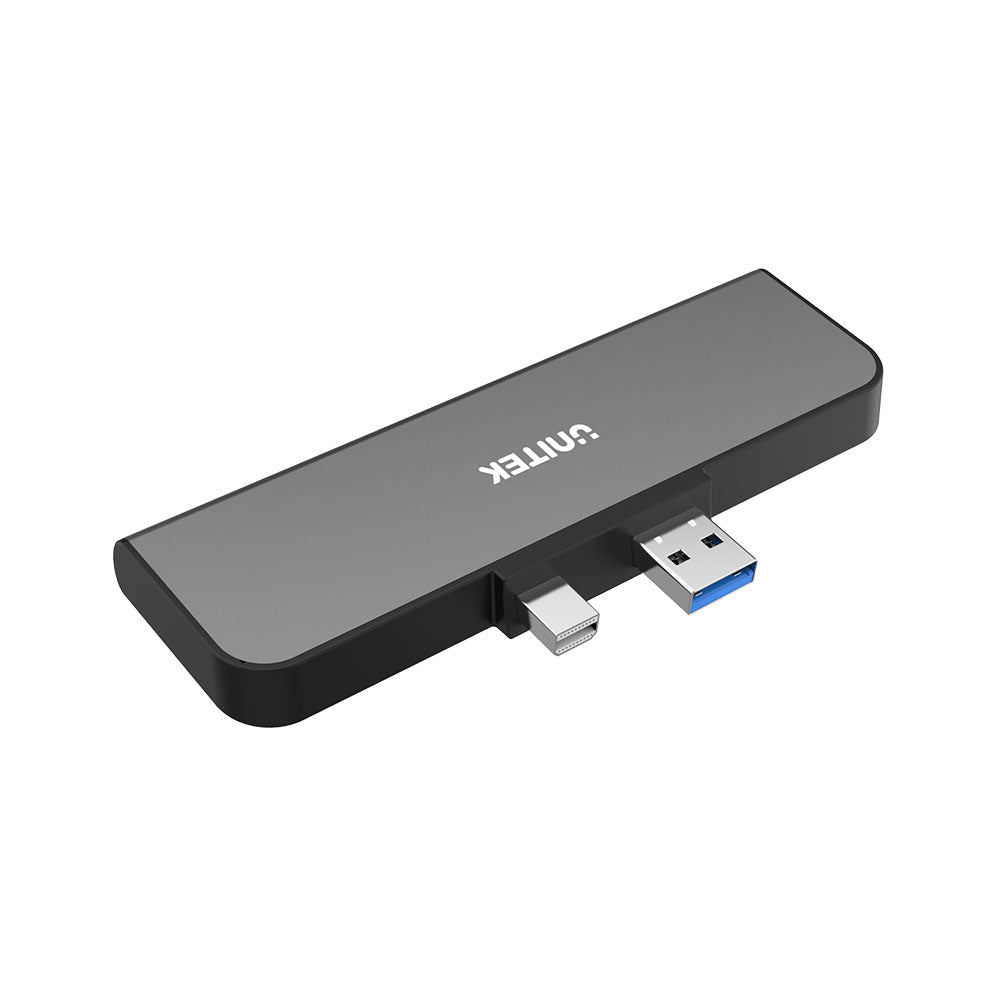
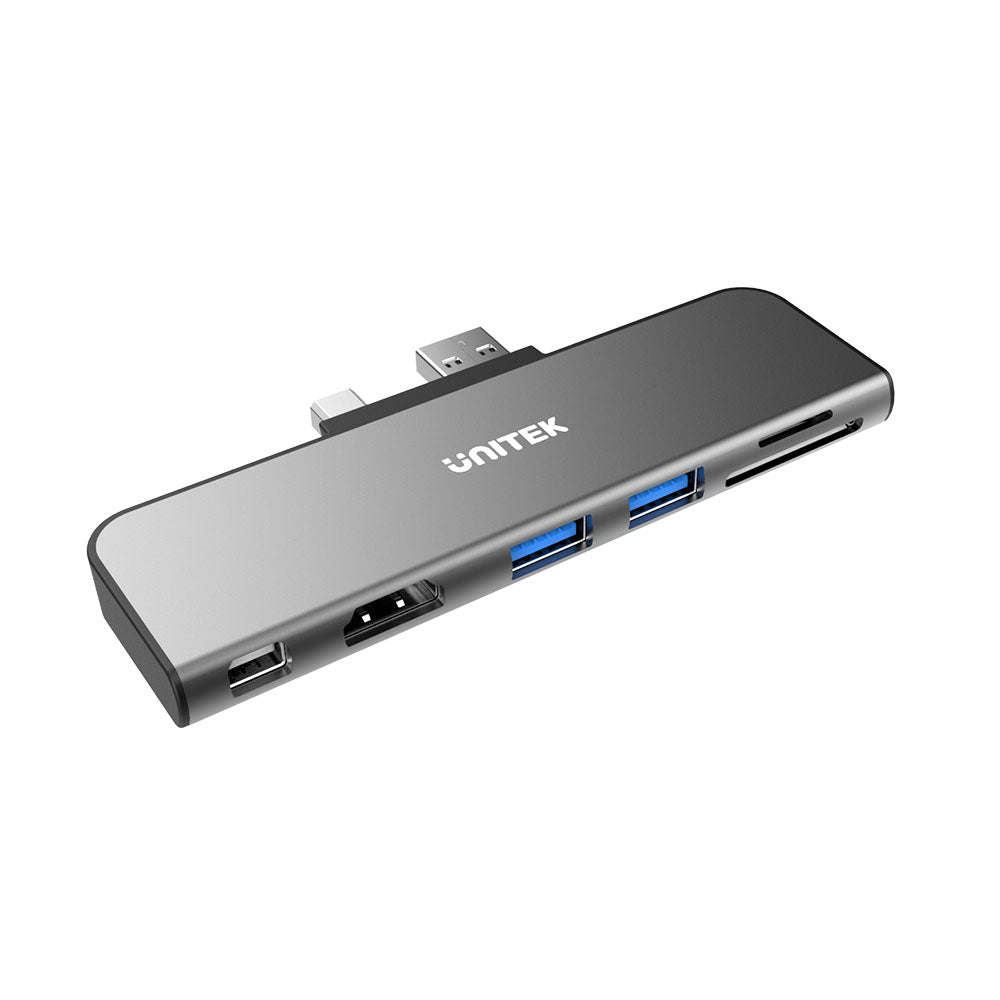
Transform your Surface Pro experience with the Unitek uHub H6+. Featuring dual USB-A ports, SD/microSD slots, HDMI, and Mini DisplayPort, you can enhance your workflow effortlessly. Enjoy blazing-fast data transfer speeds of up to 5Gbps with USB 3.1 Gen 1, and immerse yourself in stunning 4K Ultra HD visuals. The uHub H6+ is the perfect companion for expanding connectivity and elevating productivity.

The Essential Companion for Your Surface Pro
Elevate your productivity with the Unitek uHub H6+, the best partner for your Surface Pro. Seamlessly connect to external monitors and devices, perfect for business centers, corporations, exhibitions, schools, home offices, and studios. Enhance your workflow and enjoy a multitasking experience like never before!

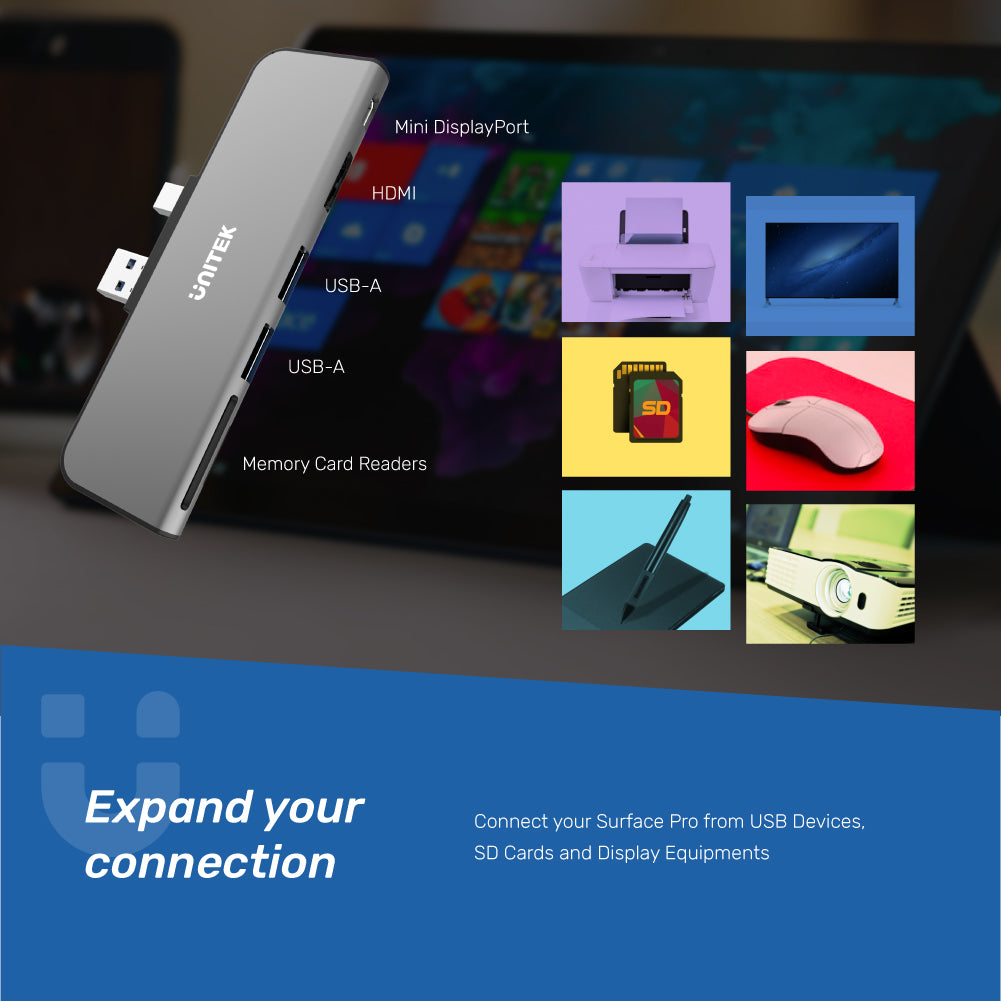
Expand Your Connection
Unlock the full potential of your Surface Pro by connecting a variety of USB devices, SD cards, and display equipment. With features like Mini DisplayPort, HDMI, and multiple USB-A ports, the Unitek hub enhances your connectivity and productivity effortlessly, making it perfect for any workspace!

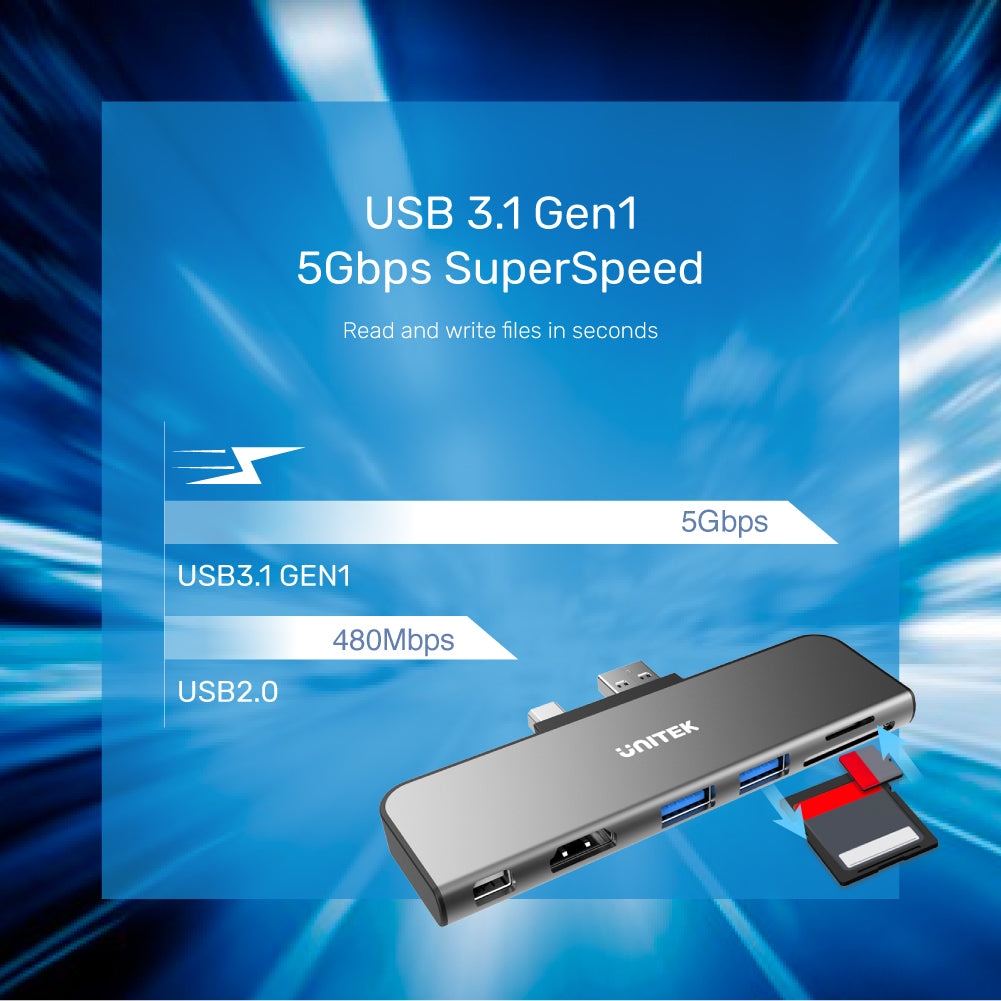
Experience 5Gbps SuperSpeed
Achieve lightning-fast data transfer rates with the Unitek USB 3.1 Gen1 Hub Adapter, boasting speeds up to 5Gbps. Effortlessly read and write files in seconds, while connecting multiple devices. Note: The hub supports a single display at a time, optimizing your efficiency without compromising performance. Upgrade your connectivity today!

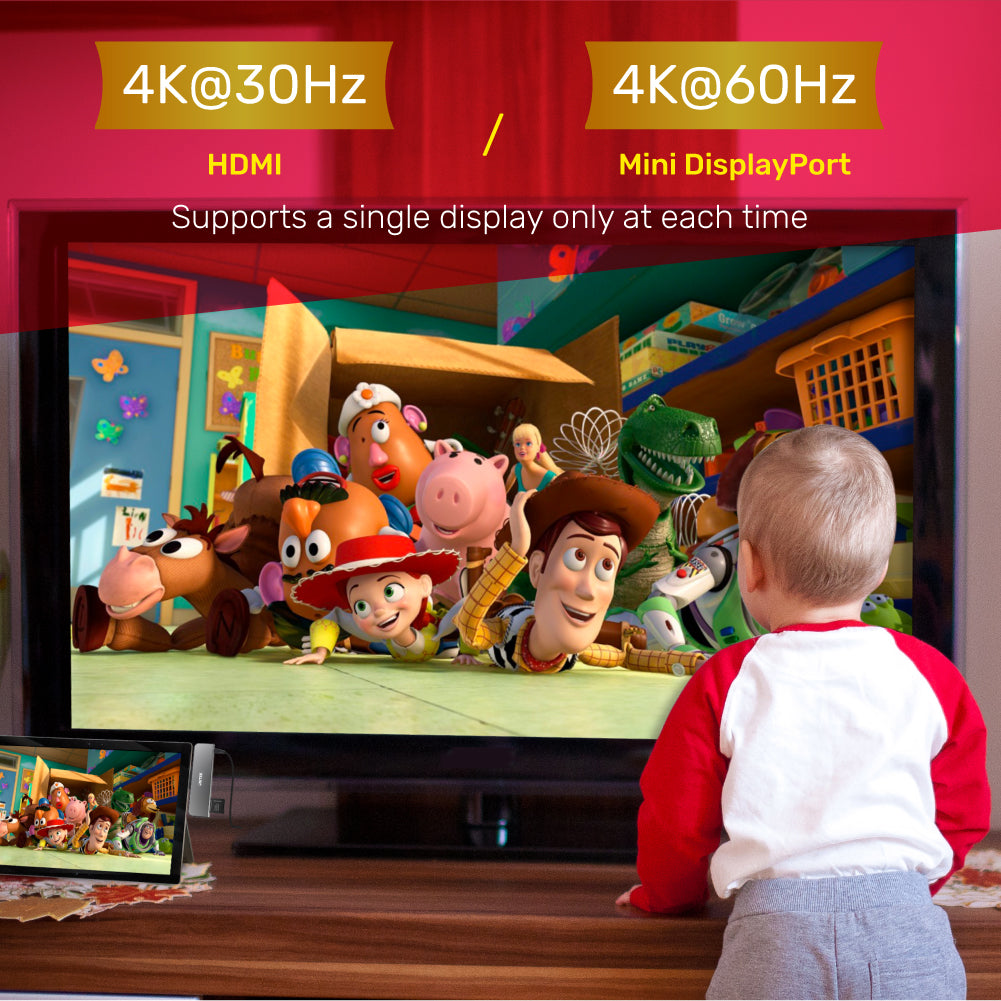
Immerse Yourself in 4K Quality
Experience stunning visuals with our HDMI 1.4 port providing 4K@30Hz output and a Mini DisplayPort 1.2 supporting 4K@60Hz. *Please note: The hub supports a single display at a time, ensuring optimal performance for your favorite media. Perfect for engaging entertainment experiences!
Elevate your connectivity experience with our Dual USB 3.1 Hub Adapter, engineered for speed, versatility, and convenience. Perfect for professionals and tech enthusiasts alike, this hub combines essential functionality with a sleek design, providing a comprehensive solution for modern devices.
Ultimate Connectivity Hub for Surface Pro 4/5/6
Transform your Surface Pro experience with the Unitek uHub H6+. Featuring dual USB-A ports, SD/microSD slots, HDMI, and Mini DisplayPort, you can enhance your workflow effortlessly. Enjoy blazing-fast data transfer speeds of up to 5Gbps with USB 3.1 Gen 1, and immerse yourself in stunning 4K Ultra HD visuals. The uHub H6+ is the perfect companion for expanding connectivity and elevating productivity.
The Essential Companion for Your Surface Pro
Elevate your productivity with the Unitek uHub H6+, the best partner for your Surface Pro. Seamlessly connect to external monitors and devices, perfect for business centers, corporations, exhibitions, schools, home offices, and studios. Enhance your workflow and enjoy a multitasking experience like never before!
Expand Your Connection
Unlock the full potential of your Surface Pro by connecting a variety of USB devices, SD cards, and display equipment. With features like Mini DisplayPort, HDMI, and multiple USB-A ports, the Unitek hub enhances your connectivity and productivity effortlessly, making it perfect for any workspace!
Experience 5Gbps SuperSpeed
Achieve lightning-fast data transfer rates with the Unitek USB 3.1 Gen1 Hub Adapter, boasting speeds up to 5Gbps. Effortlessly read and write files in seconds, while connecting multiple devices. Note: The hub supports a single display at a time, optimizing your efficiency without compromising performance. Upgrade your connectivity today!
Immerse Yourself in 4K Quality
Experience stunning visuals with our HDMI 1.4 port providing 4K@30Hz output and a Mini DisplayPort 1.2 supporting 4K@60Hz. *Please note: The hub supports a single display at a time, ensuring optimal performance for your favorite media. Perfect for engaging entertainment experiences!
| Works With | Windows 10, Microsoft Surface Pro 4/5/6 |
|---|---|
| Host Port Compatibility | USB-A, SD Card, Micro SD Card, HDMI, Mini Display Port |
| Max Output Resolution | 4K@30Hz |
| HDMI | 1 |
| mini Display Port | 1 |
| USB-A | 2 x 5Gbps(다운스트림) |
| USB-C | 1 x 5Gbps(상향) |
| SD card slot | 1 |
| Micro SD card slot | 1 |
| Power Source | USB-A, Mini Display Port |
| Dimensions | 115.0mm x 42.35mm x 9.5mm |
| Material | Aluminum Alloy |
| Colour | Space Grey |
- 1 x uHub H6+
- 1 x 사용자 설명서
Choose options