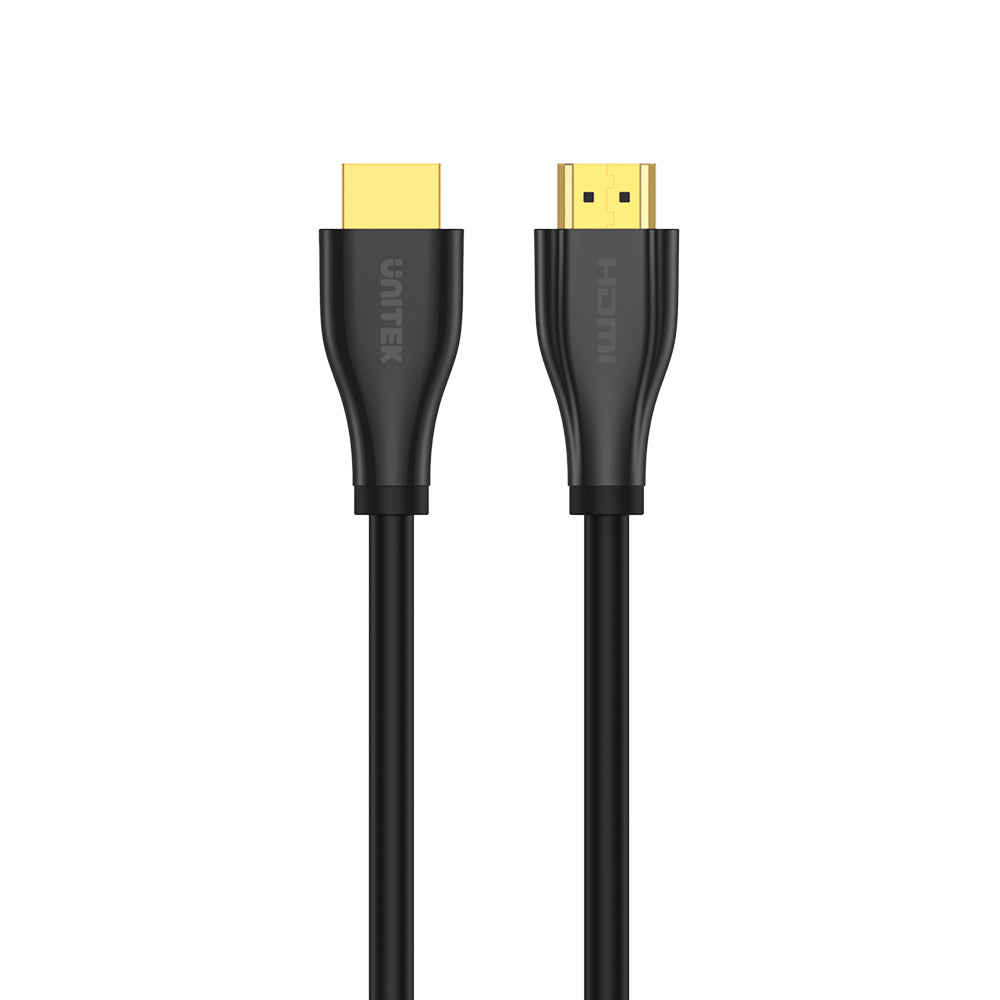
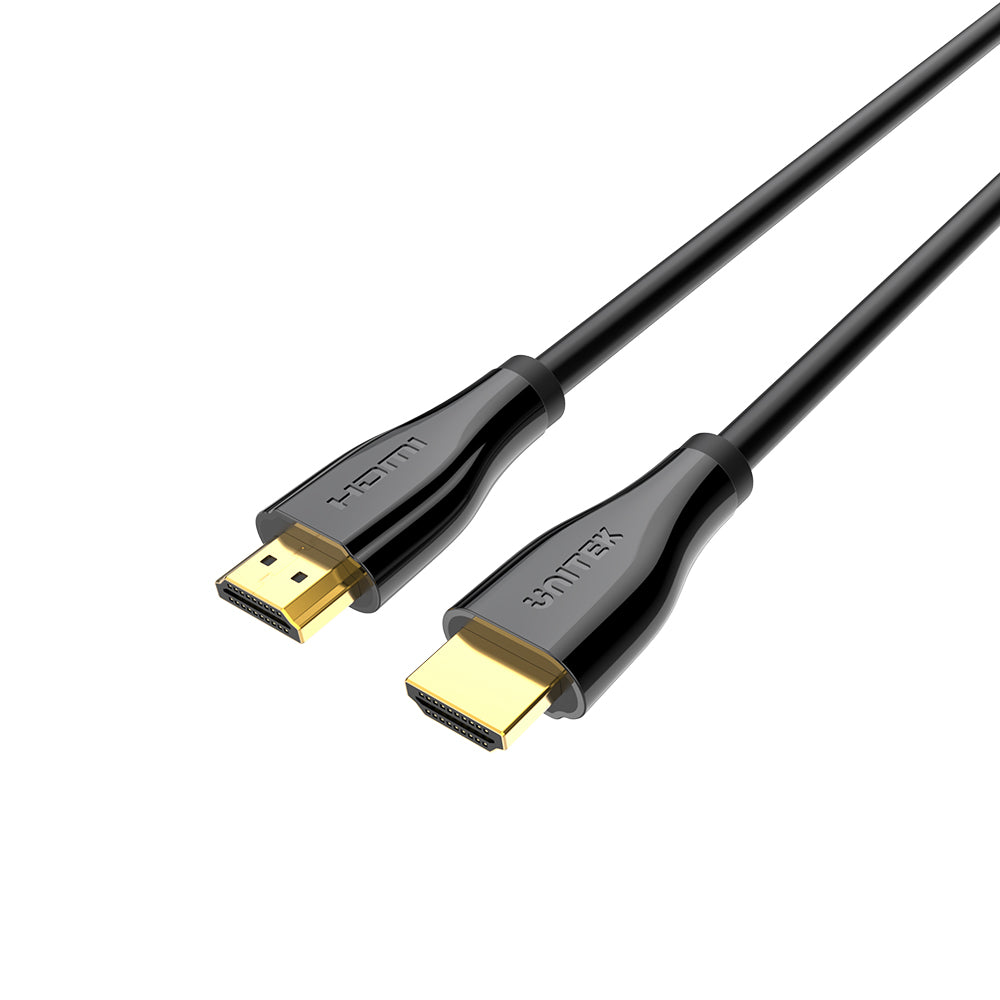
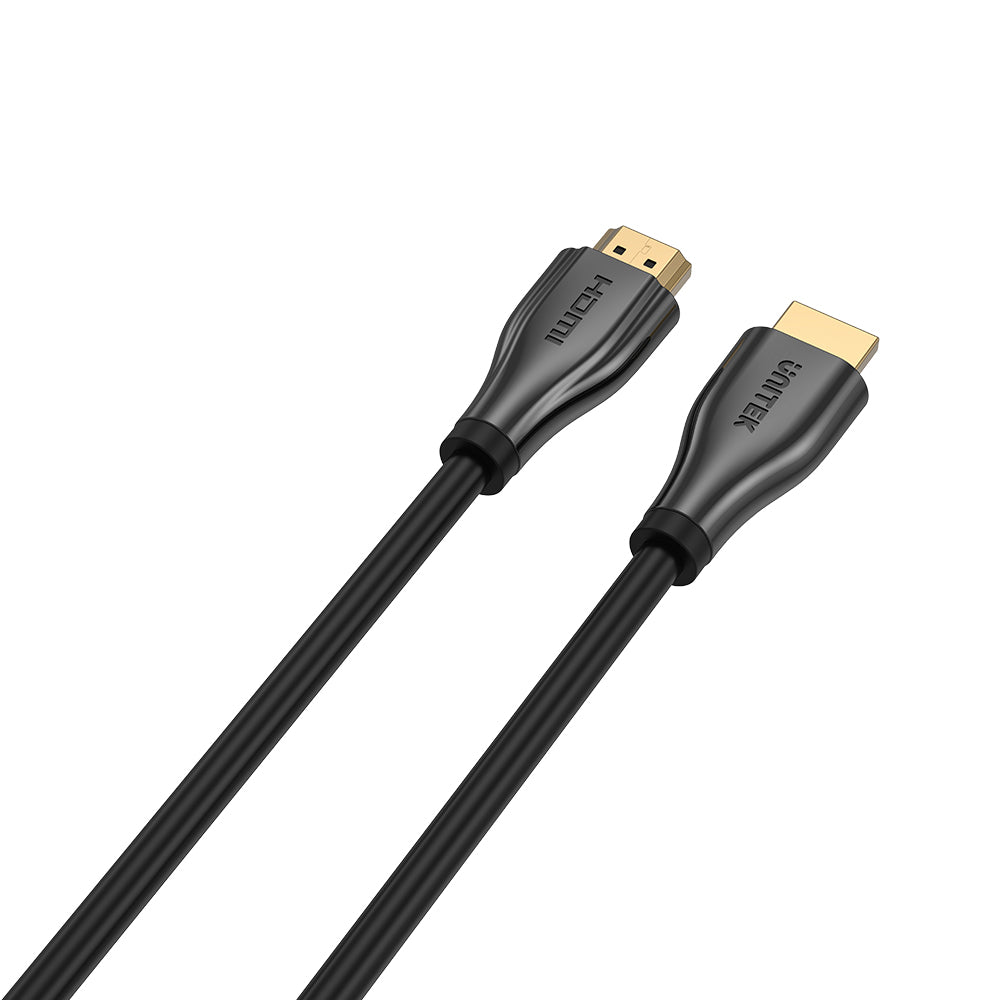
4K 60Hz HDMI 2.0 Premium Certified High Speed Cable
4K 60Hz 프리미엄 인증 HDMI 케이블(이더넷 포함)

4K 60Hz 프리미엄 인증 HDMI 케이블(이더넷 포함)

Sale price$9.99 USD
SKU: C1047GB-1M
길이:1M

제품 개요:

  • 4K 60Hz UHD
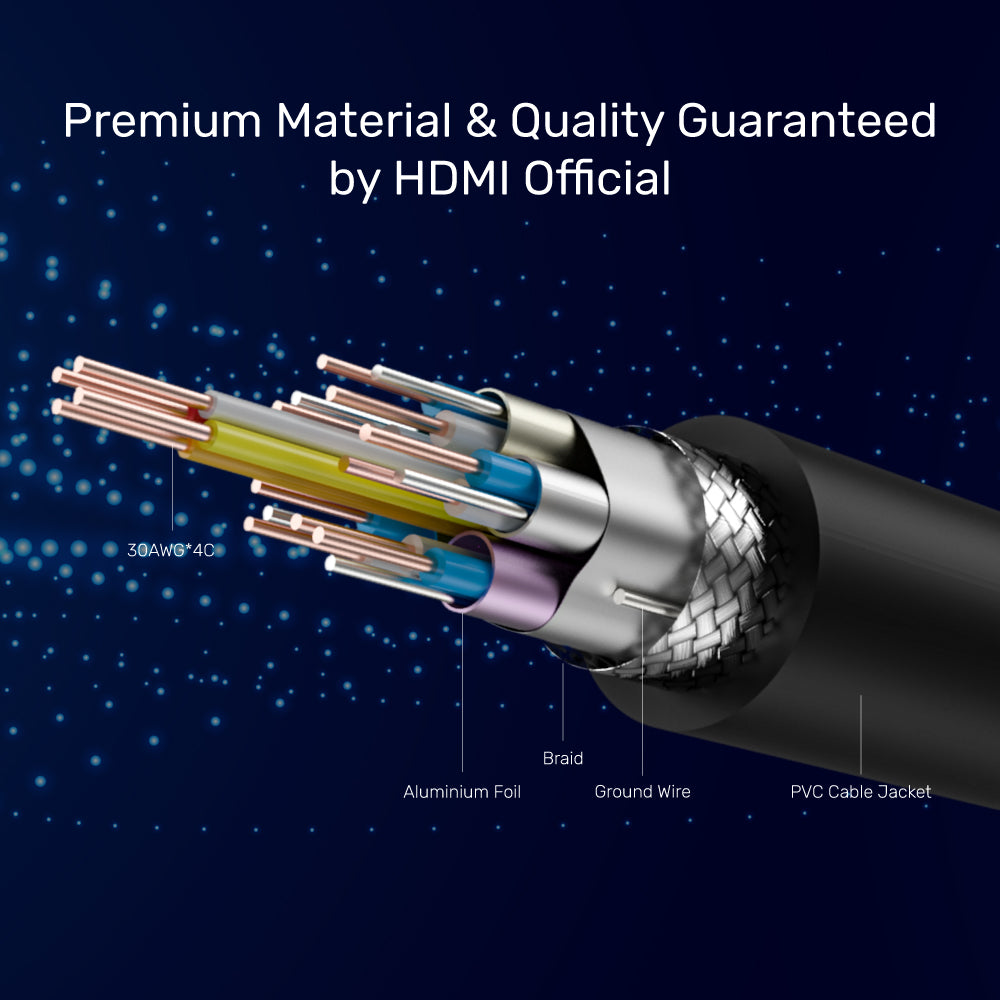
  • 공식 HDMI 공인 테스트 센터에서 검증
  • HDMI 공식
  • 이 보증하는 품질
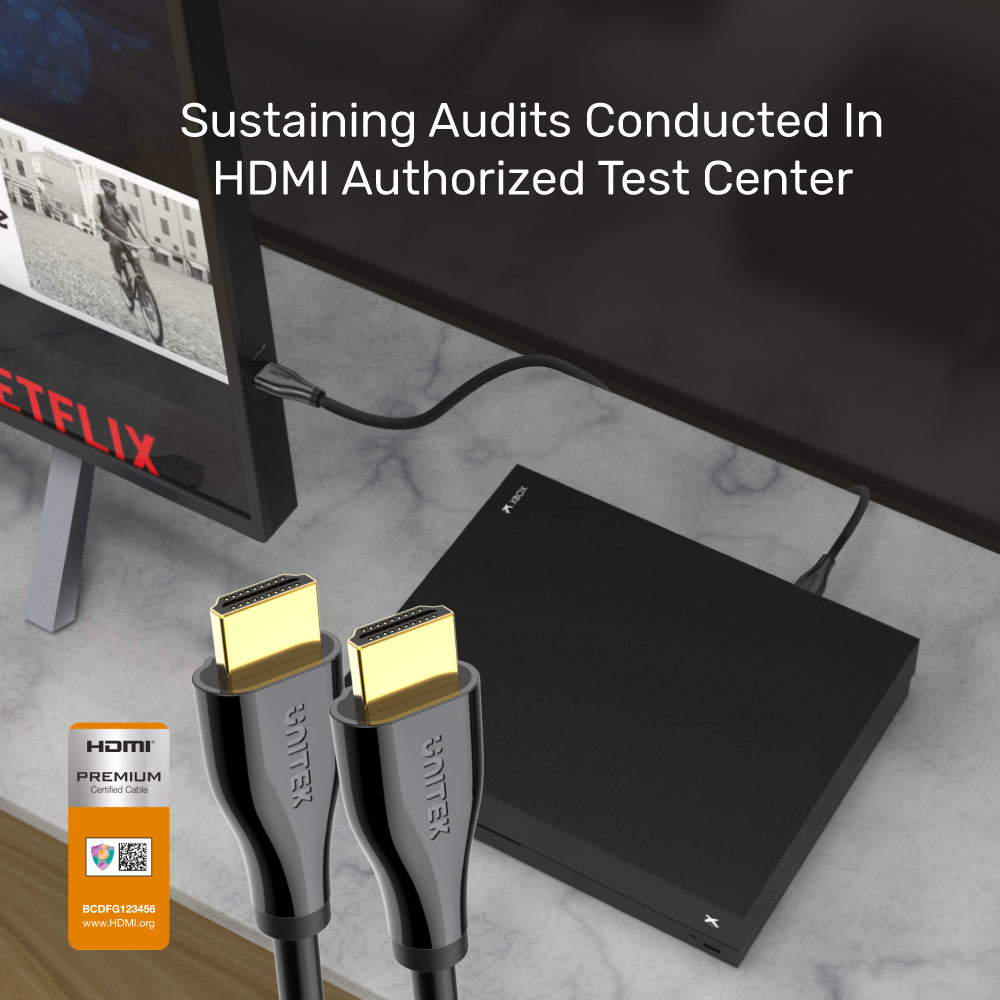
  • HDMI 공인 테스트 센터에서 감사 지속

이 고속 HDMI 케이블은 엄격한 케이블 테스트와 인증 및 검증 프로그램을 포함하는 프리미엄 HDMI 케이블 인증 프로그램에서 검증되었습니다. HDMI의 설계 지침에 따라 이 케이블은 4K 60Hz 신호 및 기타 모든 기능이 18Gbps 대역폭을 통해 원활하게 전송될 수 있도록 제작되었습니다.

제품 특징:

  • HDMI 프리미엄 인증, HDMI 2.0b에 명시됨. 최대 4K @60Hz의 해상도를 지원하고 18Gbps 대역폭을 지원합니다.
  • 공식 HDMI 공인 테스트 센터는 이 케이블을 EMI 테스트로 검증하여 케이블이 무선 신호와의 간섭을 최소화하도록 보장합니다.
  • 독점적인 위조 방지 라벨로 입증되었습니다.
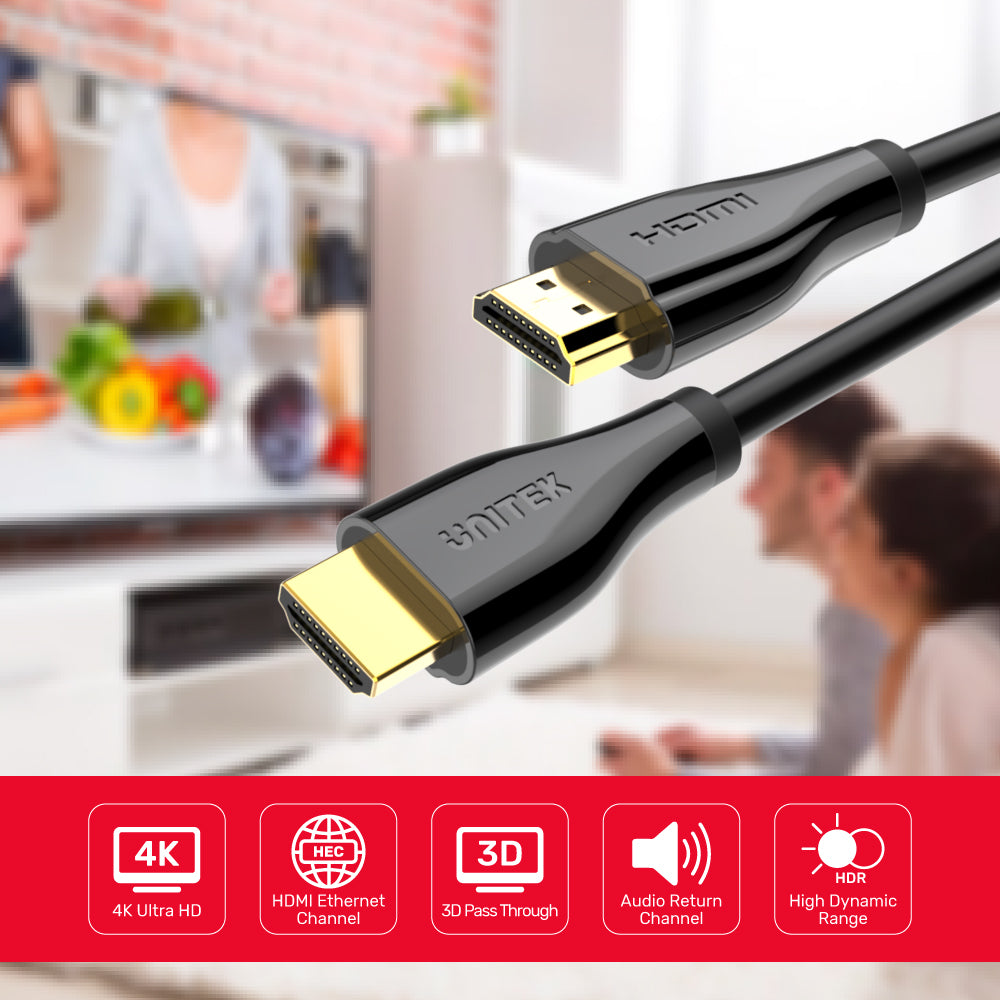
  • 오디오 리턴 채널(ARC)을 지원합니다.
  • 32채널 오디오, Dolby True HD 7.1 오디오를 지원합니다.
  • 3D 동영상 및 HDR(High Dynamic Range)을 지원합니다.
  • HDMI 2.0b
  • 에 지정된 대로 이더넷 채널을 지원합니다.

하드웨어 및 크기:

  • 색상: 블랙
  • 소재: PVC
  • 업스트림: HDMI 남성
  • 다운스트림: HDMI 수
  • 케이블 길이: 1.5M, 2M, 3M

패키지 내용물:
4K 60Hz 프리미엄 인증 HDMI 케이블 1개(이더넷 포함)

Quantity:

Shipping cost will be calculated during checkout. International duties & taxes may apply and are not calculated at checkout.

Shipping & Delivery

For shipping quotes, "Checkout" the item you want to buy, enter your shipping details and the shipping rates will automatically generate based on the item's weight and the delivery location.
If the shipping rates do not generate,  please contact us.

Normal Shipping Times: 3-14 business days
The final shipping days are according to your local because of COVID-19 guidelines.

Delays:
Unitek is not responsible for delays in shipping caused by extraneous factors (such as incorrect addresses, weather, inspections, labor disputes, and/or transportation problems). We cannot be responsible for lost or damaged packages. 

Duties & Taxes:
Orders shipped outside of the United States may be subject to import taxes, customs duties, fees, and/or VAT (Value Added Taxes) levied by the destination country. You are responsible for paying any taxes, duties, customs fees, and/or VAT charged by your government, as UNITEK has no control over these charges and cannot predict what they may be. Please contact the local customs office in the relevant jurisdiction for additional information on customs policies or duties. International orders will not be refunded for failure to pay import duties, taxes or fees.

Global Shipping Notes:
For customers in Korea, please fill in your Korean Name (not in English) which must correspond to the Personal Custom Code;
For customers in Taiwan, please fill in the ID number;
For customers in South Africa, please fill in the ID number;
For customers in Chile, please fill in RUT.

For any other questions or inquiries, please contact us.

What is the difference between a longer video cable vs. a video extender?

In general, a video extender is not necessary if the cable you purchase is long enough and fits your needs. In some cases you suddenly require to extend the distance between the source and the display, video extenders will be a cost-efficient solution to you.

A longer cable can deliver the video input signal but the quality is not as good as you want, or the performance might be unstable. For example, a classic HDMI copper cable over 5M (16 feet) probably delivers a lower quality signal compared to the shorter cable with the same specification. Purchasing a higher specification HDMI cable may be a solution but more expensive and the maximum cable length may not fit your needs.

Video extenders convert an input signal to a higher voltage for transmission over longer distances and then convert the input signal back to the original video standard. The input and the output signal will match on a video extender, as the same video standard is maintained end-to-end. Video extenders help solve the issue you encountered and generally it is more cost-efficient.

There is no video signal transmission. What should I do?

There are some quick checks if you are trying to troubleshoot issues with a video cable.
You may test the connected devices to make sure that the following components are working correctly and are not the source of the issue:
·      Video cable
·      Video source
·      Video destination
Try the following methods to test your video setup components:
·      Use the video cable, video source, and another video destination (display) to setup to see if the problem is with the components.
·      Use a different video cable, video source, and the original video destination in your setup to see if the problem persists. 
Ideally, you should test a component that you know works in another setup. Otherwise, the issue might happen because of the port function of your video source, or a driver issue.
When you test the video setup components, it is recommended that you do the following:
·      Investigate that the source resolution matches the capabilities of the video destination. For example, if the video destination is only capable of 720p, then the video source cannot output 1080p, as that exceeds the capabilities of the video destination.
·      Test at a lower resolution, for example, 1024 x 768.
·      If you are using 4K resolutions, test with a shorter cable and test each of them individually.
If you are experiencing issues with audio over HDMI/DisplayPort, investigate the following:
·      The output audio over HDMI/DisplayPort setting on the source.
·      The compatible audio format on the destination and the source file format on the source.
·      The destination's volume was raised.
·      Take out the 3.5mm device if it is connecting to the hub.
·      Note: HDMI/DisplayPort to DVI/VGA cables, adapters and converters do not support audio.

Why my mouse does not move properly between the displays?

We suggest you to rearrange the monitors in Windows to match the physical location of them on your desk. 
Go through the following:
Windows 10 / 8
1. Press the Windows Key plus X and select Control Panel.
2. Click Appearance and Personalization, then click Display.
3. Click the Resolution or Adjust Resolution option from the left column, which will display your monitors as numbered icons.
4. Click Identify to display the numbers on each connected monitor, showing how the operating system has assigned their positions.
5. Click and drag the monitor icons to best match the physical location of monitors.
6. Click OK to apply the changes and close the window.
Windows 7 / Vista
1. Click the Start button and select Control Panel.
2. Click Appearance and Personalization, then click Display.
3. Click the Resolution or Adjust Resolution option from the left column, which will display your monitors as numbered icons.
4. Click Identify to display the numbers on each connected monitor, showing how the operating system has assigned their positions.
5. Click and drag the monitor icons to best match your physical setup.
6. Click OK to apply the changes and close the window.
Windows XP
1. Click the Start button and select Control Panel.
2. Double-click Display.
3. Click the Settings tab, which will display your monitors as numbered icons.
4. Click Identify to display the numbers on each connected monitor, showing how the operating system has assigned their positions.
5. Click and drag the monitor icons to best match your physical setup.
6. Click OK to apply the changes and close the window.

How do I set to mirror my primary display onto my secondary display in Windows?

Go through the following:
Windows 10 / 8
1. Press the Windows Key plus X and select Control Panel.
2. Click Appearance and Personalization, then click Display.
3. Click the Resolution or Adjust Resolution option from the left column.
4. Expand the drop-down menu next to “Multiple displays” and select Duplicate these Displays.
5. Click OK to apply the changes and close the window.
Windows 7 / Vista
1. Click the Start button and select Control Panel.
2. Click Appearance and Personalization, then click Display.
3. Click the Resolution or Adjust Resolution option from the left column.
4. Expand the drop-down menu next to “Multiple displays” and select Duplicate these Displays.
5. Click OK to apply the changes and close the window.
Windows XP
1. Click the Start button and select Control Panel.
2. Double-click Display.
3. Click the Settings tab.
4. Un-check the box beside Extend my Windows desktop onto this monitor.
5. Click OK to apply the changes and close the window.