
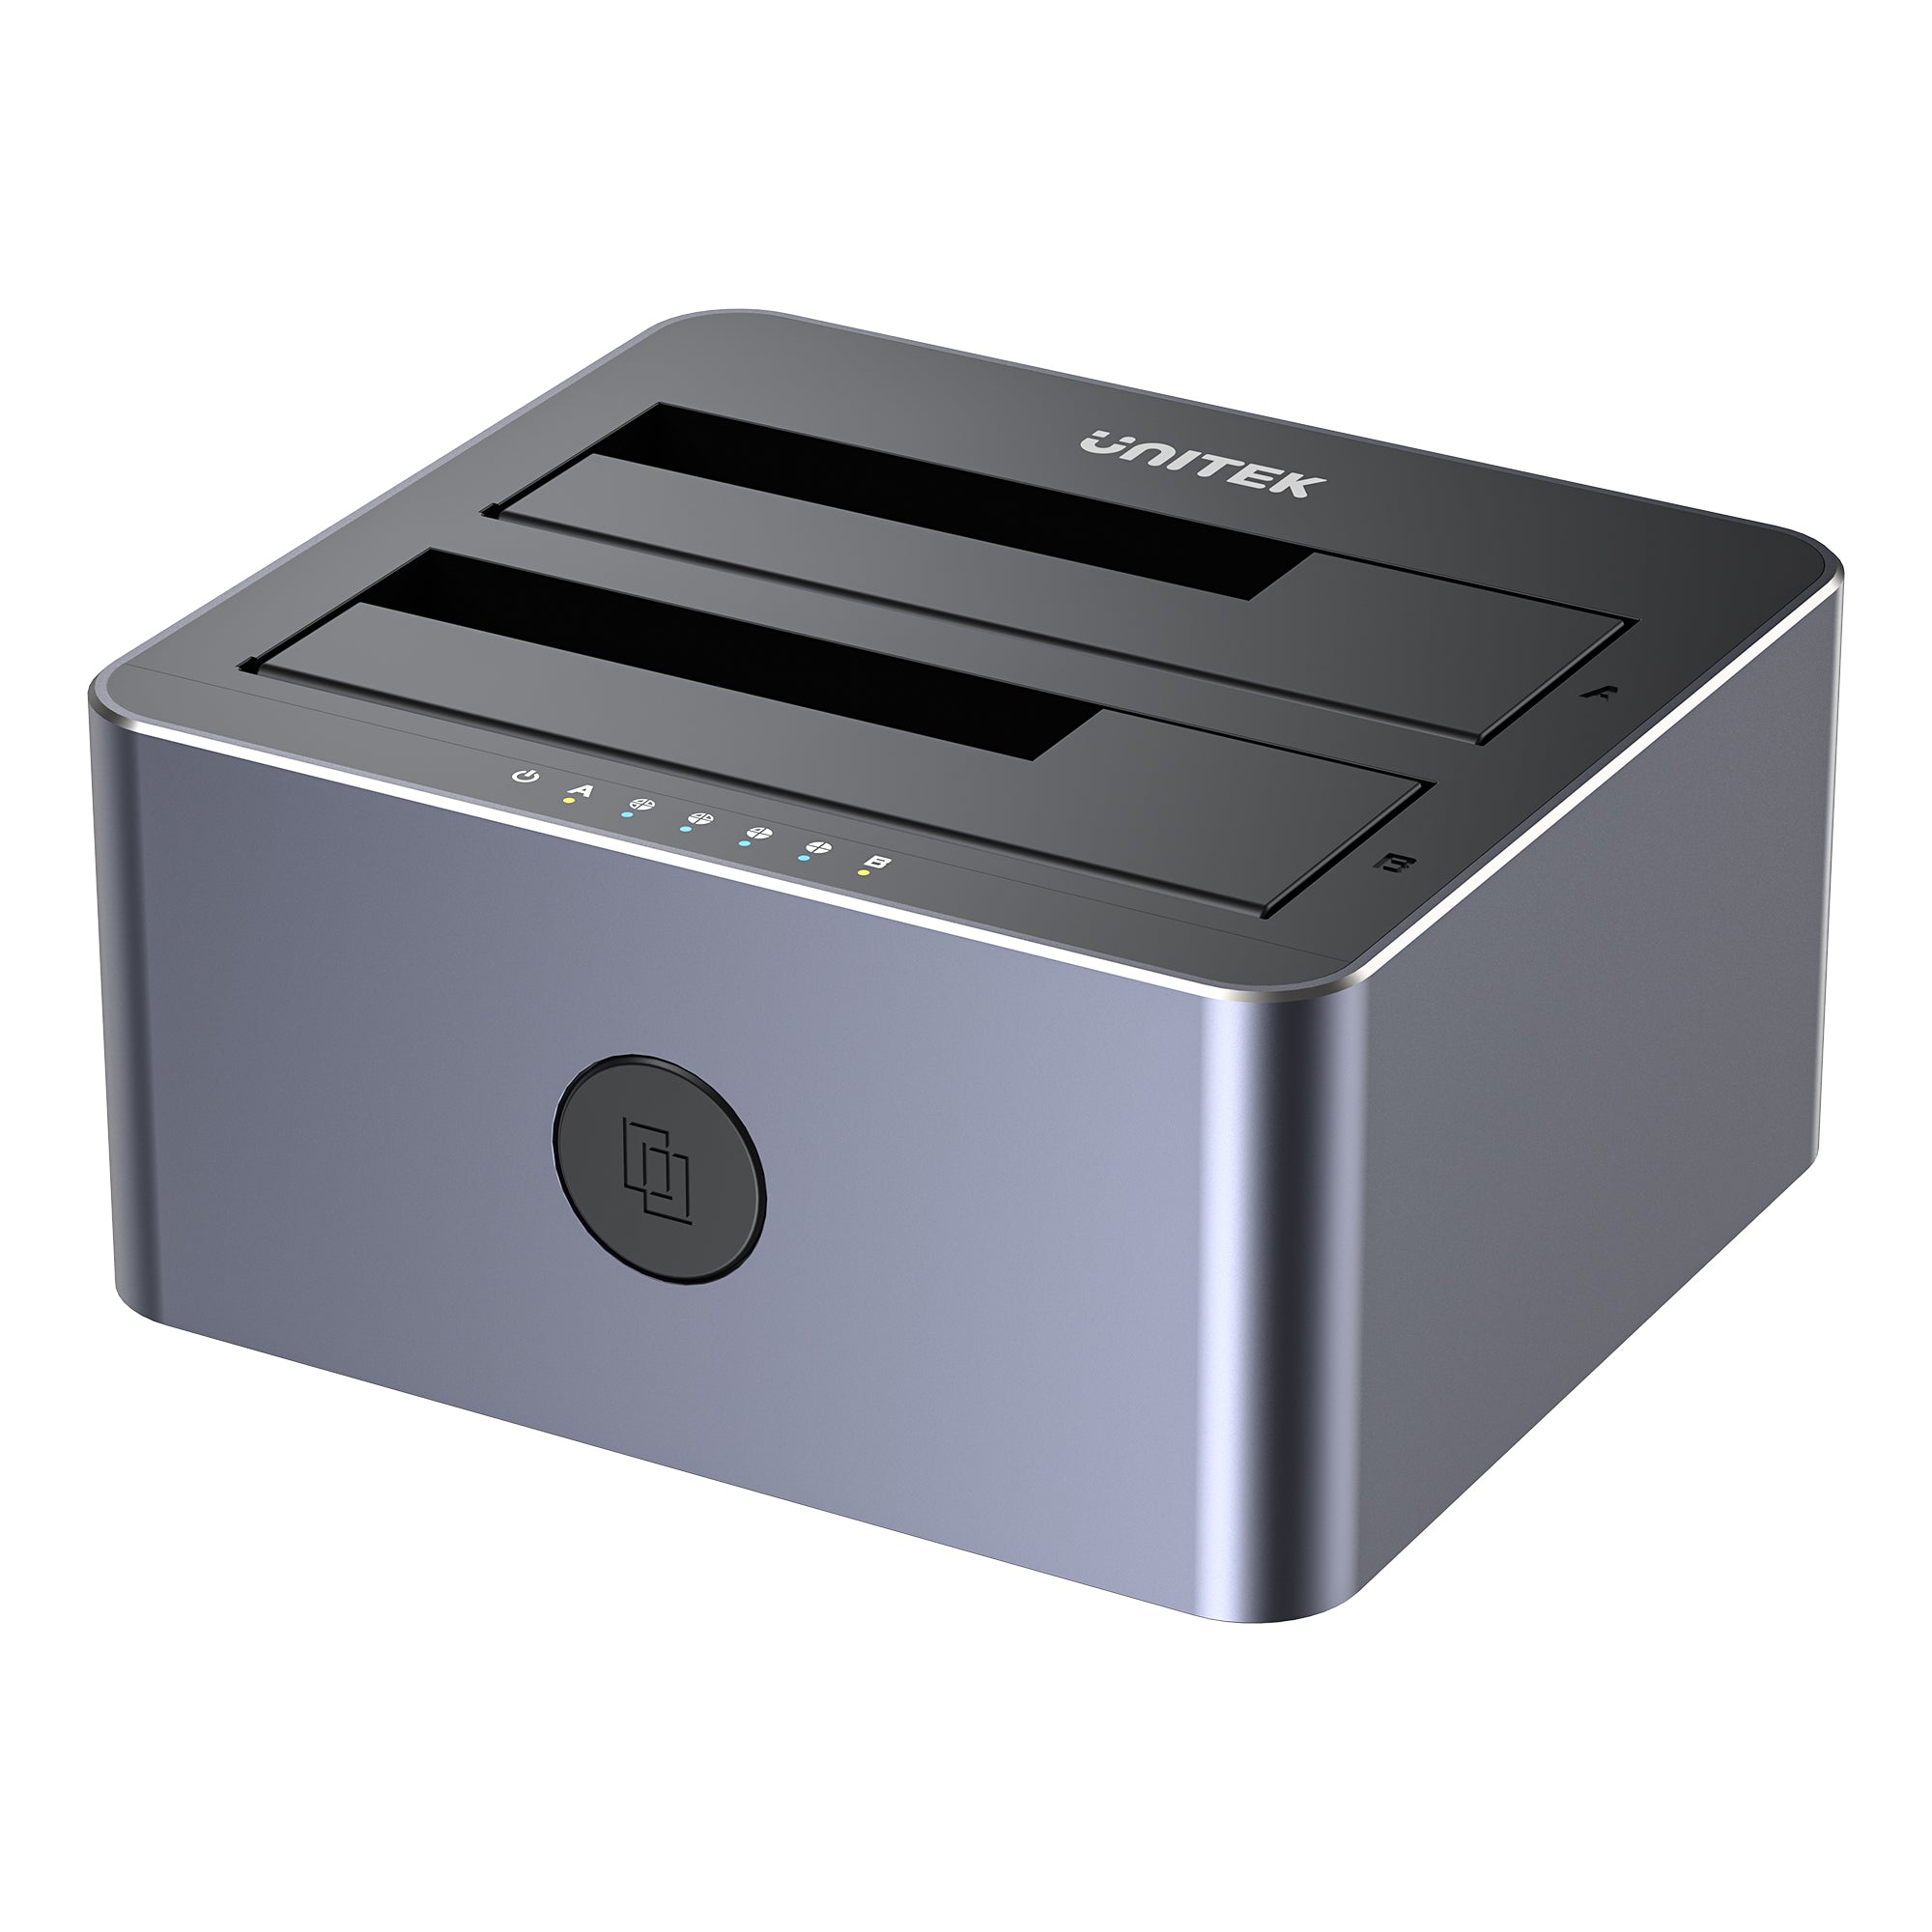


5Gbps デュアルベイ SATA ドッキングステーション
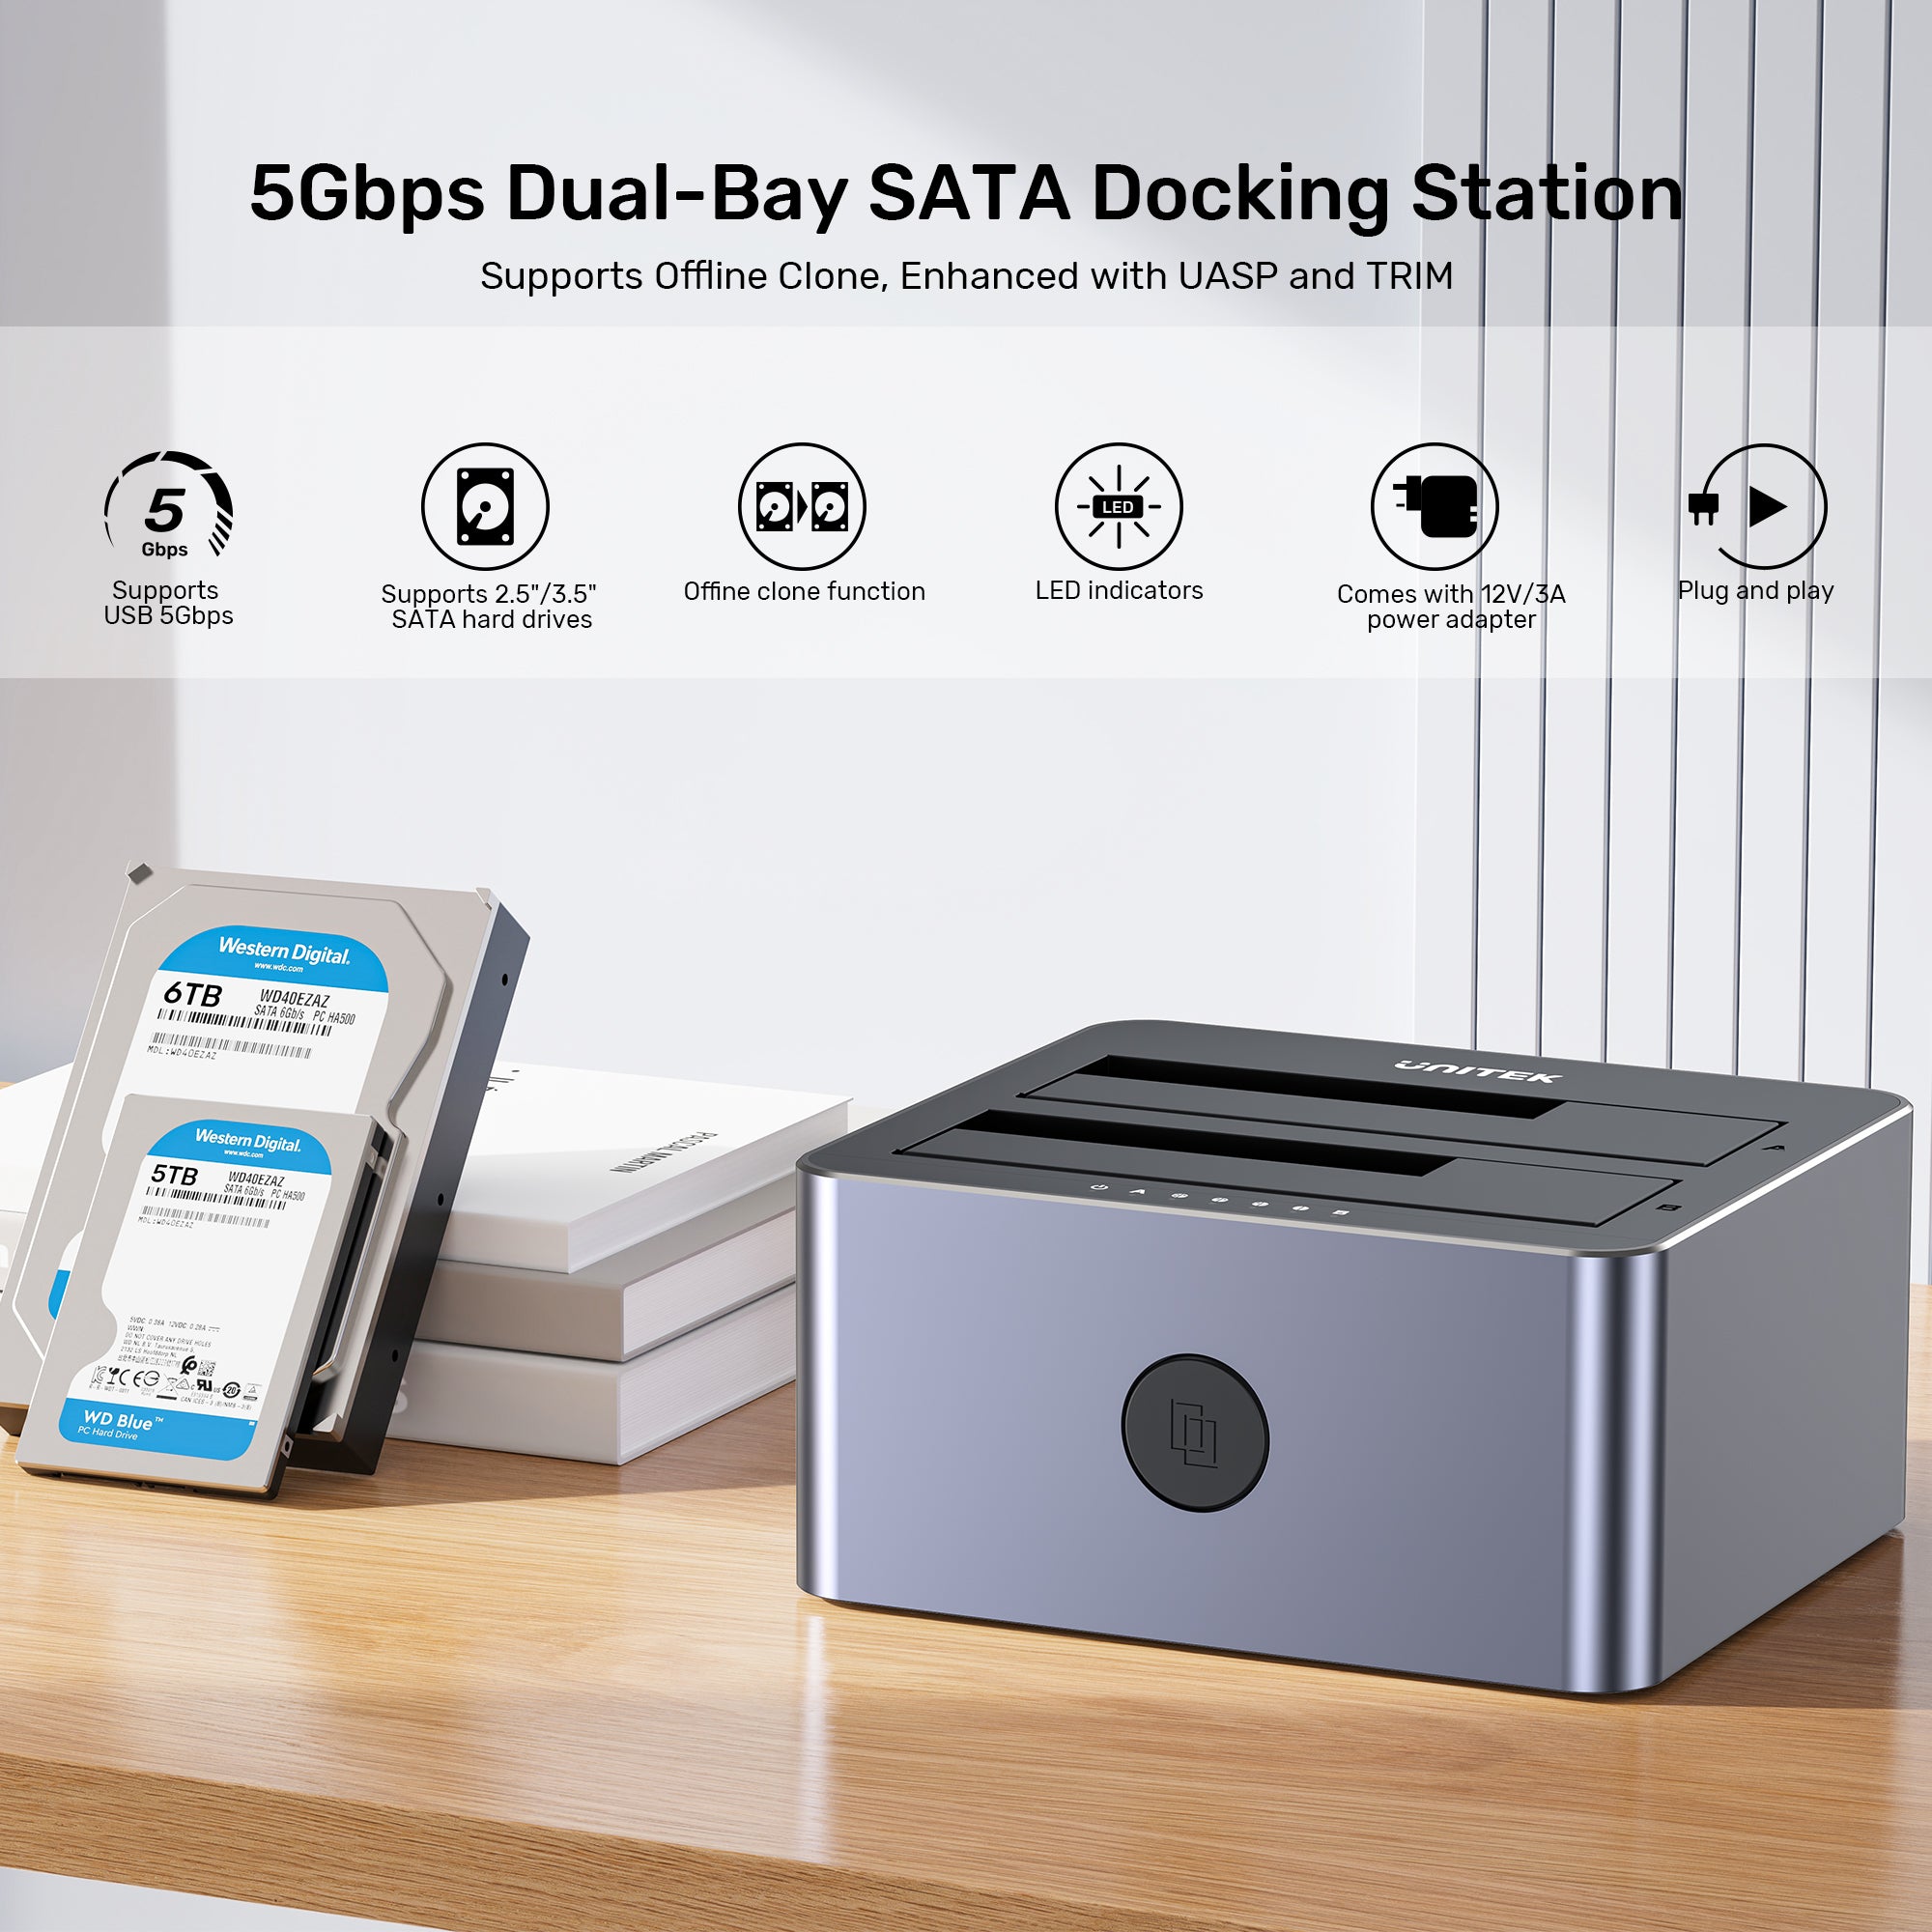
The 5Gbps Dual-Bay SATA Docking Station is designed for users seeking an efficient and versatile storage solution. With its dual-bay design, this docking station allows for standalone drive cloning, enabling you to back up your data quickly and easily without needing to connect to a computer.

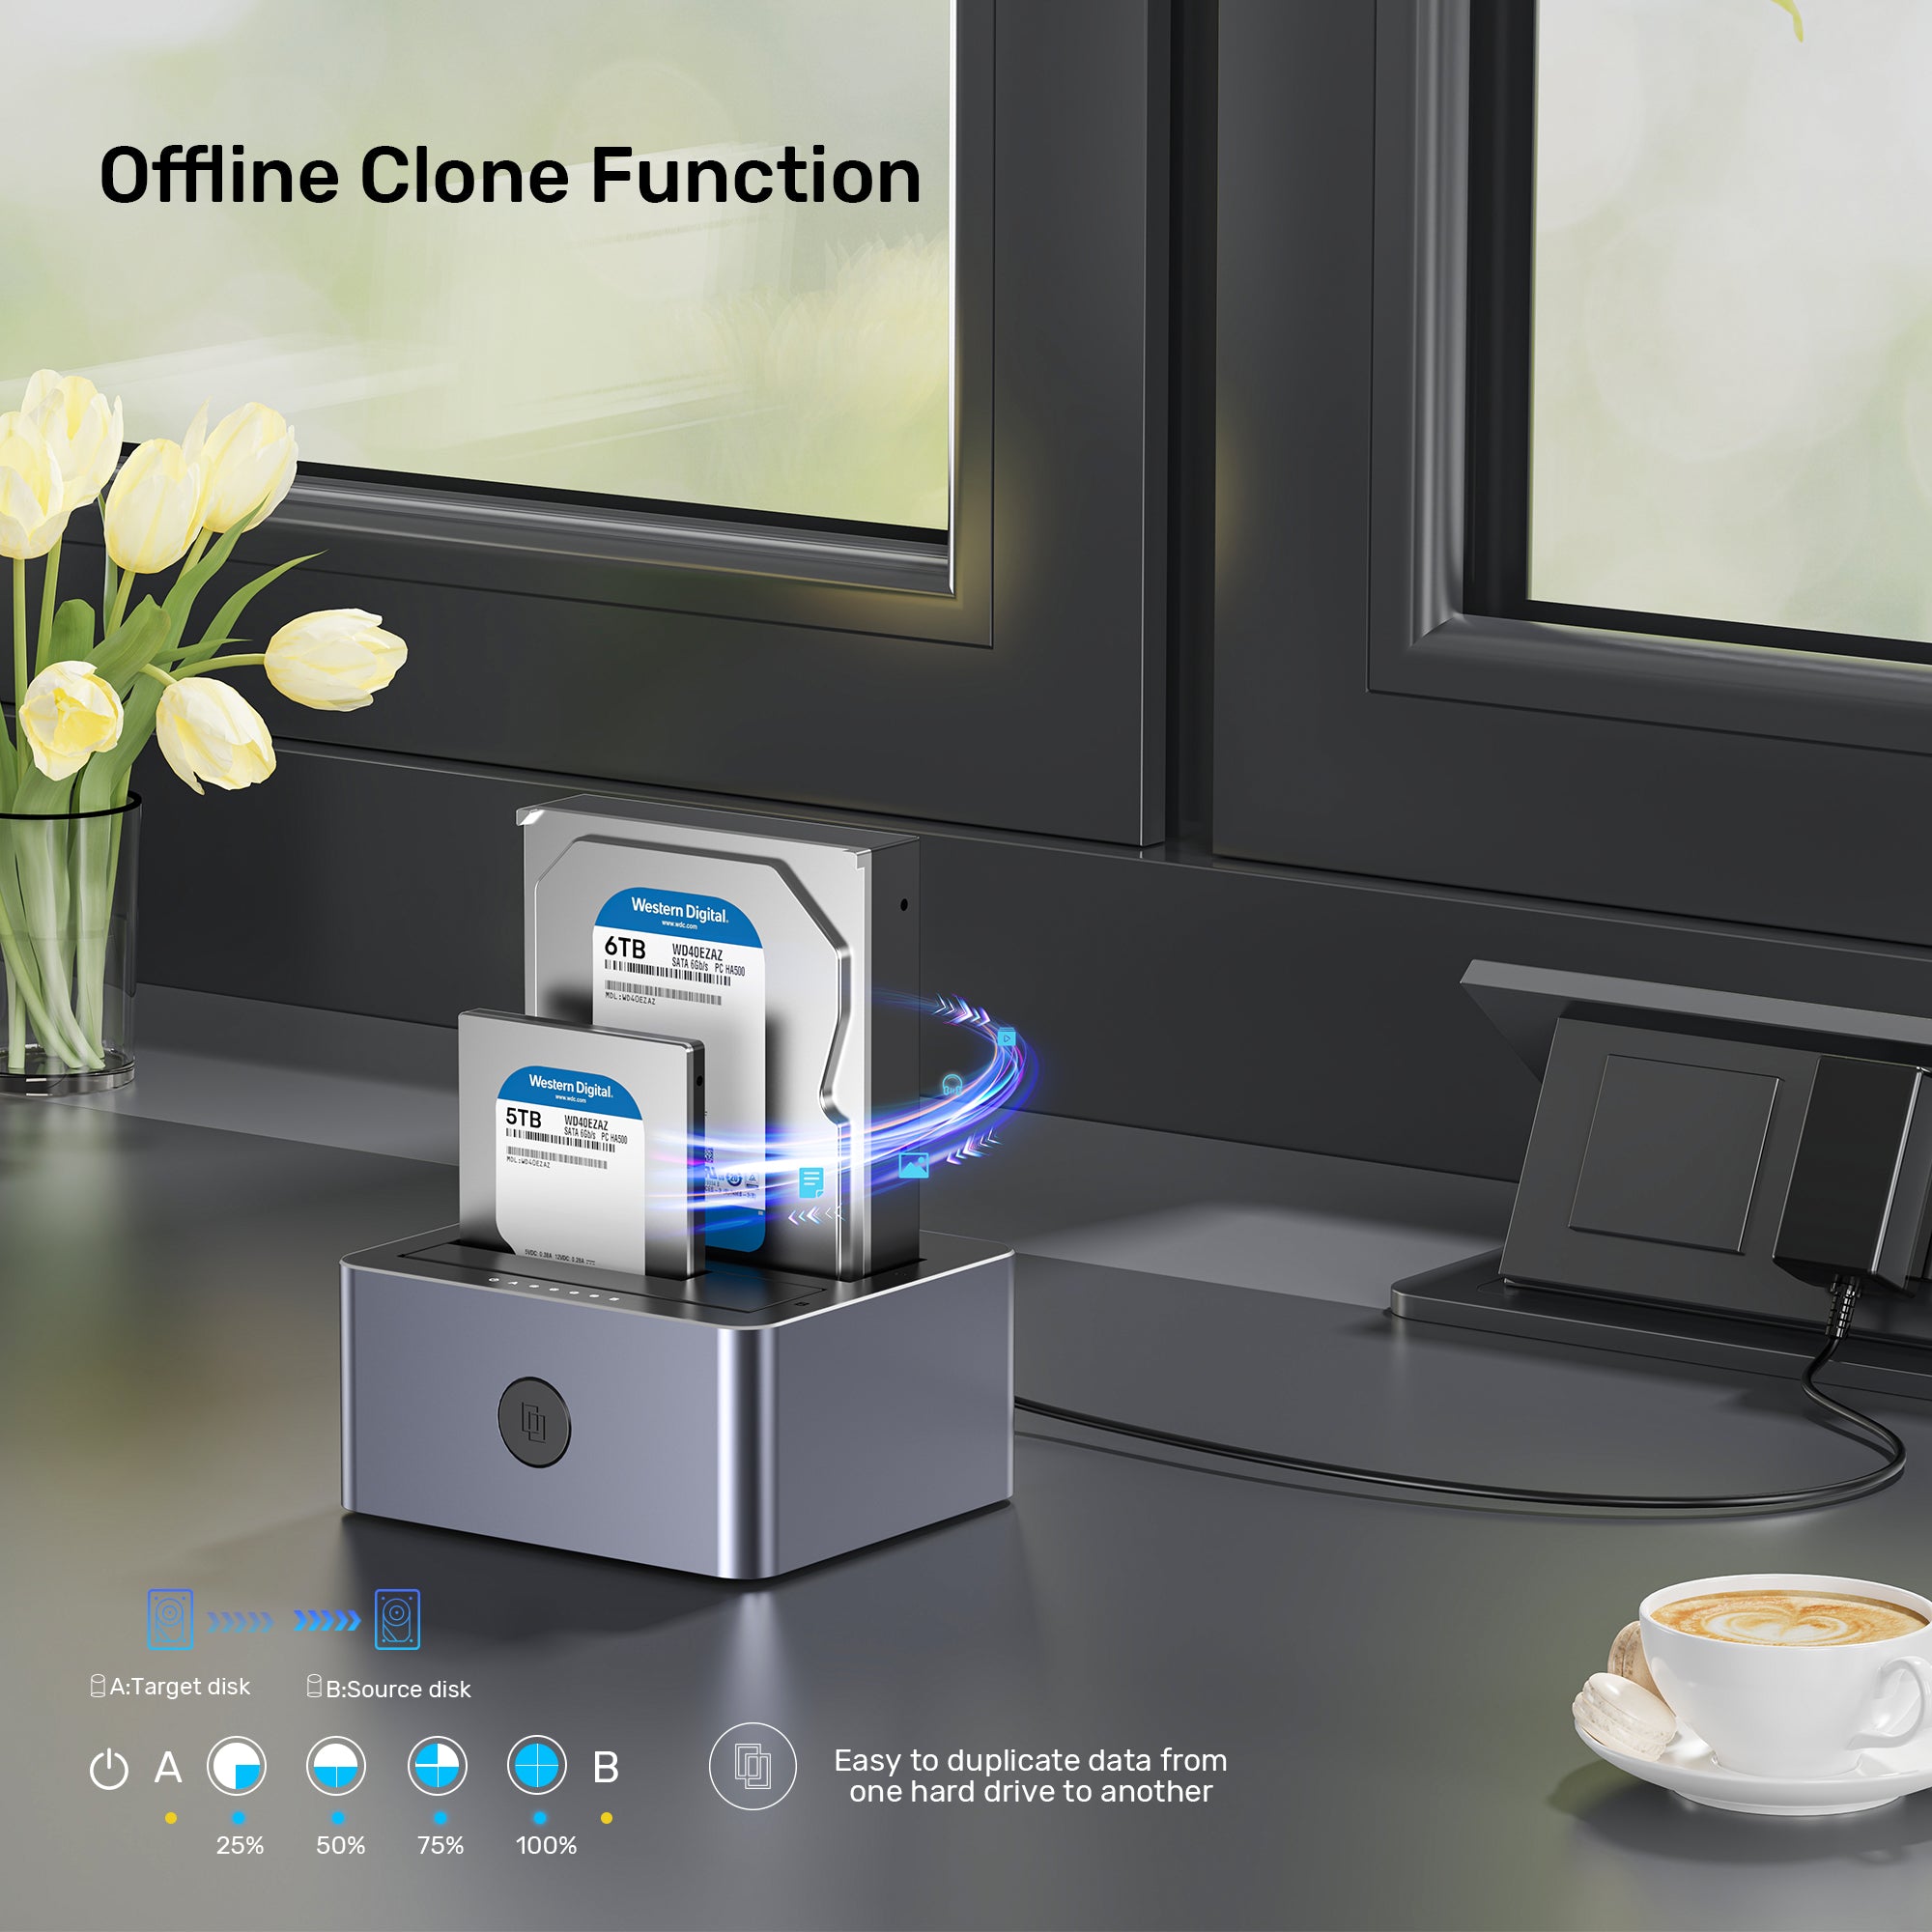
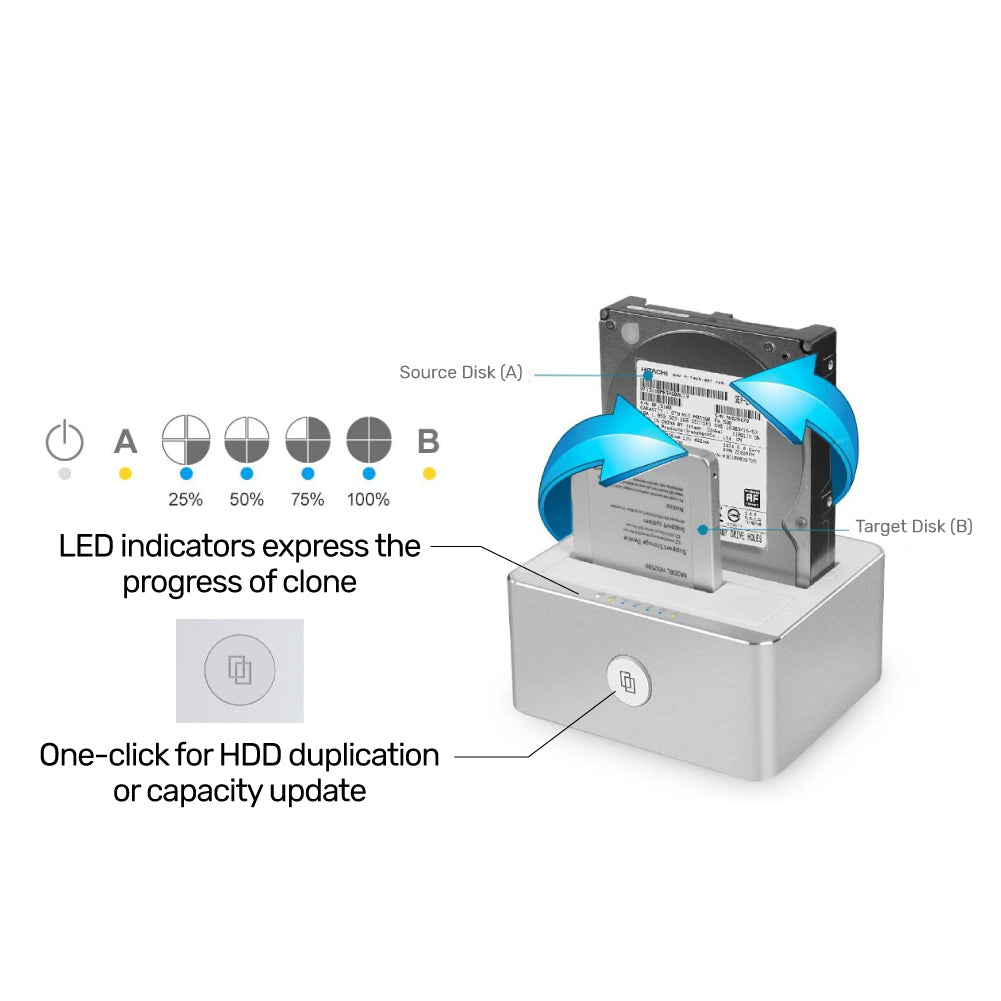
Offline Clone Function
The Y-3026GY01-UK Dual-Bay SATA Docking Station features standalone drive cloning, making it simple to back up your data without the need for a computer. Users can also connect the dock to their computer for easy drive swapping, enhancing storage scalability. This versatile solution is ideal for anyone looking to manage their data efficiently and securely.

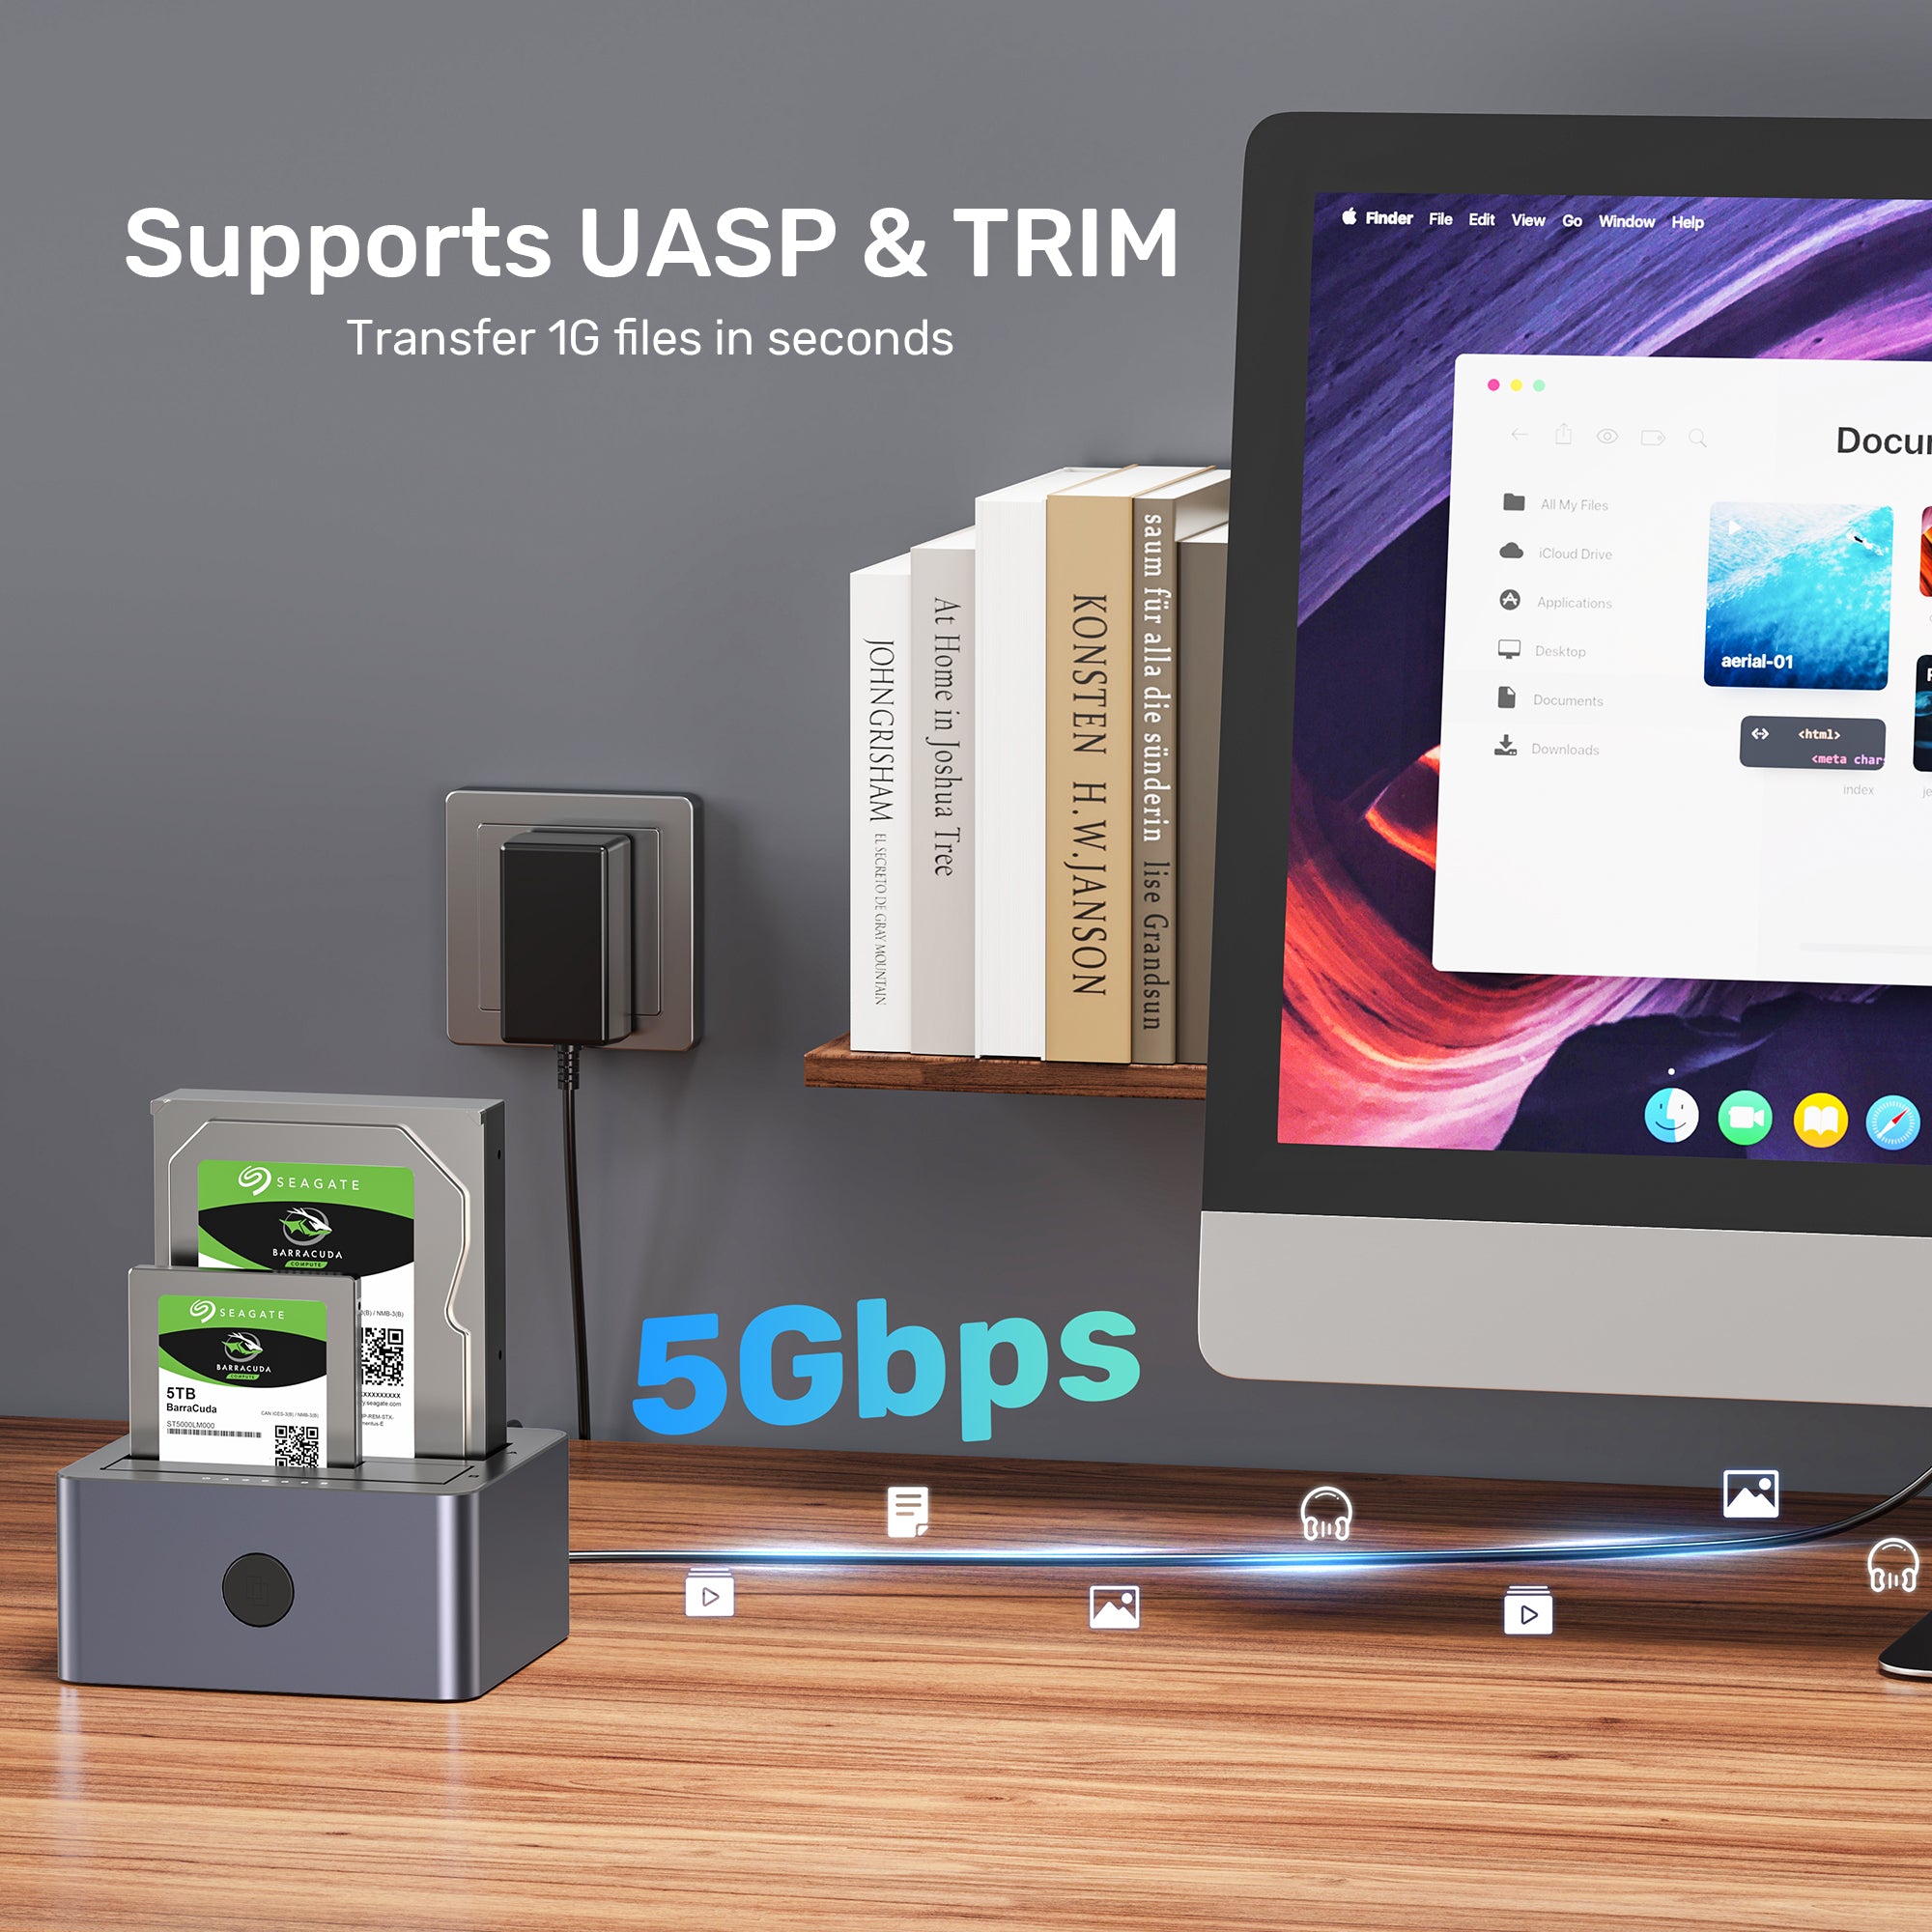
Supports UASP & Trim
Transfer 1GB files in seconds. UASP enhances data transfer speeds to and from storage devices, while TRIM optimizes write performance and helps maintain the longevity of your hard drives. This combination ensures that your storage solutions operate at their best, providing efficient and reliable performance.

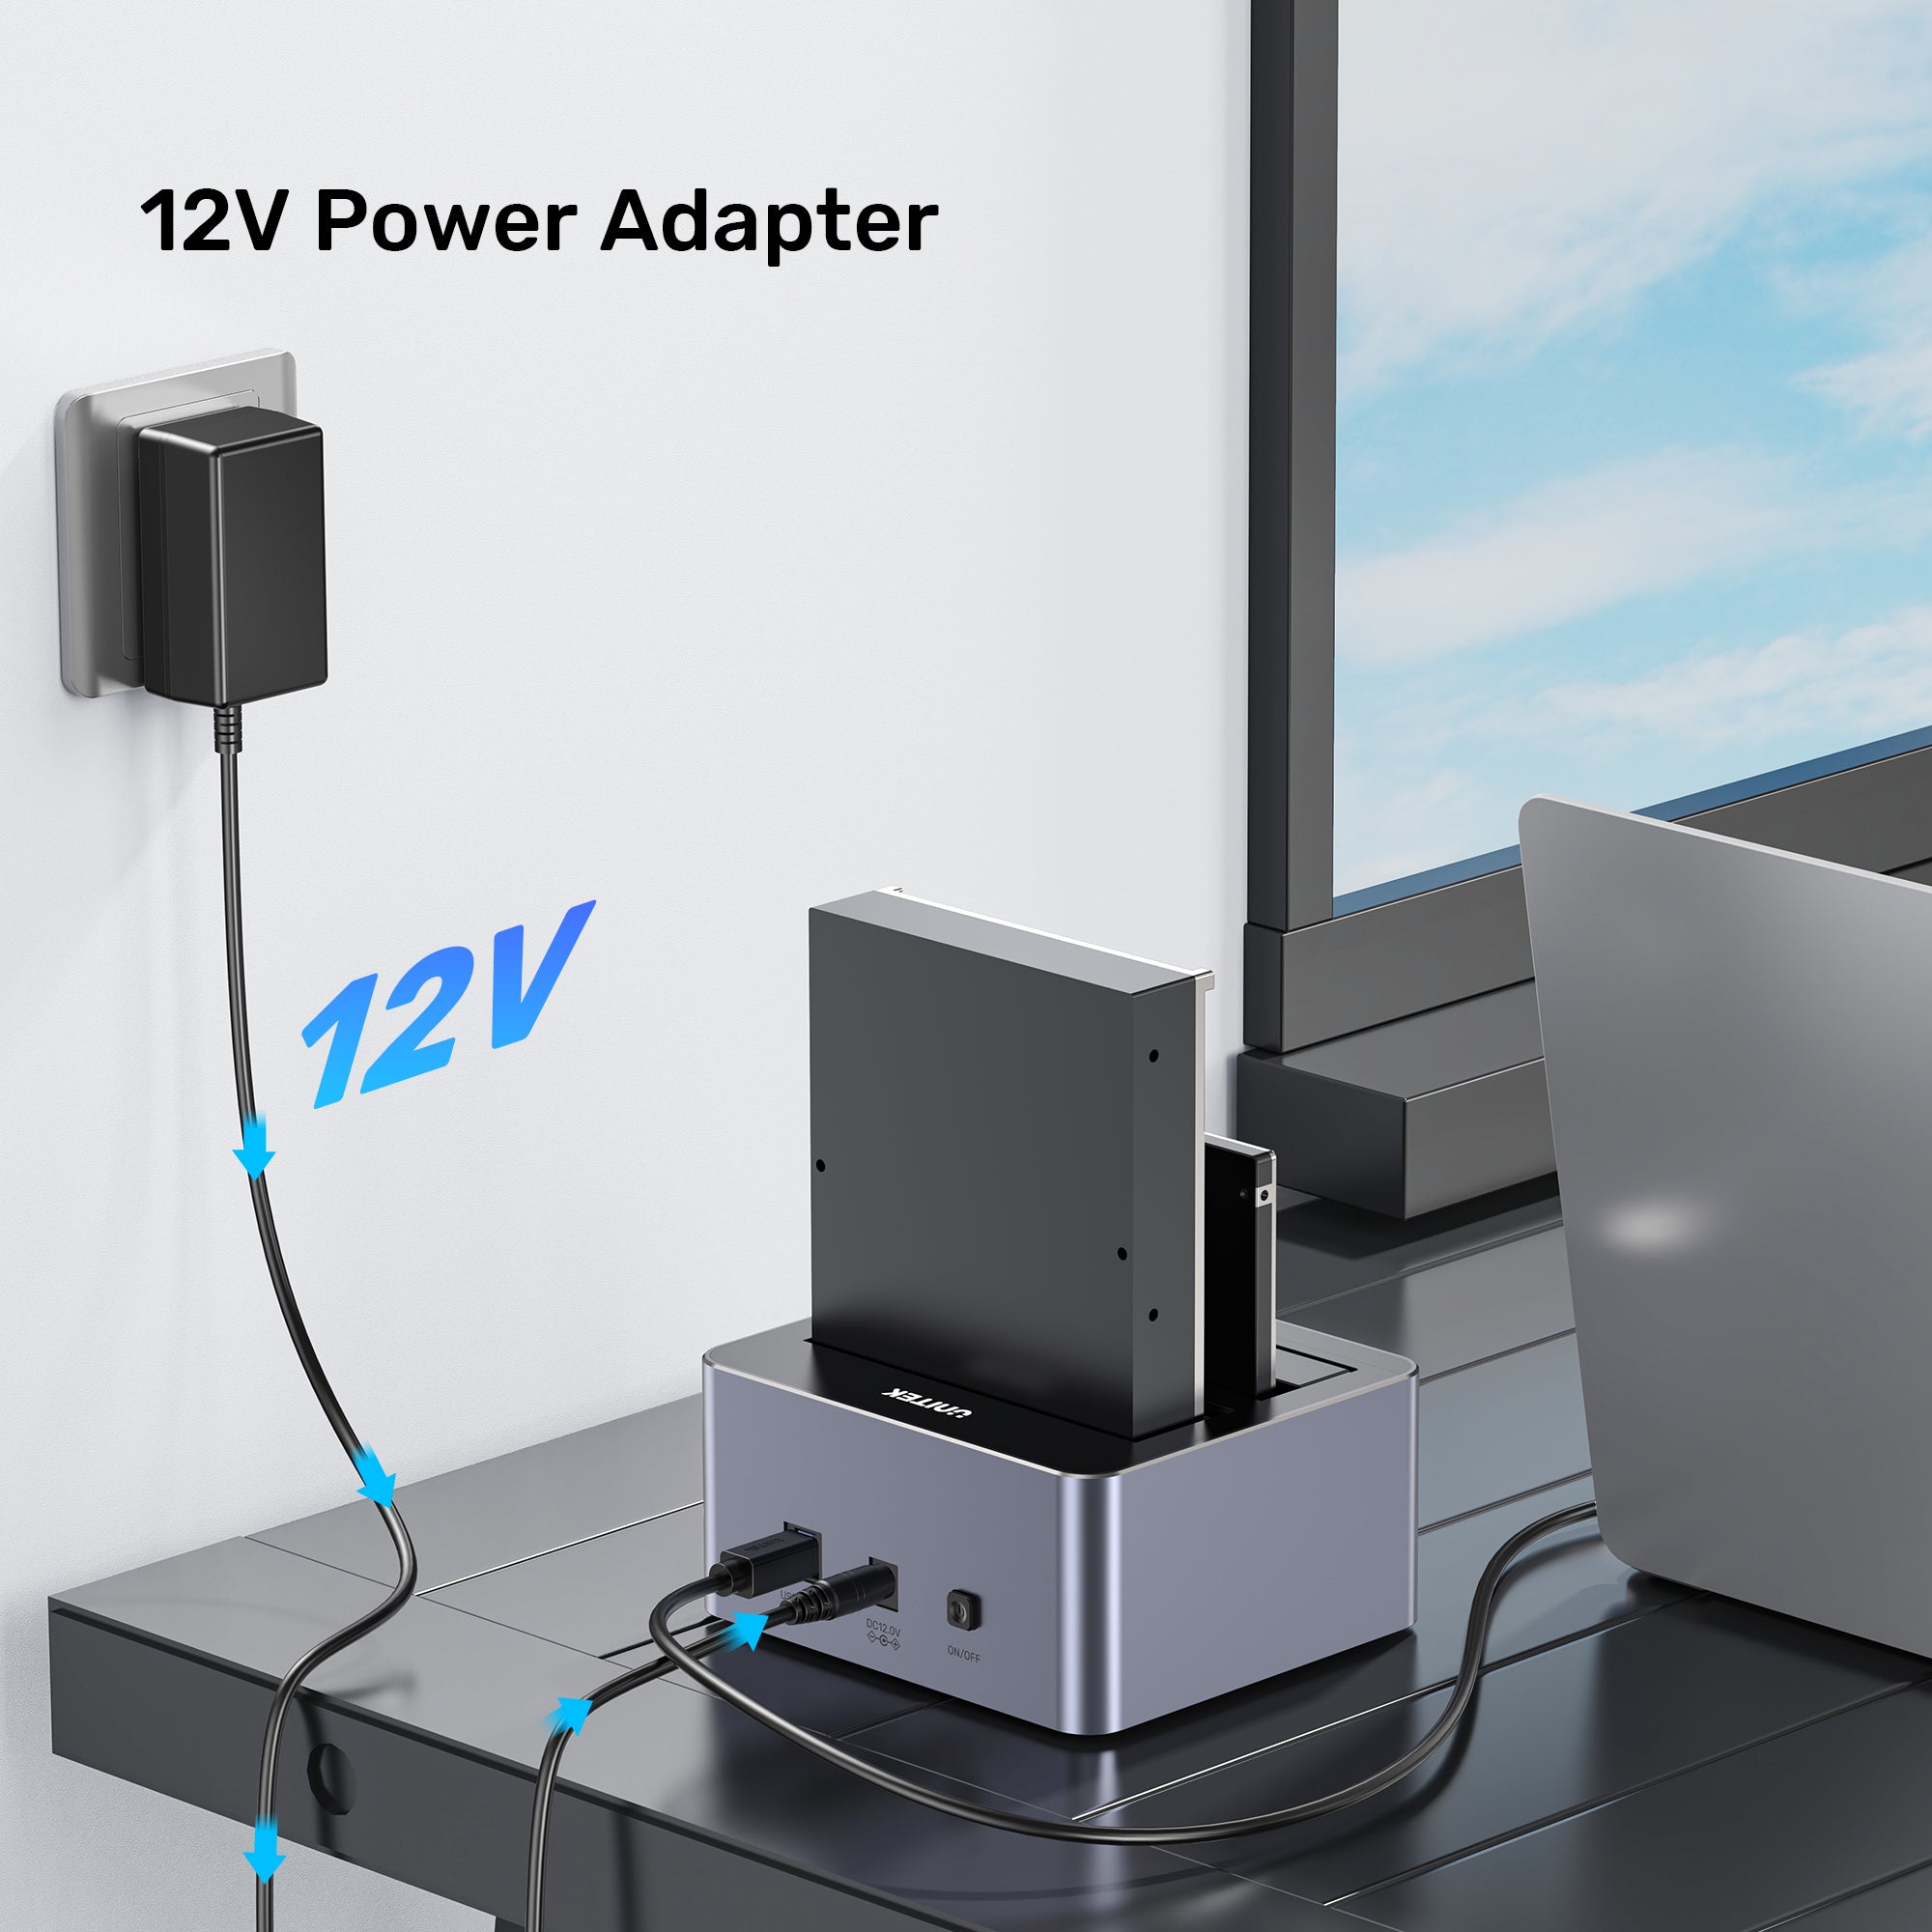
Reliable Power and Performance
With a 12V power adapter for stable operation, supporting 2.5”/3.5” SATA I/II/III HDDs and SSDs up to 40TB (20TB x 2). With 5Gbps USB 3.0 SuperSpeed, UASP, TRIM, and standalone cloning, it ensures fast data transfers and optimized drive performance, making it a versatile storage solution for various systems.

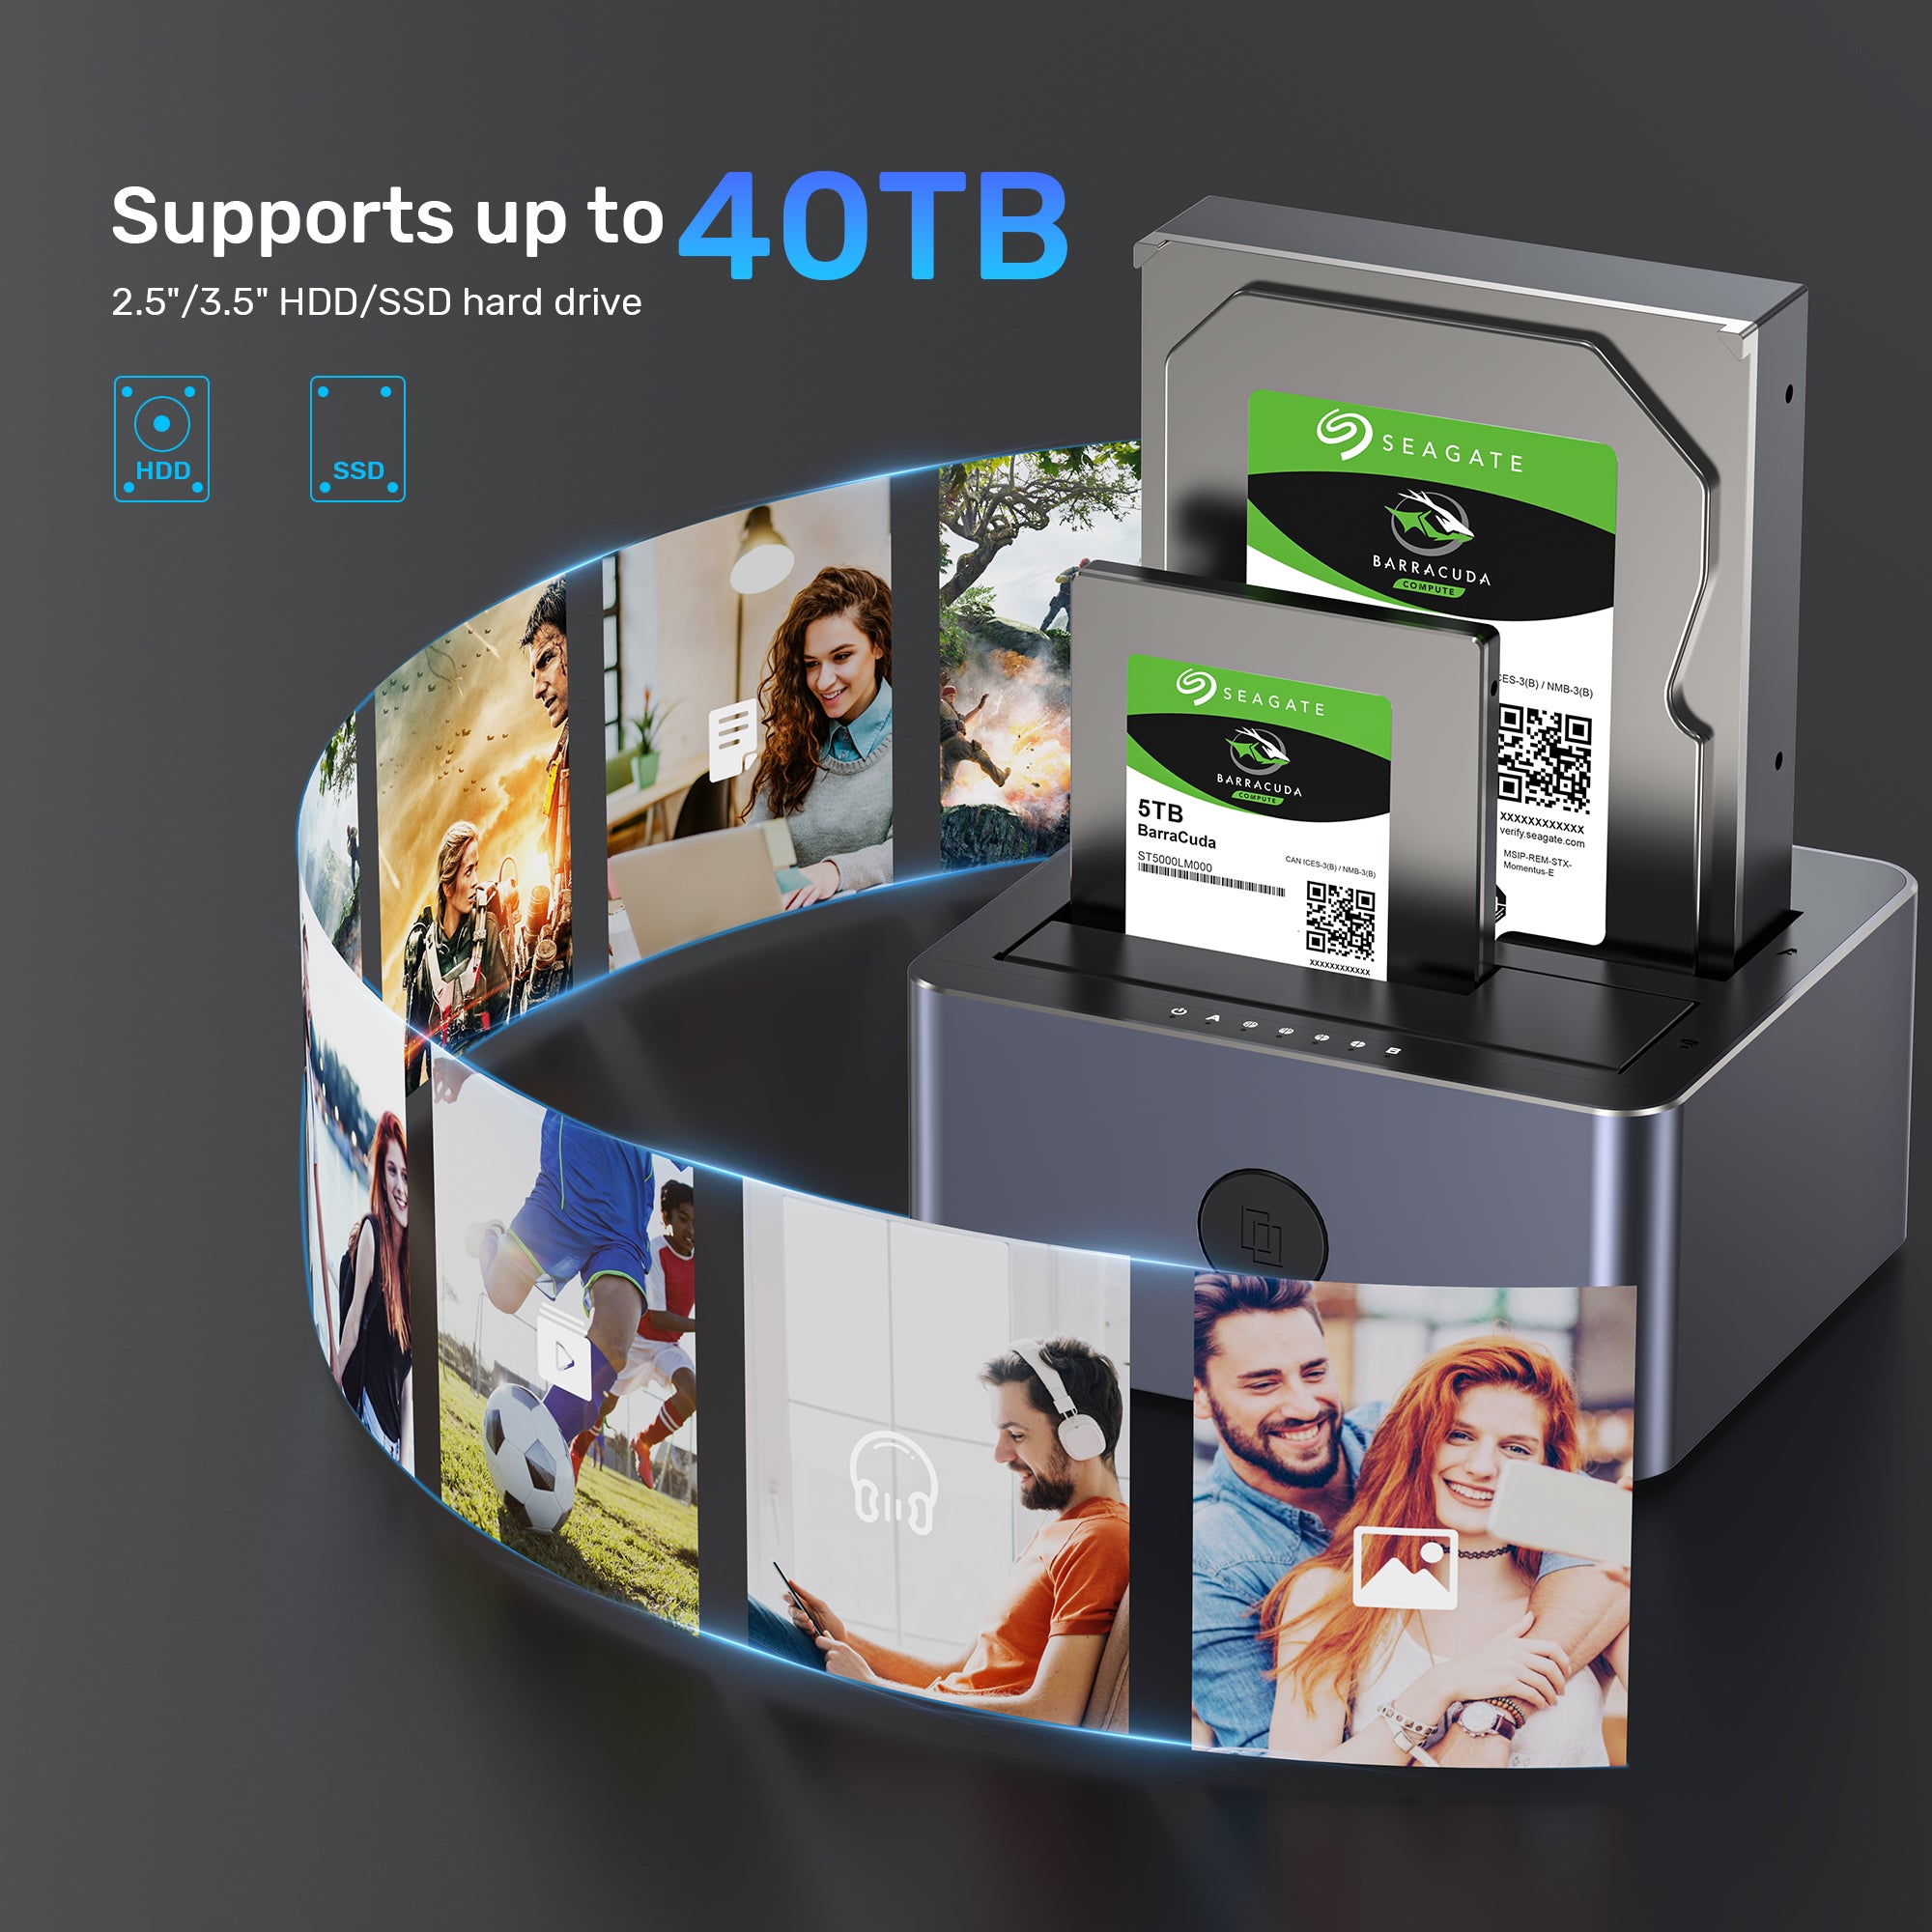
Supports up to 40TB
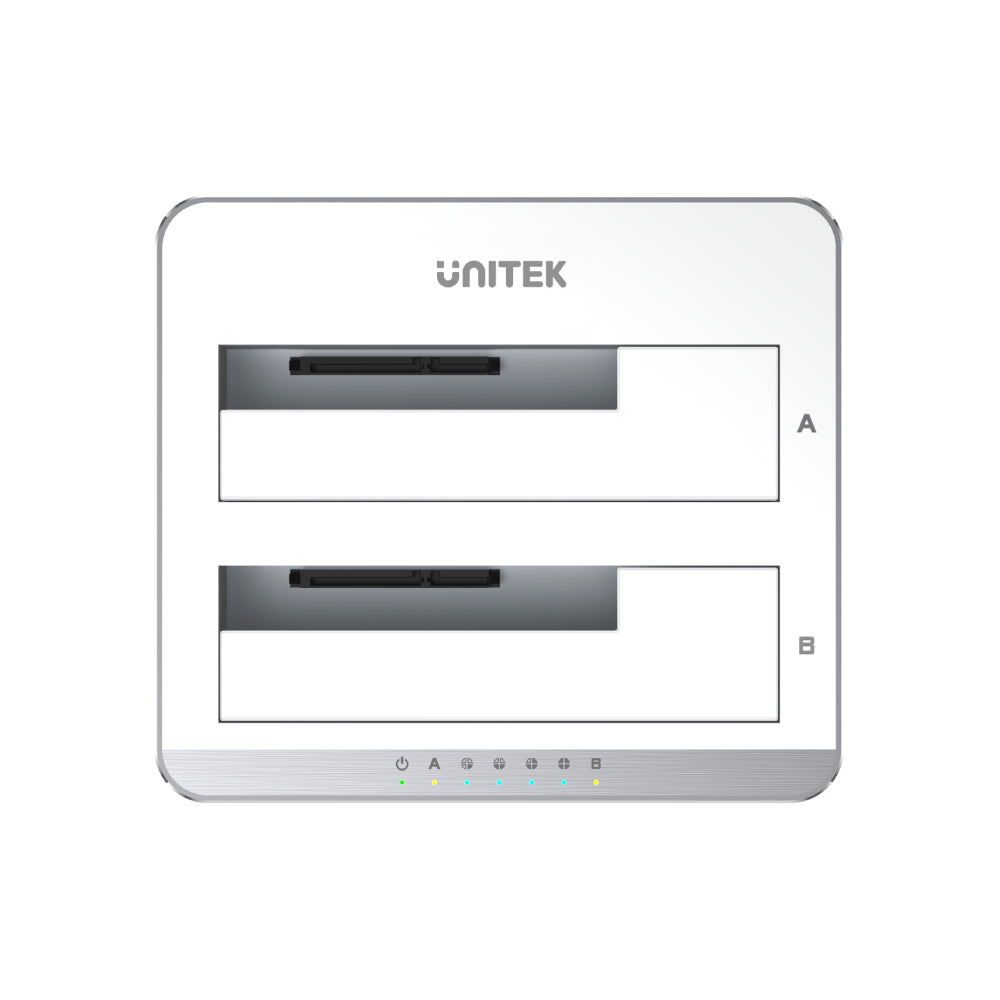
Two SATA slots that support standard 2.5" and 3.5" SATA I/II/III HDDs and SSDs. With a combined capacity of up to 40TB (20TB per slot), it provides ample storage for all your data needs. This versatility makes it an ideal choice for users looking to expand their storage solutions efficiently.

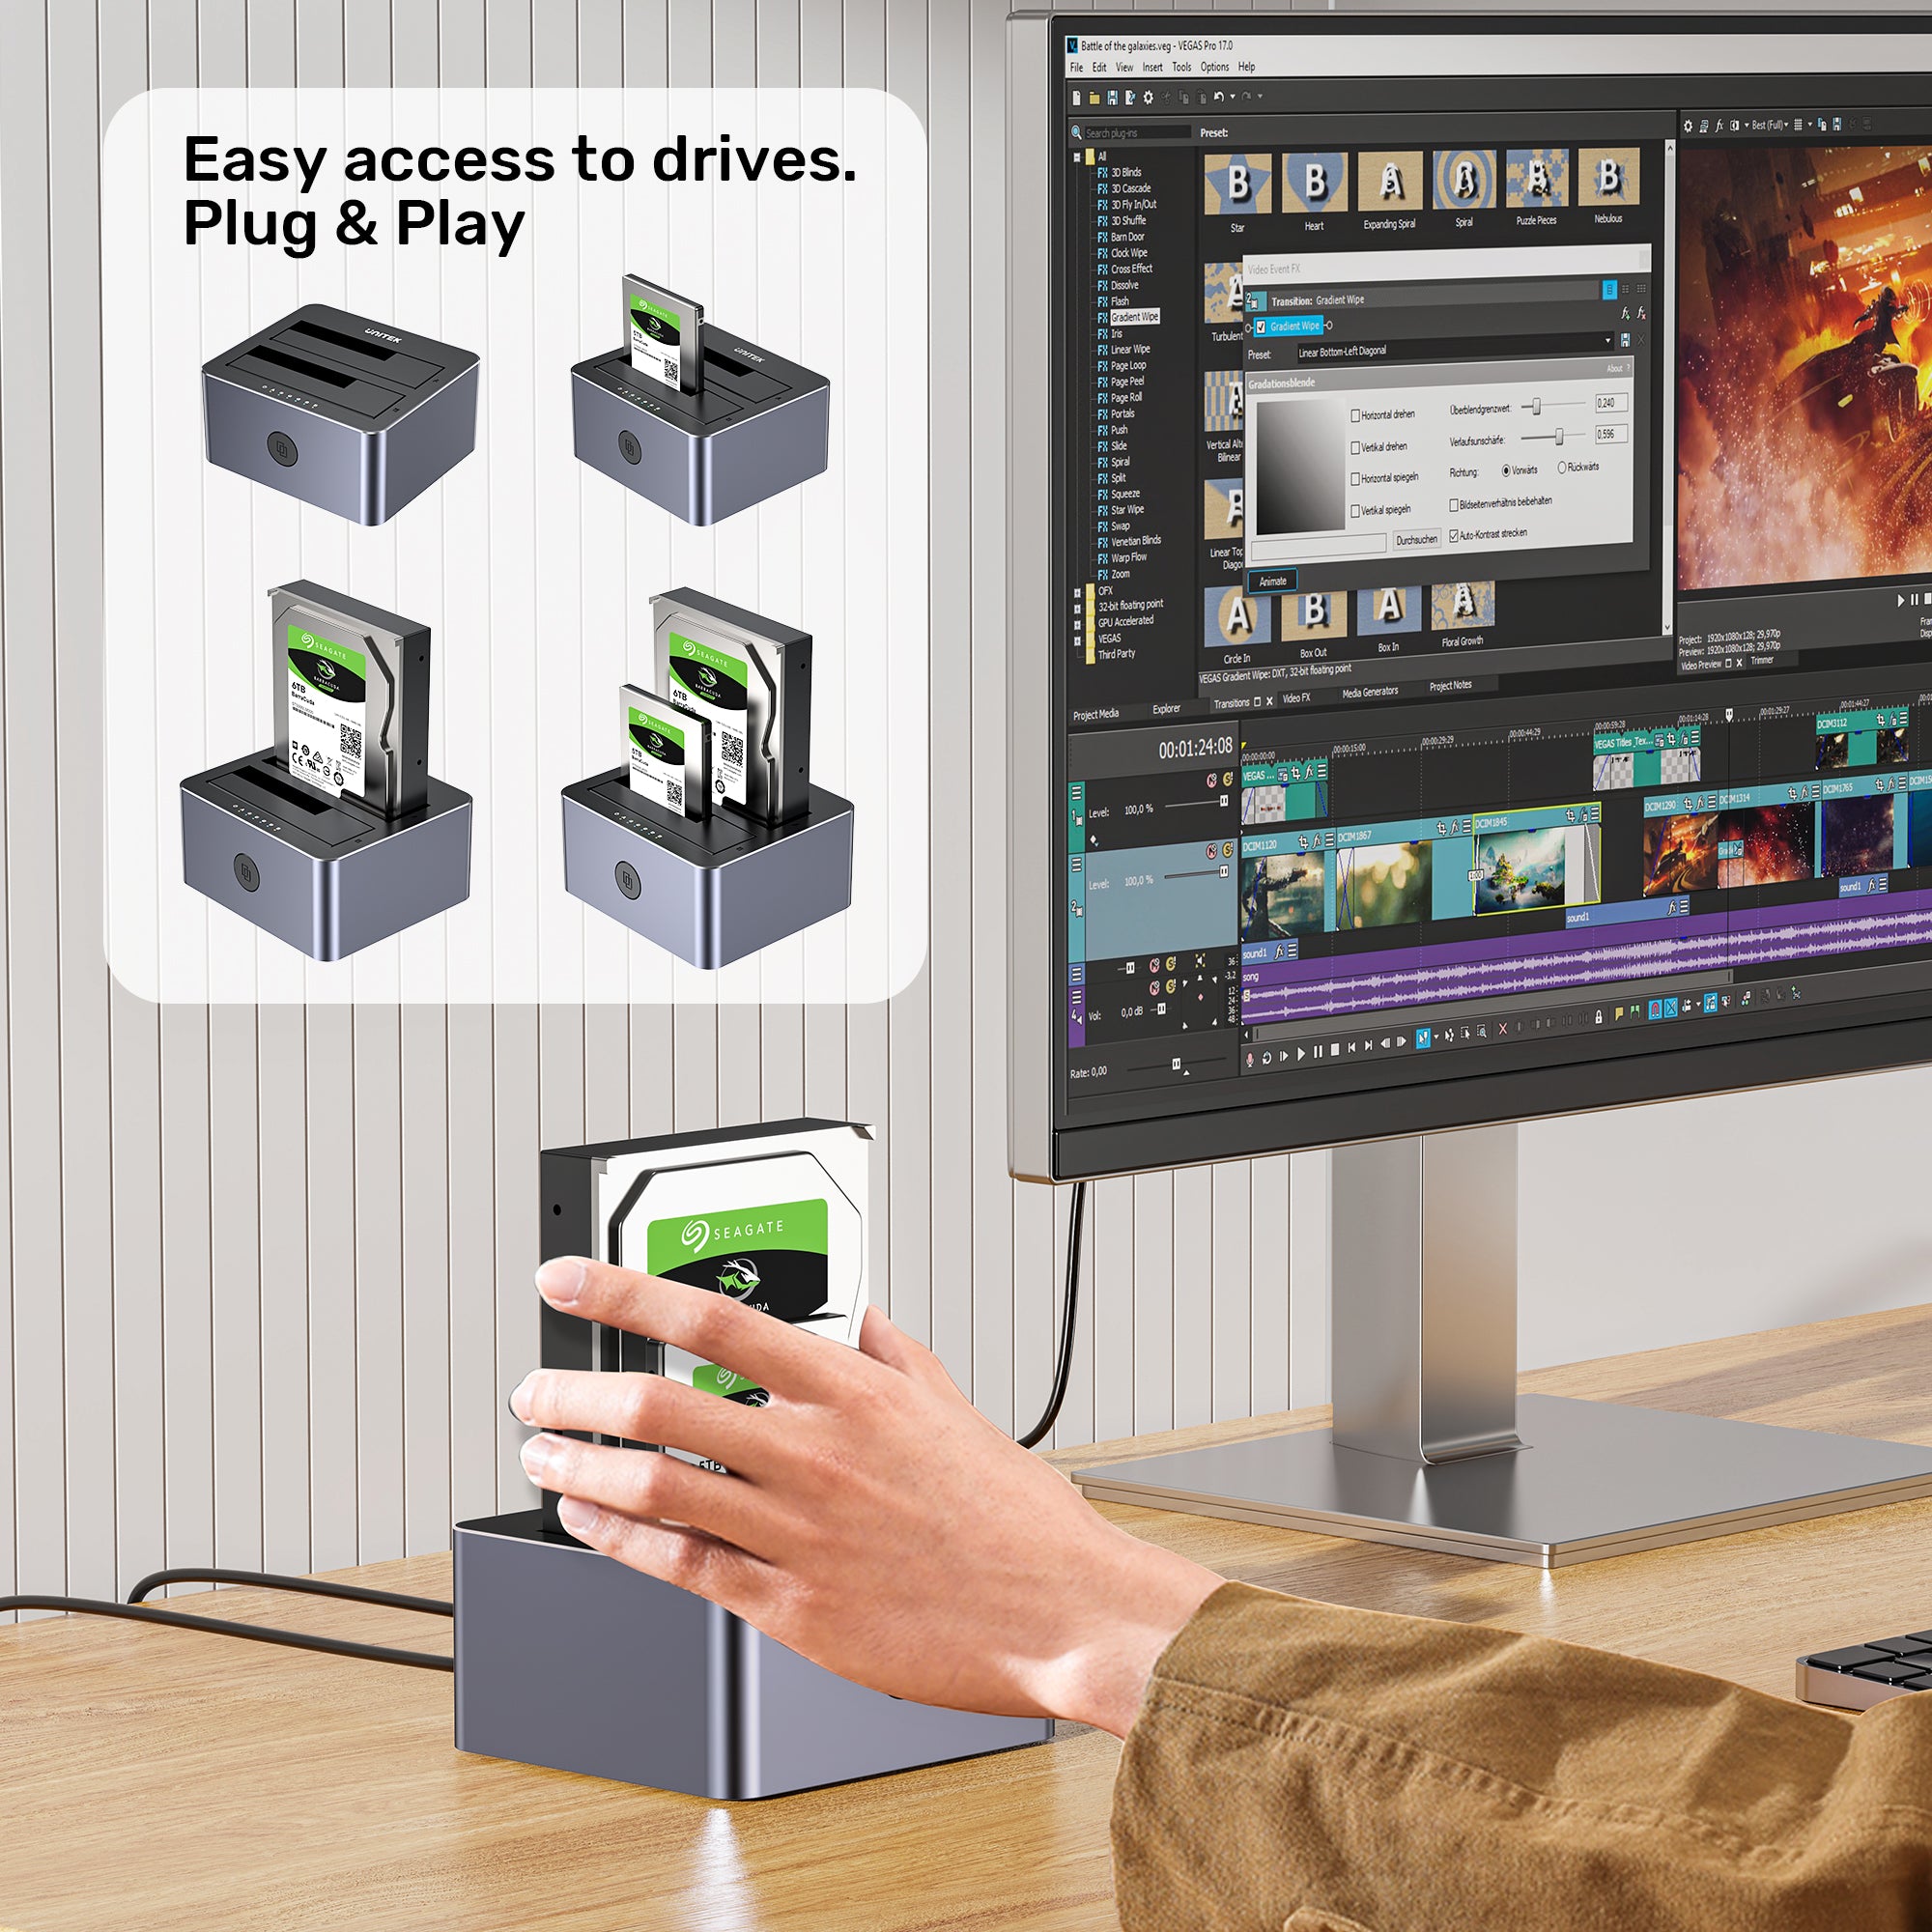
Plug & Play
Easy drive installation with no drivers or software required. This plug-and-play functionality enables users to swiftly swap drives in and out as needed, providing quick access to your data. Enjoy hassle-free operation and seamless integration into your workflow.

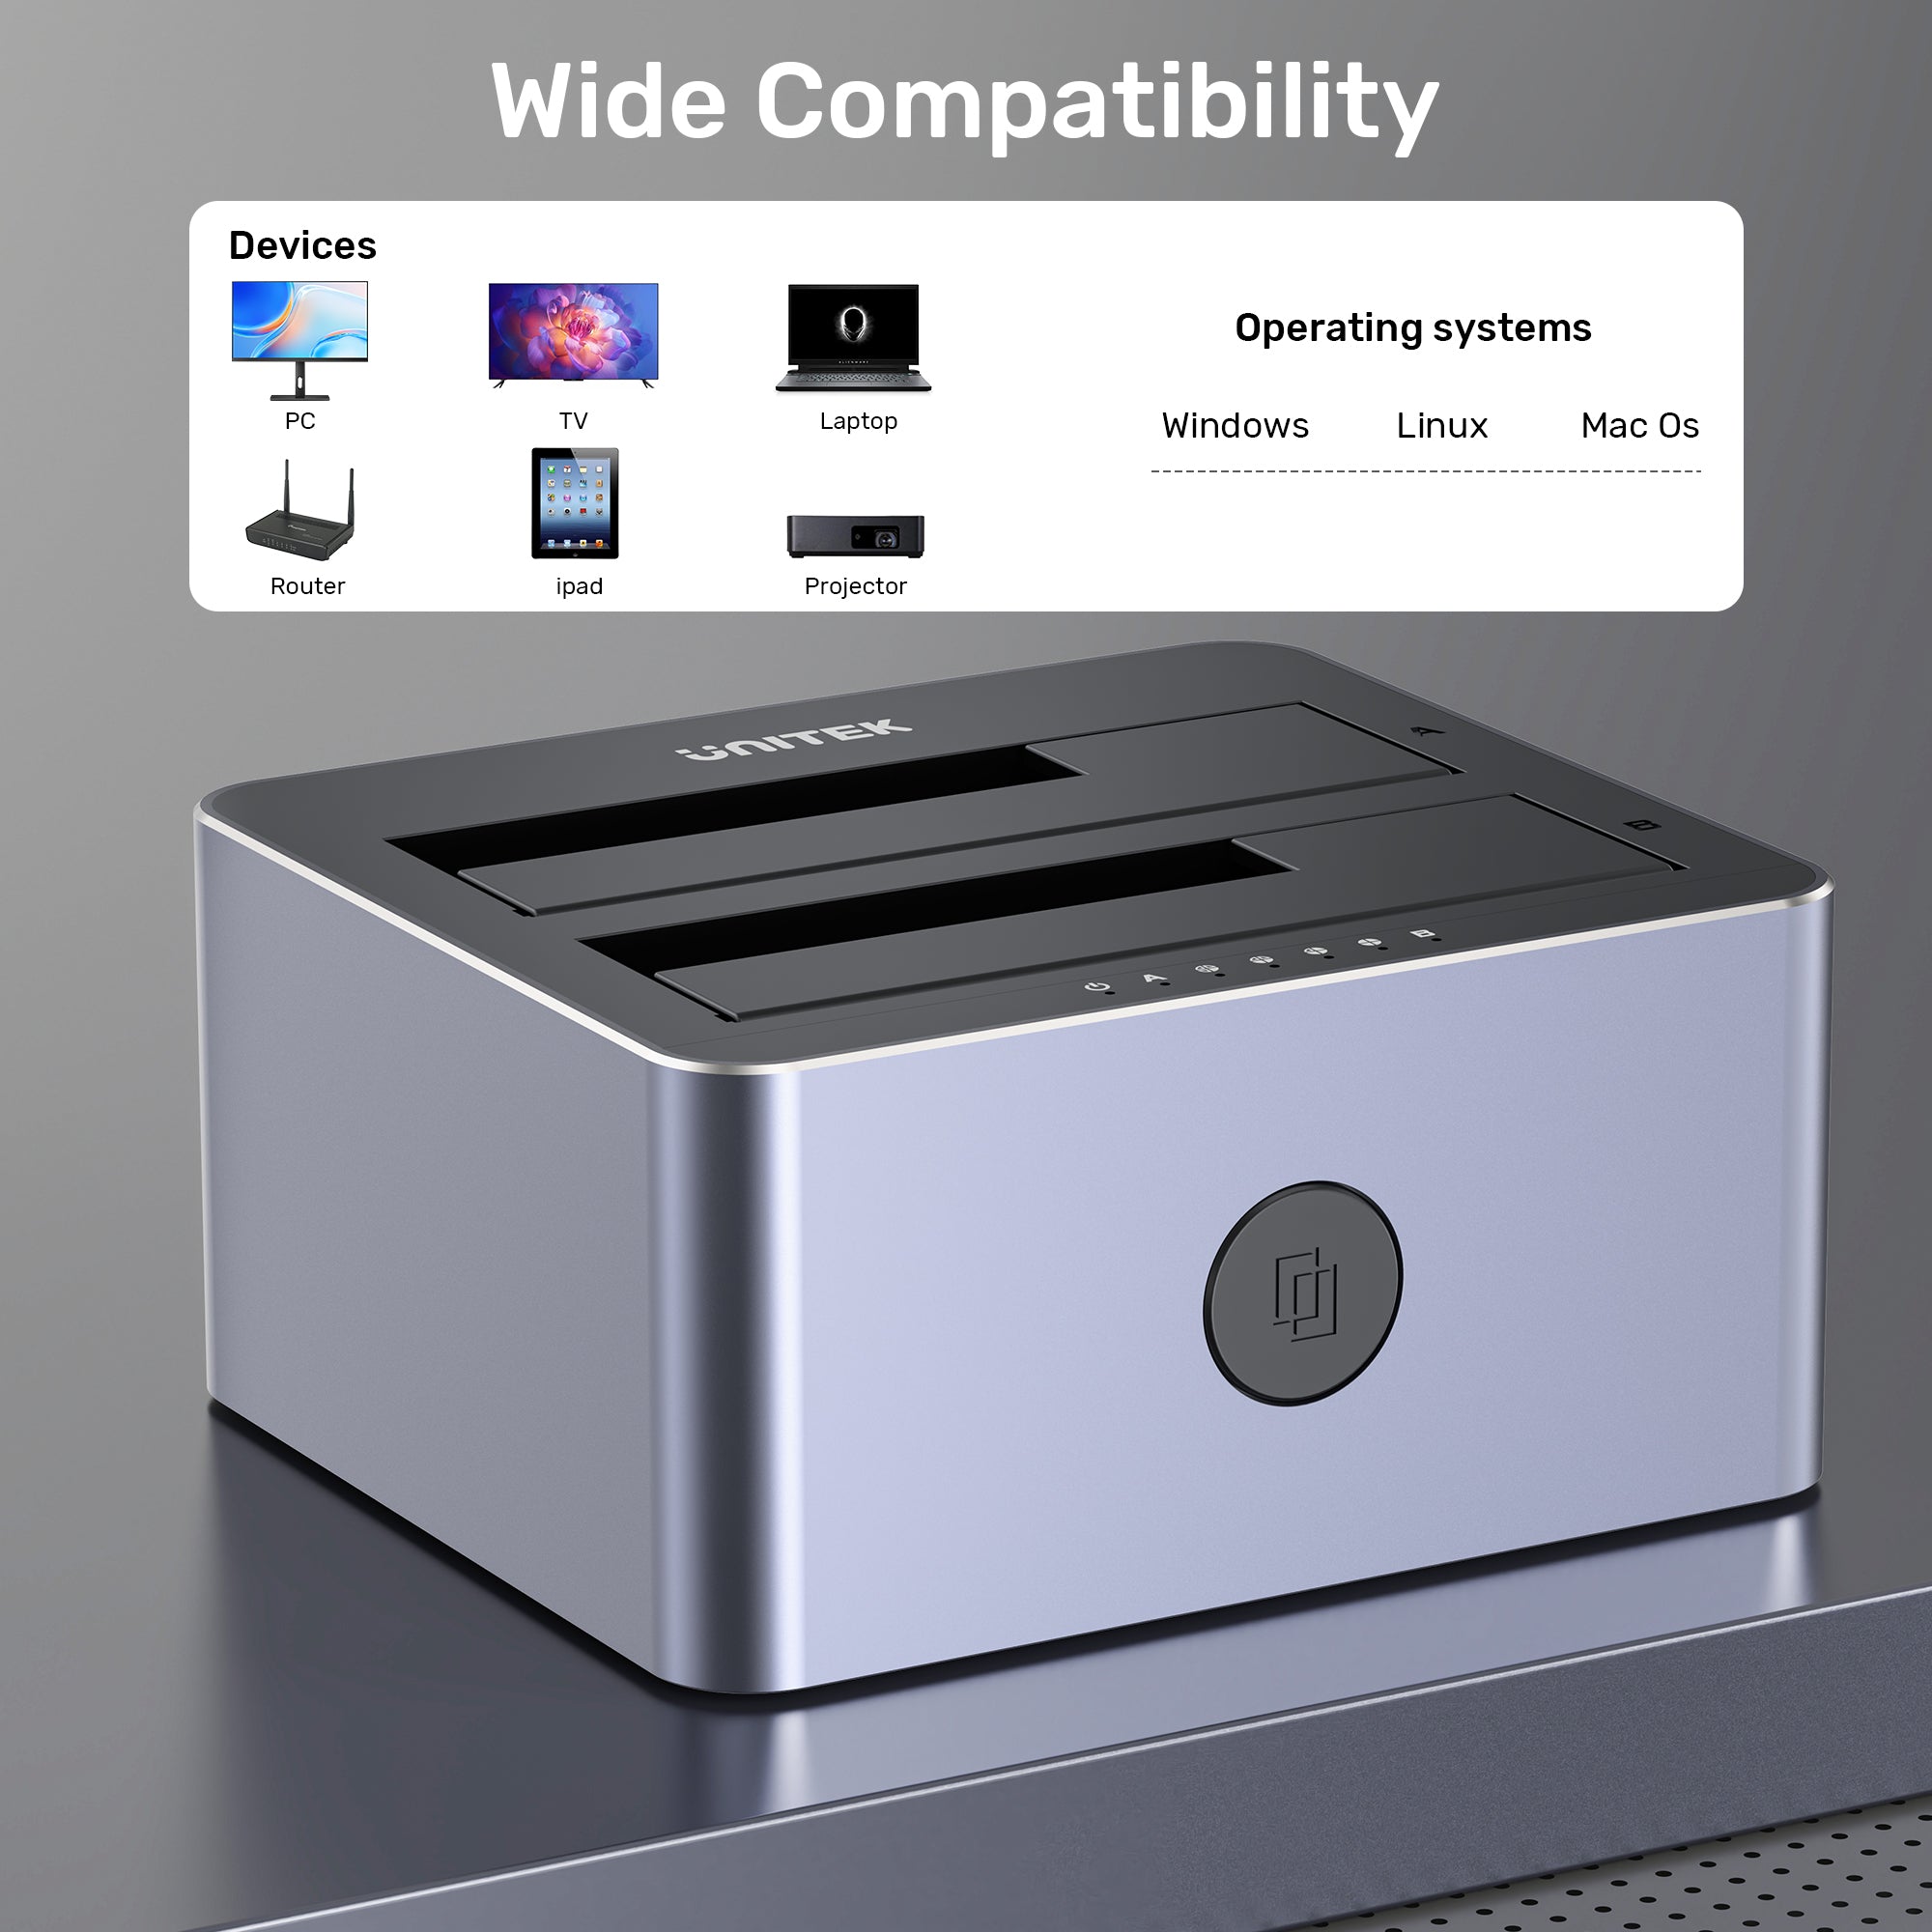
Wide Compatibility
With a wide range of systems, including Windows XP, 7, Vista, 8, 8.1, and 10 (both 32 and 64 bit), as well as Linux and Mac OS. This extensive compatibility ensures that you can easily integrate the docking station into your existing setup, regardless of your operating system.

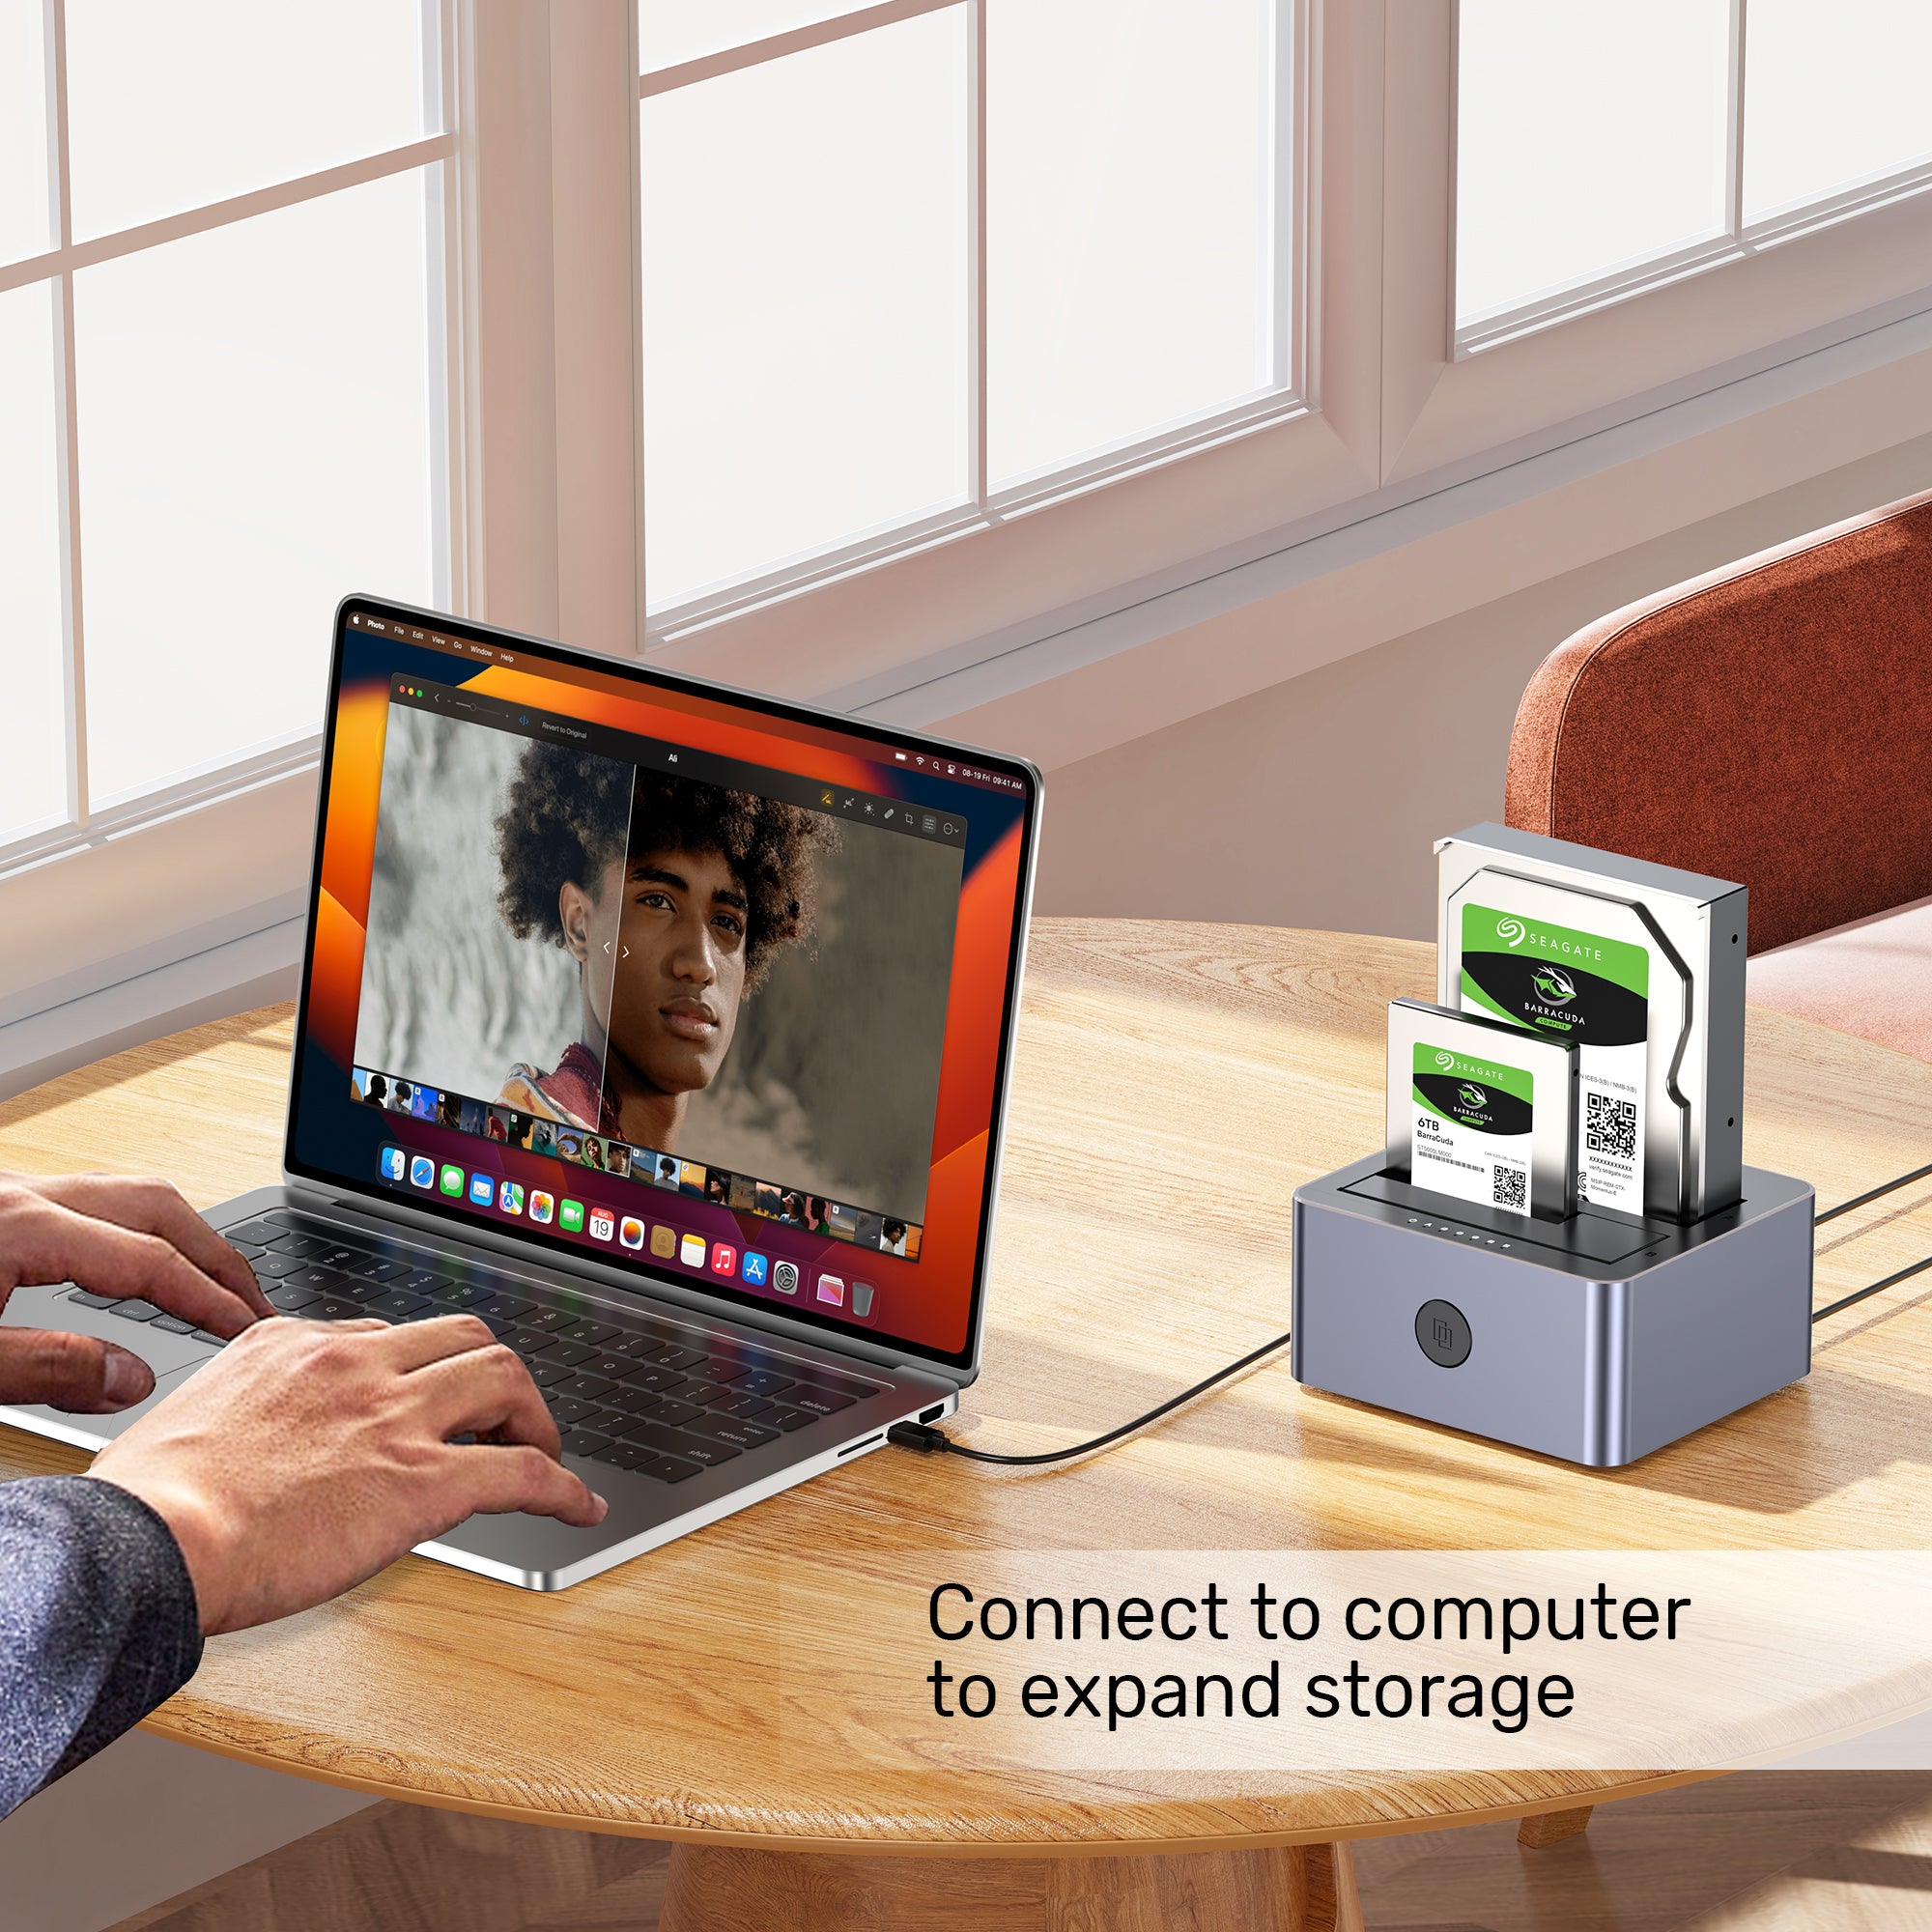
Connect to computer to expand storage
Standalone hard drive duplicator, enabling you to duplicate drives quickly without needing to connect to your computer. This dual functionality makes it an essential tool for efficient data management and backup.

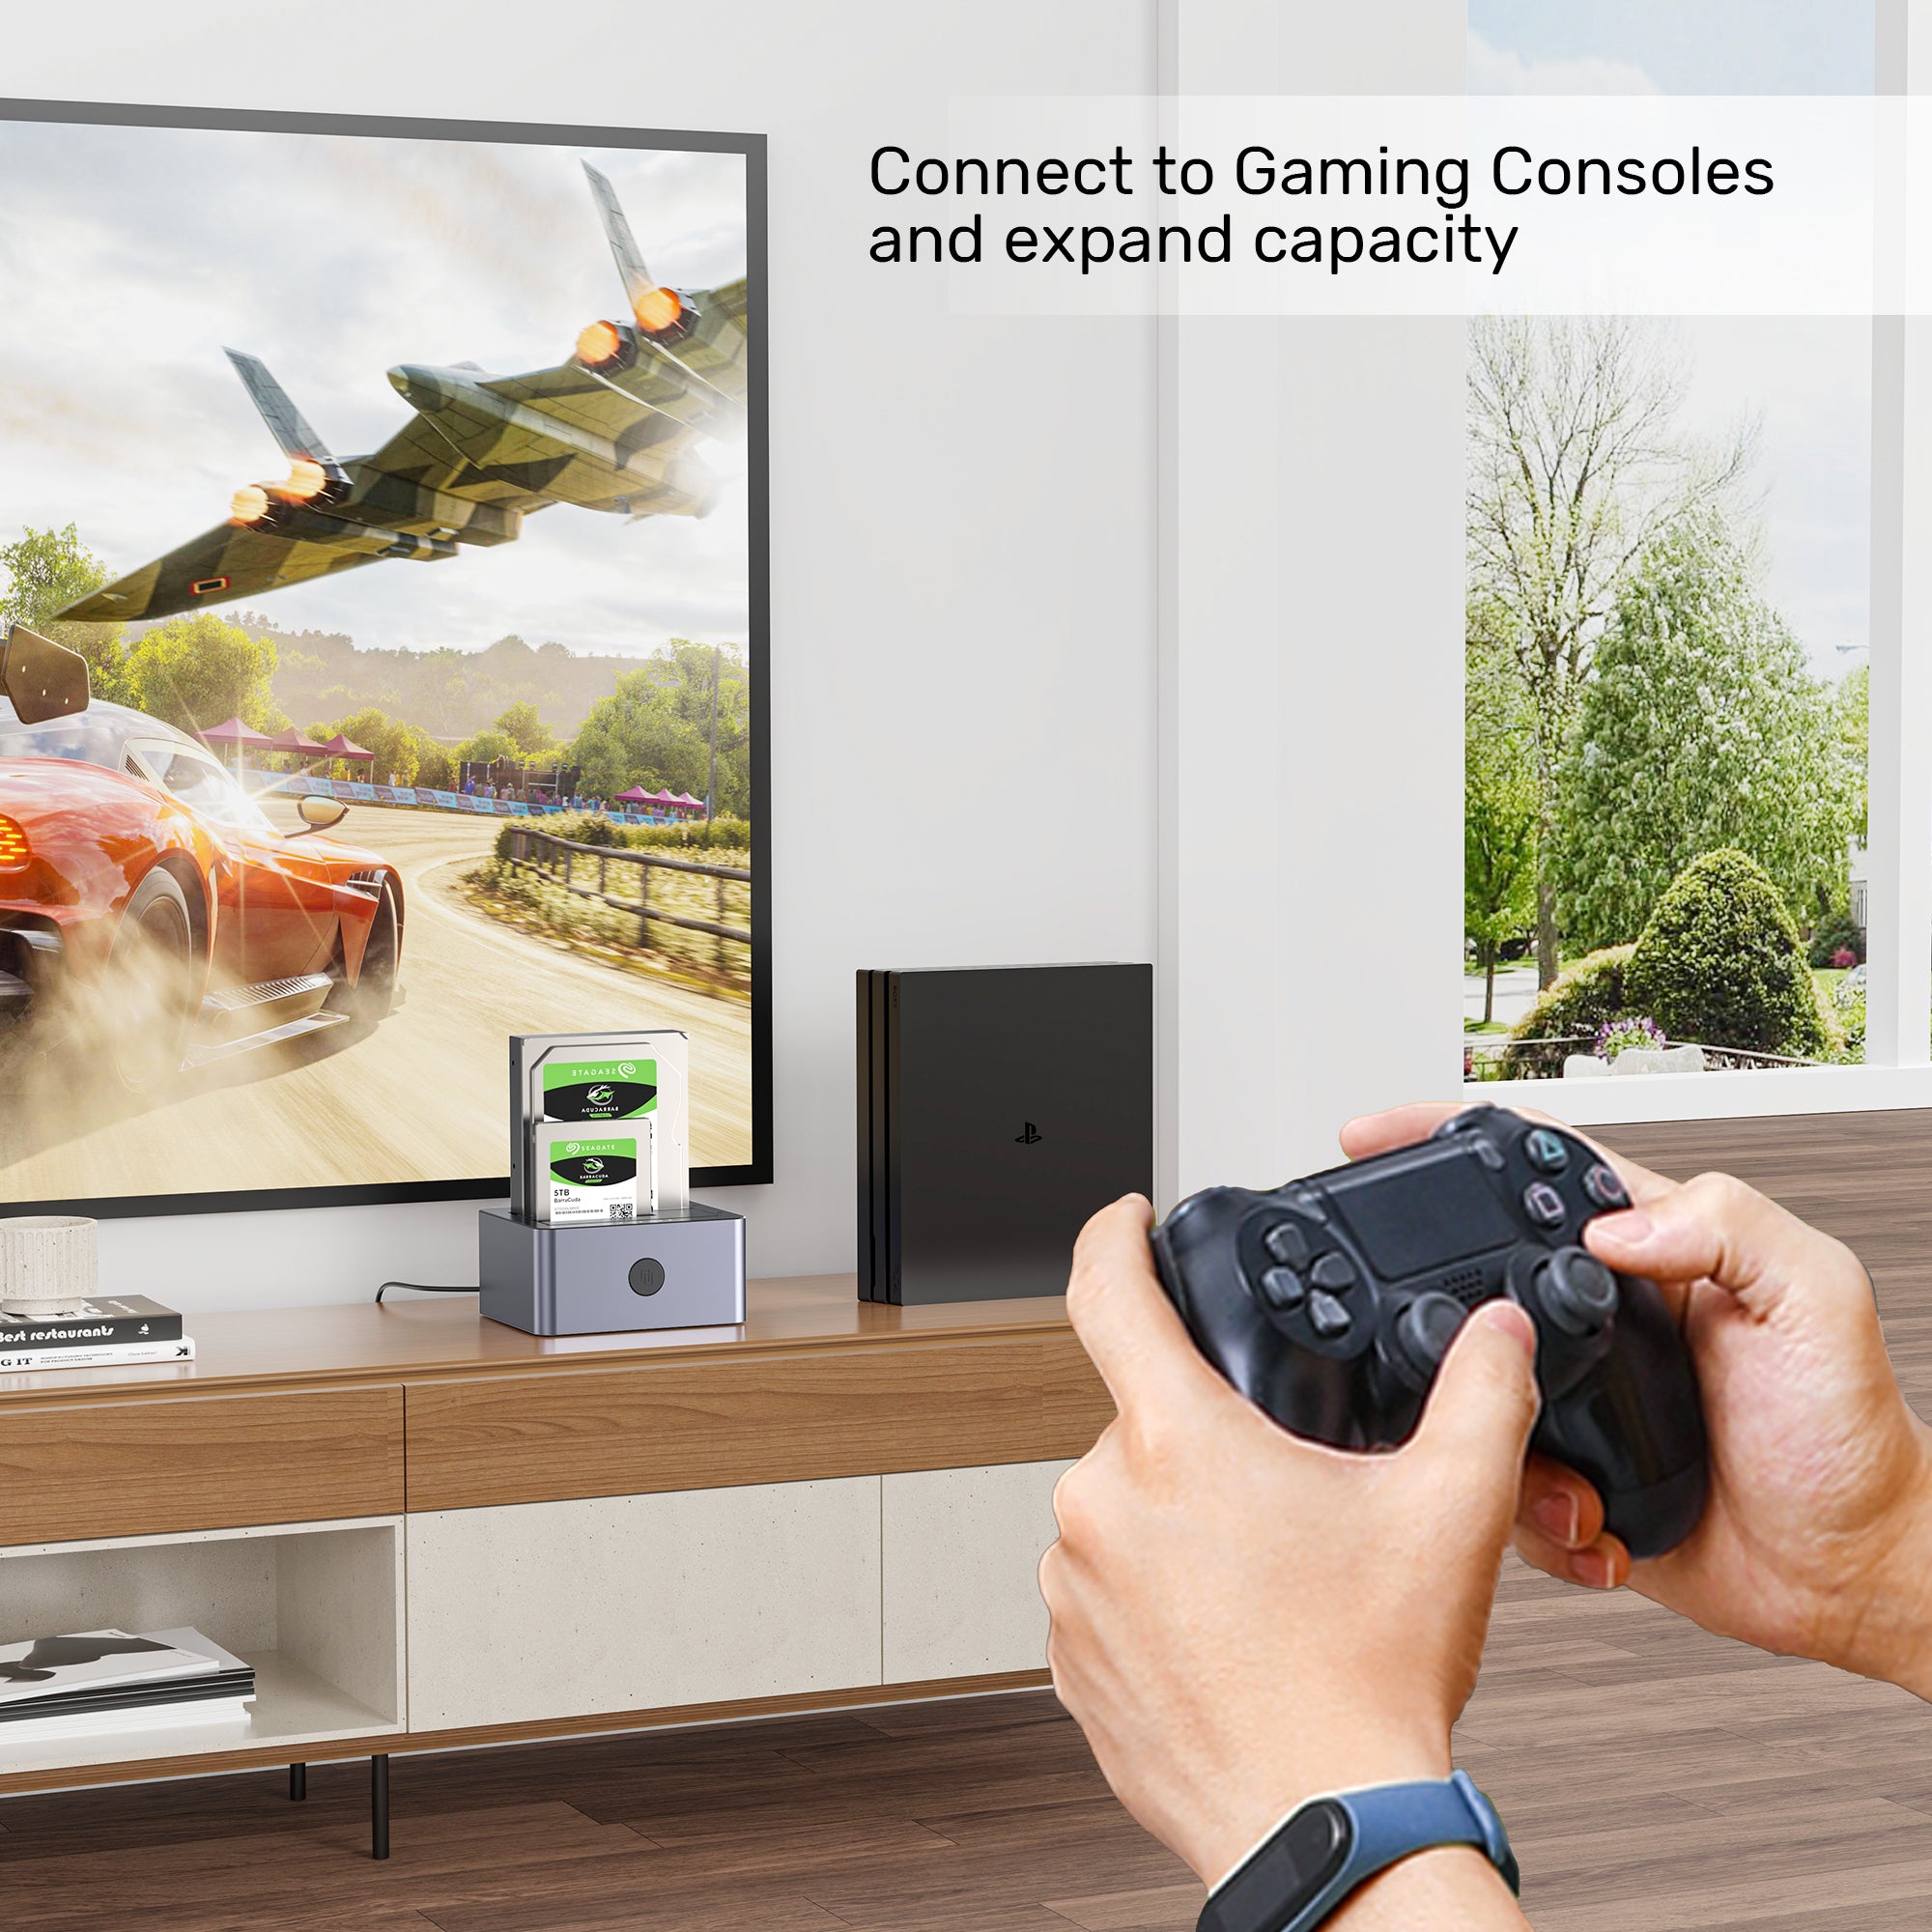
Enhance Gaming Experience
Connecting to gaming consoles like the PS4, expanding capacity with support for 2.5”/3.5” SATA I/II/III HDDs and SSDs up to 40TB (20TB x 2). Featuring 5Gbps USB 3.0 SuperSpeed, UASP, TRIM, and standalone cloning, it ensures fast data transfers and optimized performance, making it perfect for storing and accessing games effortlessly.

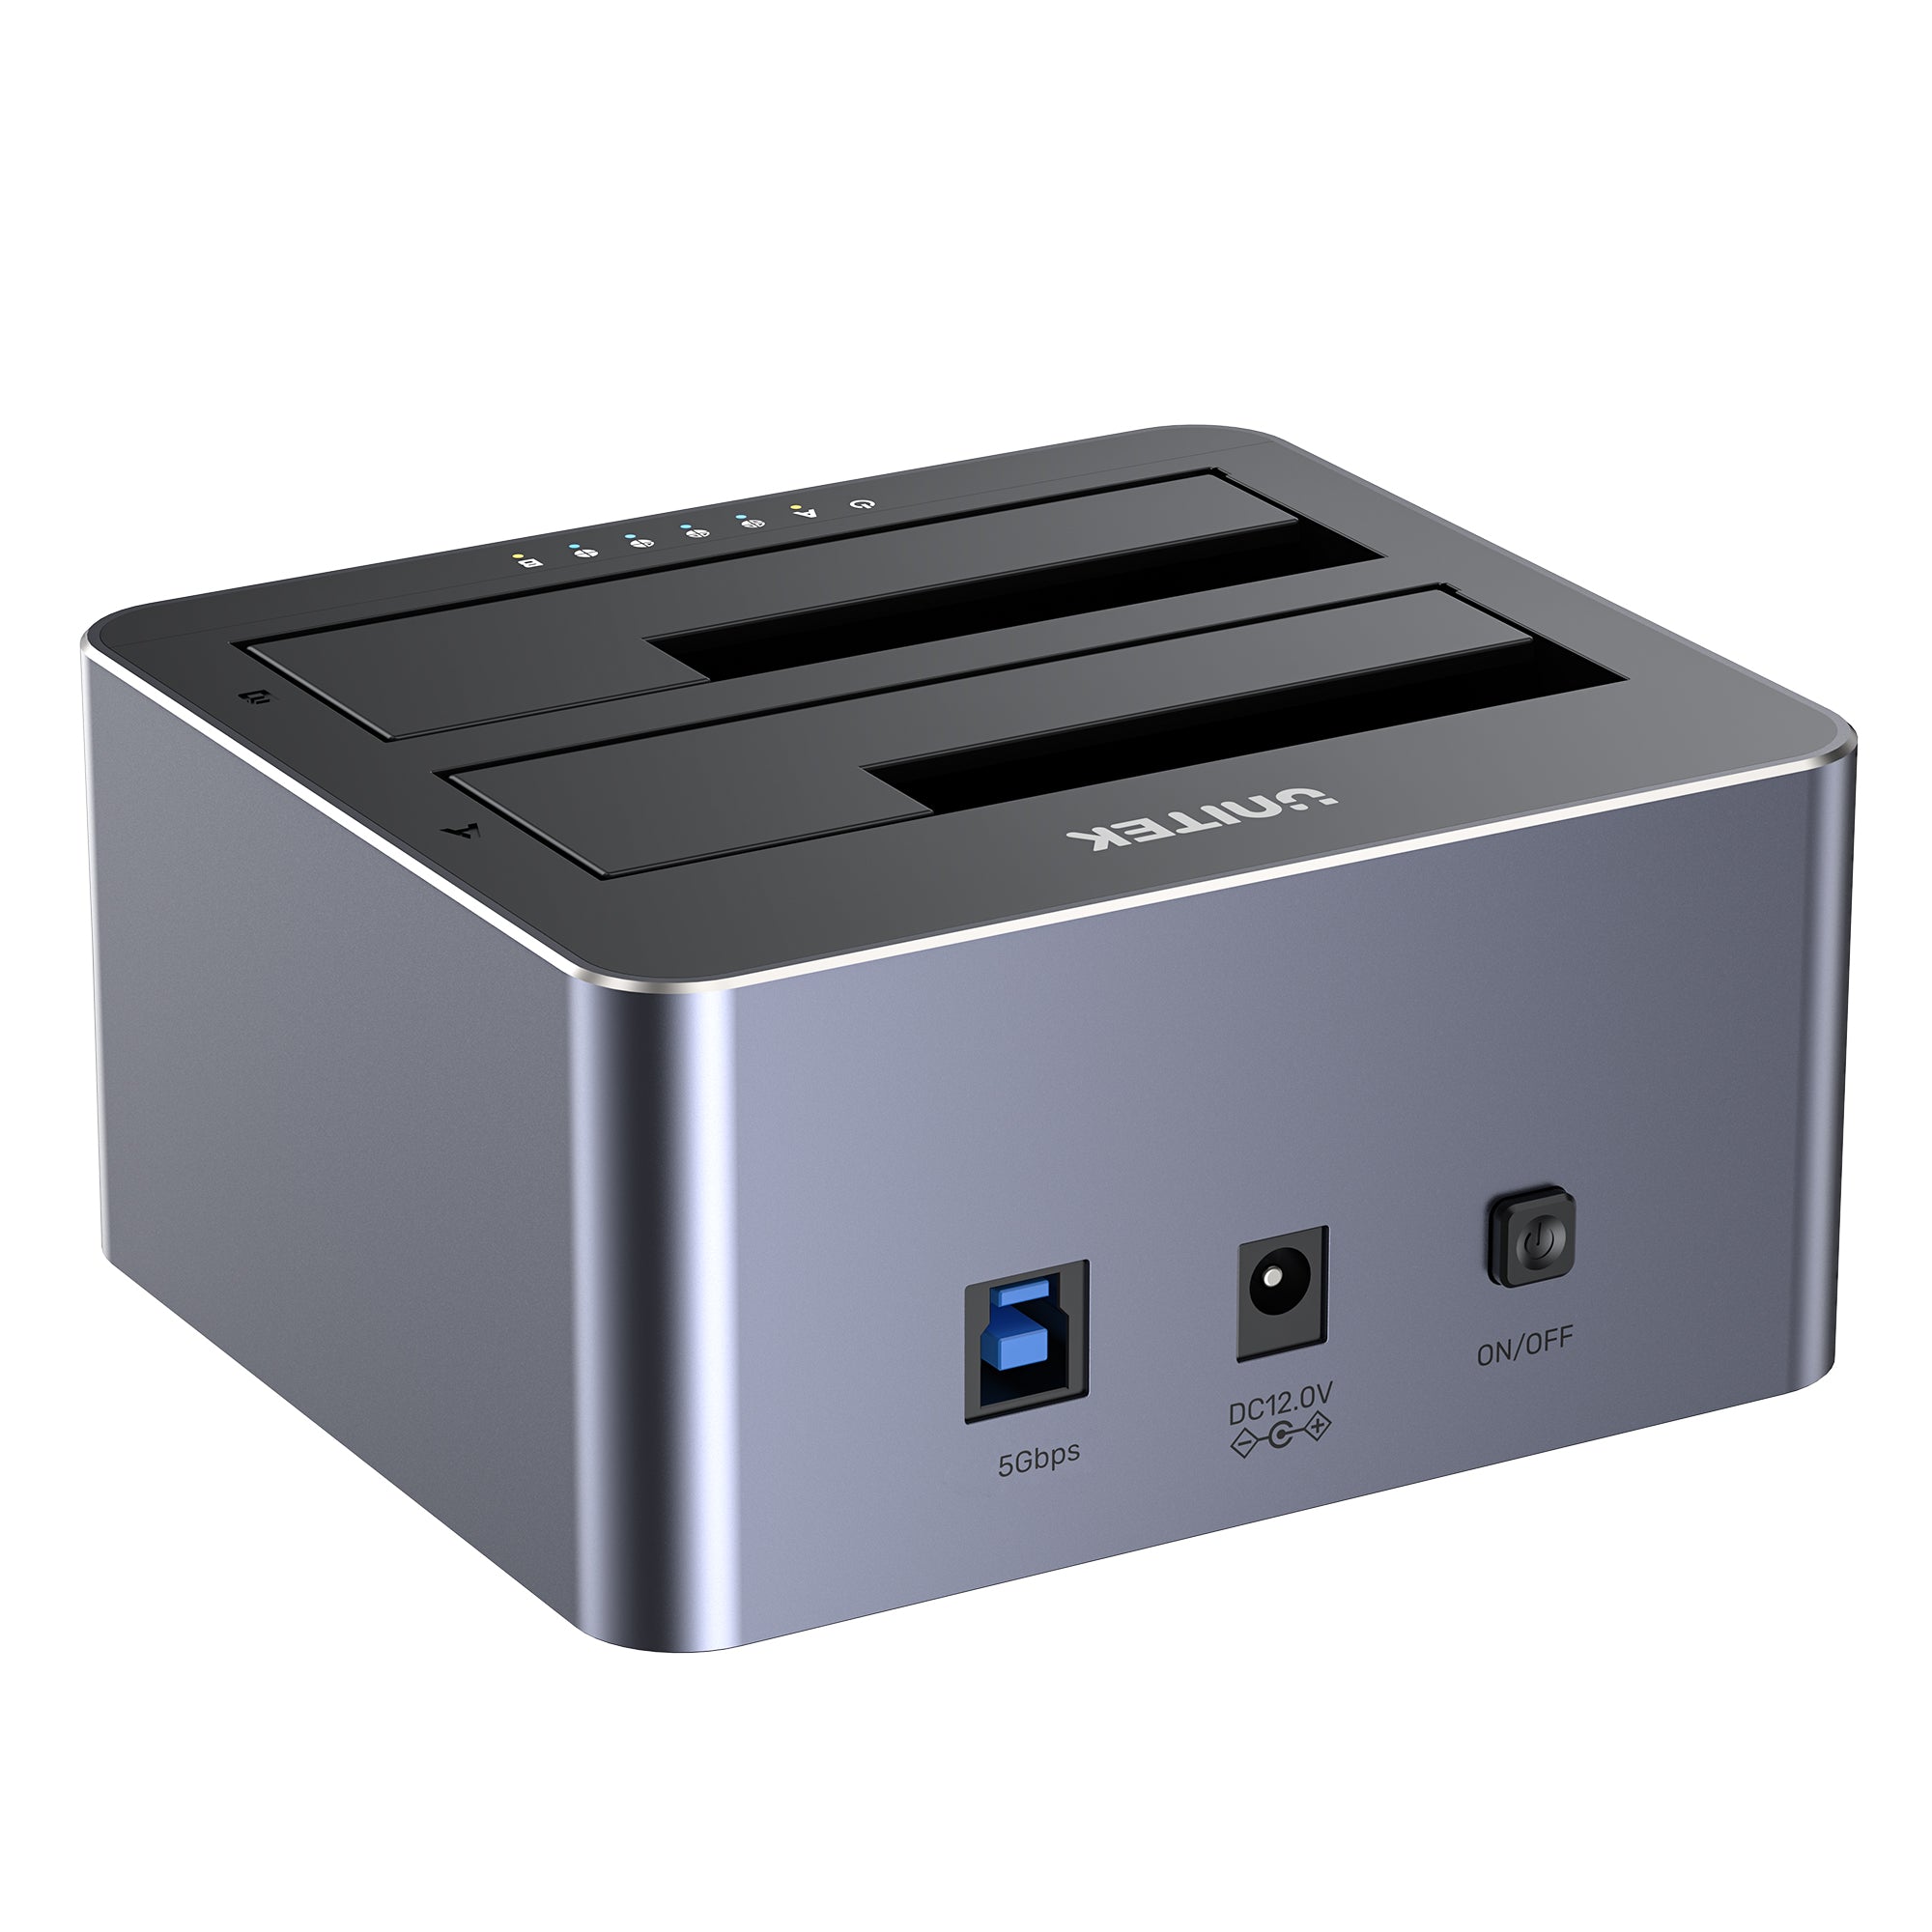
Efficient Data Management Made Simple
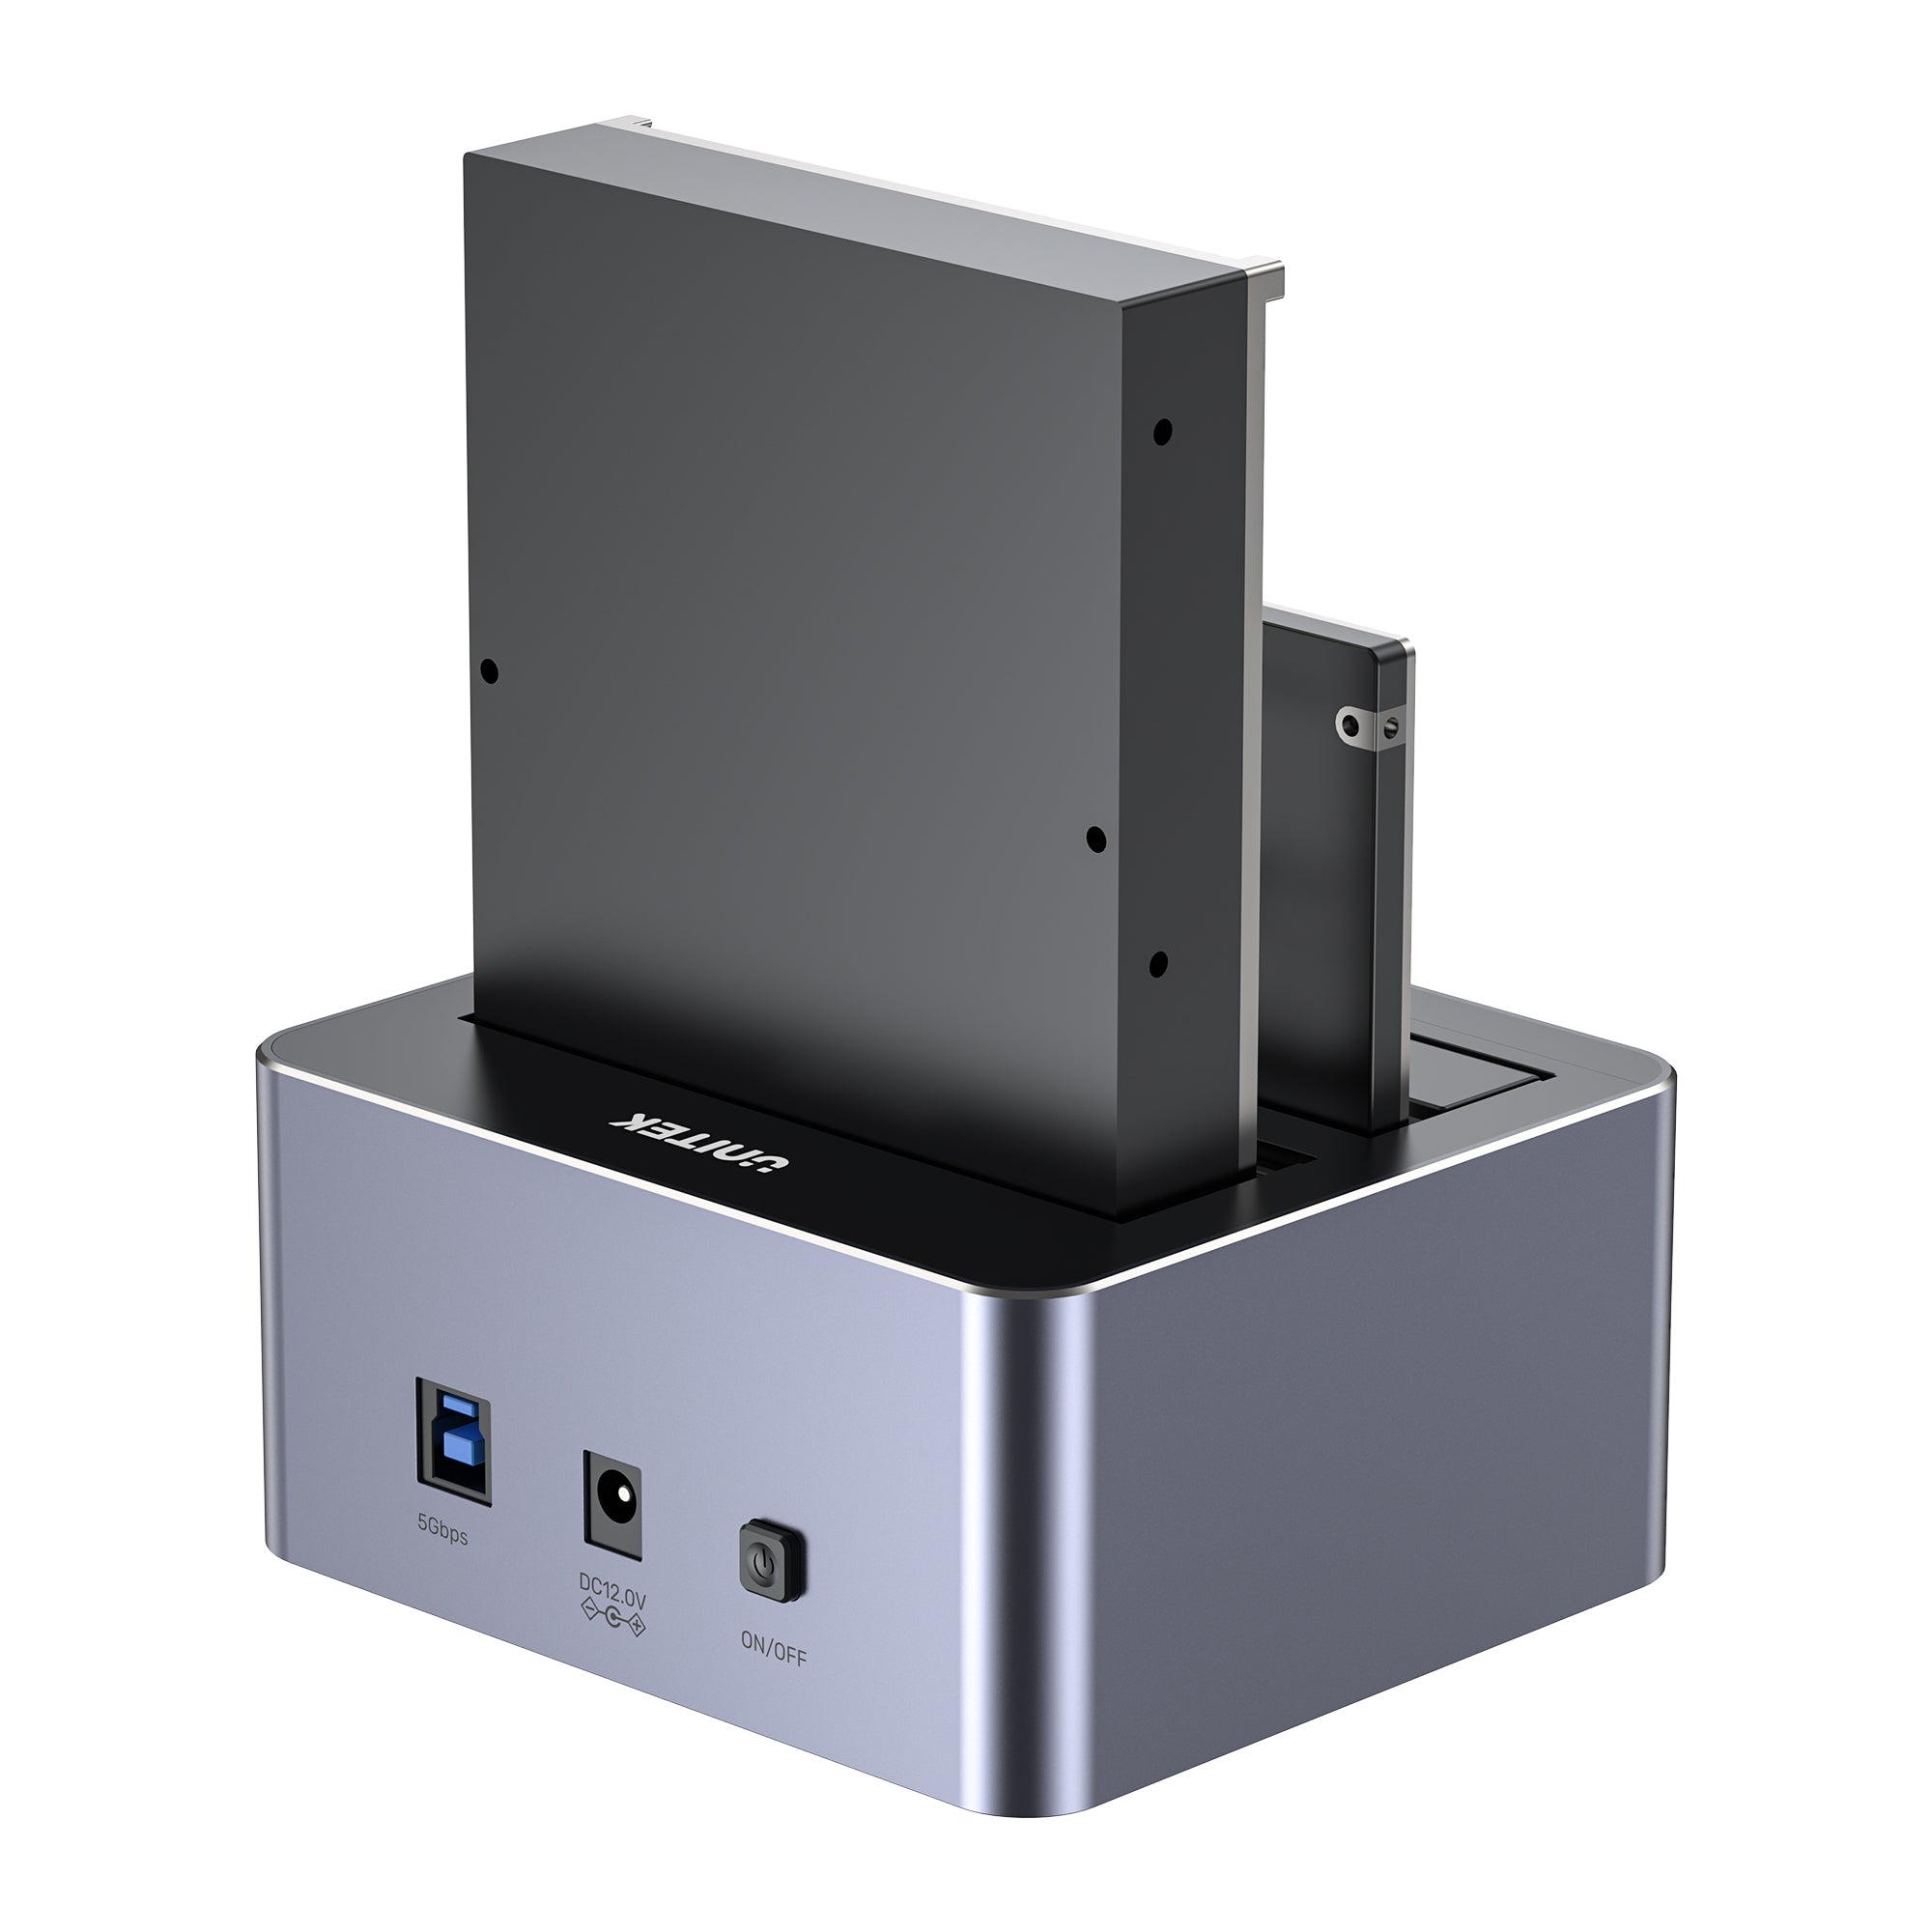
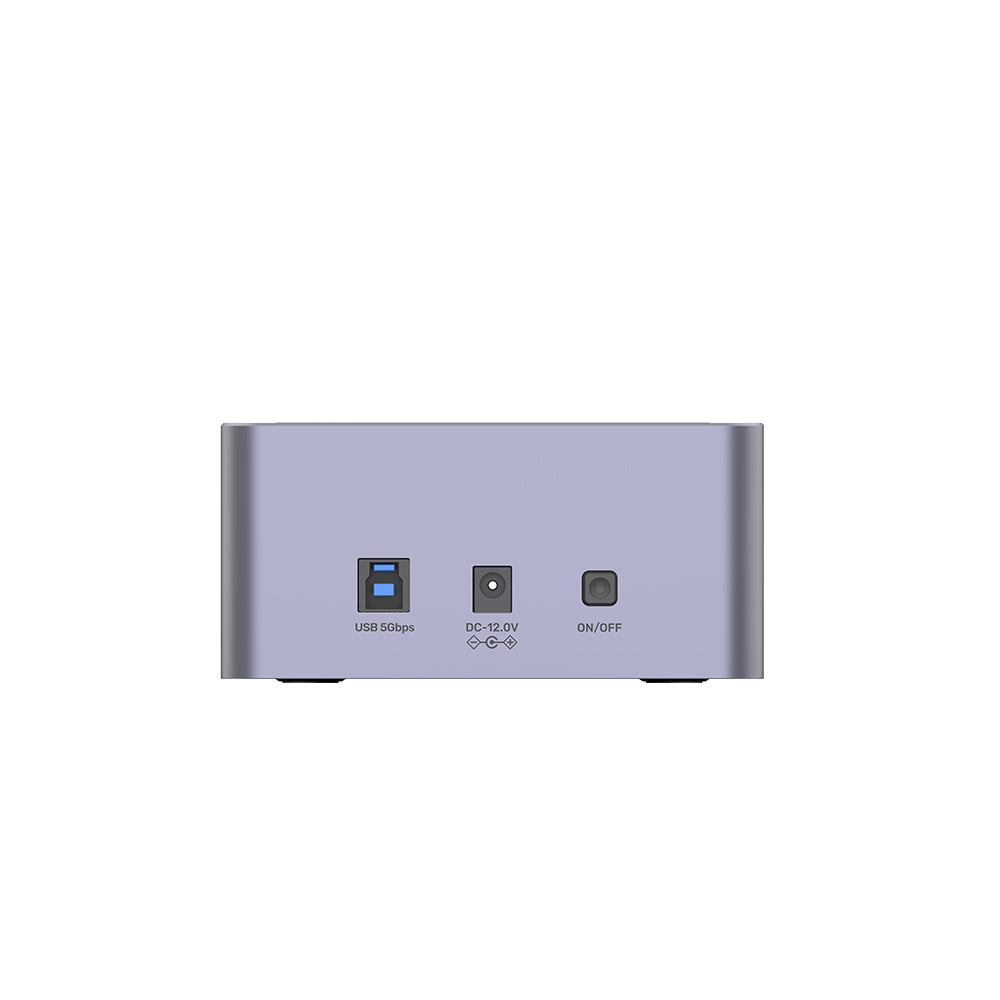
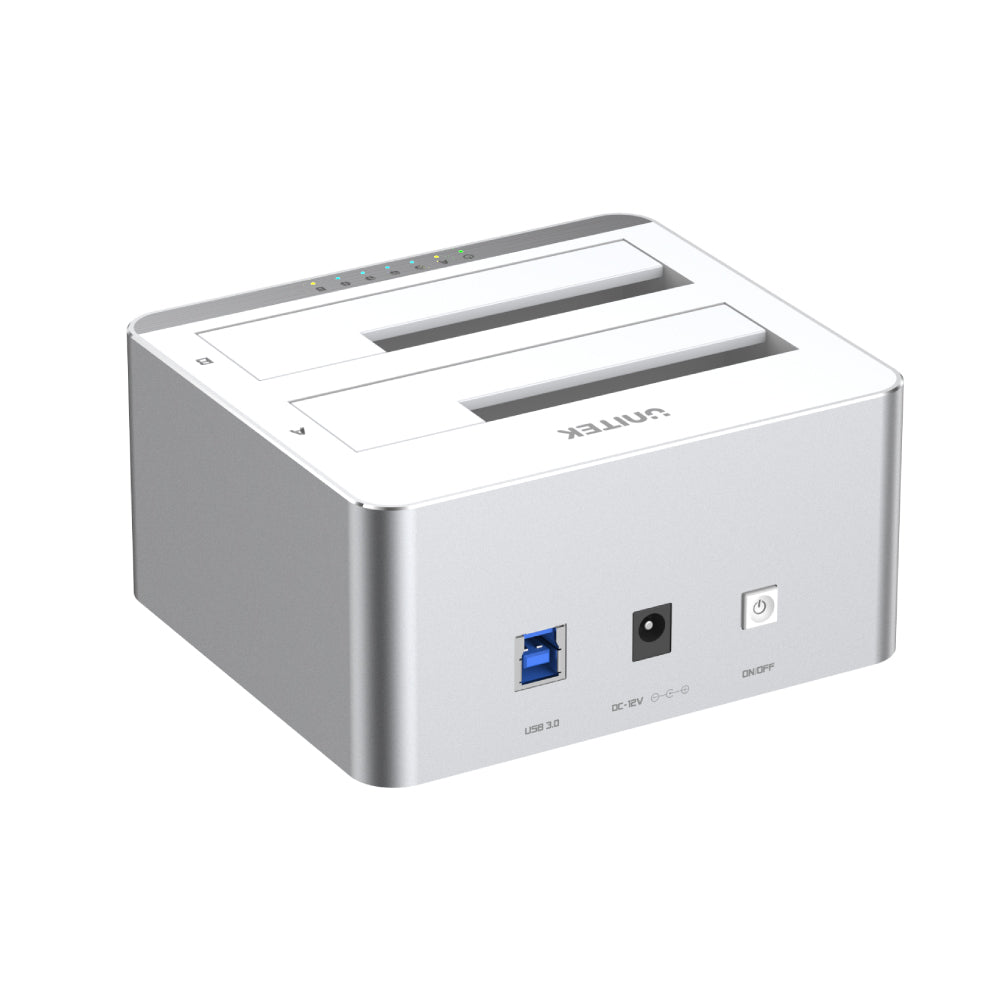
Clone Button for easy standalone drive duplication, Disk A and Disk B slots for 2.5”/3.5” SATA HDDs/SSDs, a USB-B Interface for 5Gbps transfers, and a DC 12V Power Port with an On/Off Switch for reliable operation. This design ensures hassle-free cloning and swapping of drives up to 40TB.
The 5Gbps Dual-Bay SATA Docking Station is designed for users seeking an efficient and versatile storage solution. With its dual-bay design, this docking station allows for standalone drive cloning, enabling you to back up your data quickly and easily without needing to connect to a computer.
Offline Clone Function
The Y-3026GY01-UK Dual-Bay SATA Docking Station features standalone drive cloning, making it simple to back up your data without the need for a computer. Users can also connect the dock to their computer for easy drive swapping, enhancing storage scalability. This versatile solution is ideal for anyone looking to manage their data efficiently and securely.
Supports UASP & Trim
Transfer 1GB files in seconds. UASP enhances data transfer speeds to and from storage devices, while TRIM optimizes write performance and helps maintain the longevity of your hard drives. This combination ensures that your storage solutions operate at their best, providing efficient and reliable performance.
Reliable Power and Performance
With a 12V power adapter for stable operation, supporting 2.5”/3.5” SATA I/II/III HDDs and SSDs up to 40TB (20TB x 2). With 5Gbps USB 3.0 SuperSpeed, UASP, TRIM, and standalone cloning, it ensures fast data transfers and optimized drive performance, making it a versatile storage solution for various systems.
Supports up to 40TB
Two SATA slots that support standard 2.5" and 3.5" SATA I/II/III HDDs and SSDs. With a combined capacity of up to 40TB (20TB per slot), it provides ample storage for all your data needs. This versatility makes it an ideal choice for users looking to expand their storage solutions efficiently.
Plug & Play
Easy drive installation with no drivers or software required. This plug-and-play functionality enables users to swiftly swap drives in and out as needed, providing quick access to your data. Enjoy hassle-free operation and seamless integration into your workflow.
Wide Compatibility
With a wide range of systems, including Windows XP, 7, Vista, 8, 8.1, and 10 (both 32 and 64 bit), as well as Linux and Mac OS. This extensive compatibility ensures that you can easily integrate the docking station into your existing setup, regardless of your operating system.
Connect to computer to expand storage
Standalone hard drive duplicator, enabling you to duplicate drives quickly without needing to connect to your computer. This dual functionality makes it an essential tool for efficient data management and backup.
Enhance Gaming Experience
Connecting to gaming consoles like the PS4, expanding capacity with support for 2.5”/3.5” SATA I/II/III HDDs and SSDs up to 40TB (20TB x 2). Featuring 5Gbps USB 3.0 SuperSpeed, UASP, TRIM, and standalone cloning, it ensures fast data transfers and optimized performance, making it perfect for storing and accessing games effortlessly.
Efficient Data Management Made Simple
Clone Button for easy standalone drive duplication, Disk A and Disk B slots for 2.5”/3.5” SATA HDDs/SSDs, a USB-B Interface for 5Gbps transfers, and a DC 12V Power Port with an On/Off Switch for reliable operation. This design ensures hassle-free cloning and swapping of drives up to 40TB.
| Operating System | Windows 10/ 11 (32/ 64bit), Linux kernel 3.x, Mac OS 10.6 or above |
|---|---|
| Host Port Compatibility | USB-B |
| Connector Type | SATAコネクタ x 2 |
| Card Slot | SATAスロット×2 |
| Host Power (PD) | DC 12V3A |
| SSD Compatibility | SATA SSD |
| Data transfer rate | 5Gbps |
| Cable Length | 120万 |
| Dimensions | 129.4mm x 114.4mm x 61.0mm |
| Material | Aluminum Alloy |
| Colour | Space Grey |
- 5Gbps デュアルベイ SATA ドッキングステーション x 1
- 12V 3A電源アダプター×1
- USB AM - BM 5Gbpsケーブル x 1
- ユーザーマニュアル x 1
オプションを選択