

イーサネット対応 4K 60Hz プレミアム認定 HDMI ケーブル
Elevate your home entertainment experience with our Premium HDMI Cable, certified for high-speed performance and designed to deliver stunning 4K@60Hz visuals. Verified at an official HDMI Authorized Test Center, this cable ensures reliable and smooth transmission for all your audio-visual needs.

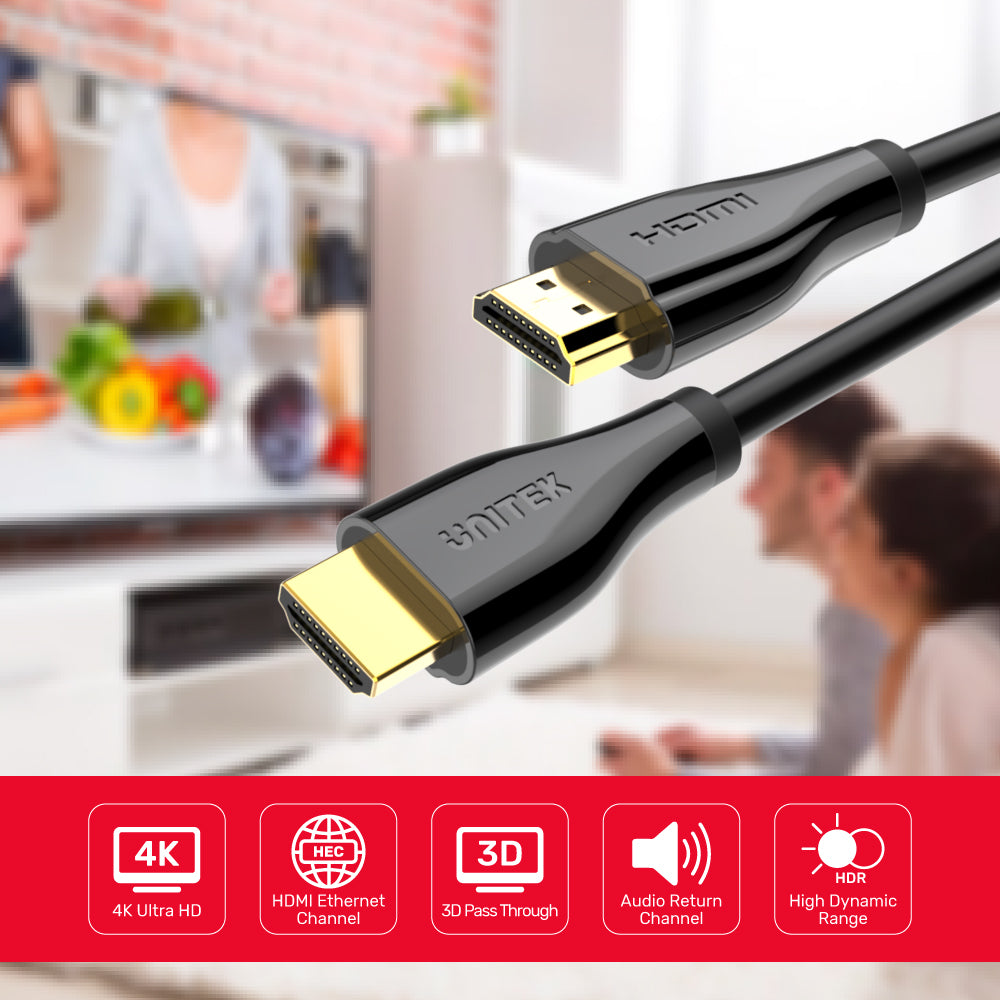
Premium Certified HDMI 2.0 Cable: 4K@60Hz, HDR, and Ethernet Support
Enjoy ultra-clear 4K@60Hz visuals and immersive audio with this HDMI Premium Certified cable. Officially verified for 18Gbps bandwidth, HDR, 3D, Audio Return Channel, and Ethernet, it ensures reliable, interference-free performance for home entertainment and professional setups.

Premium HDMI 2.0 Cable—Certified for 4K@60Hz and Lasting Reliability
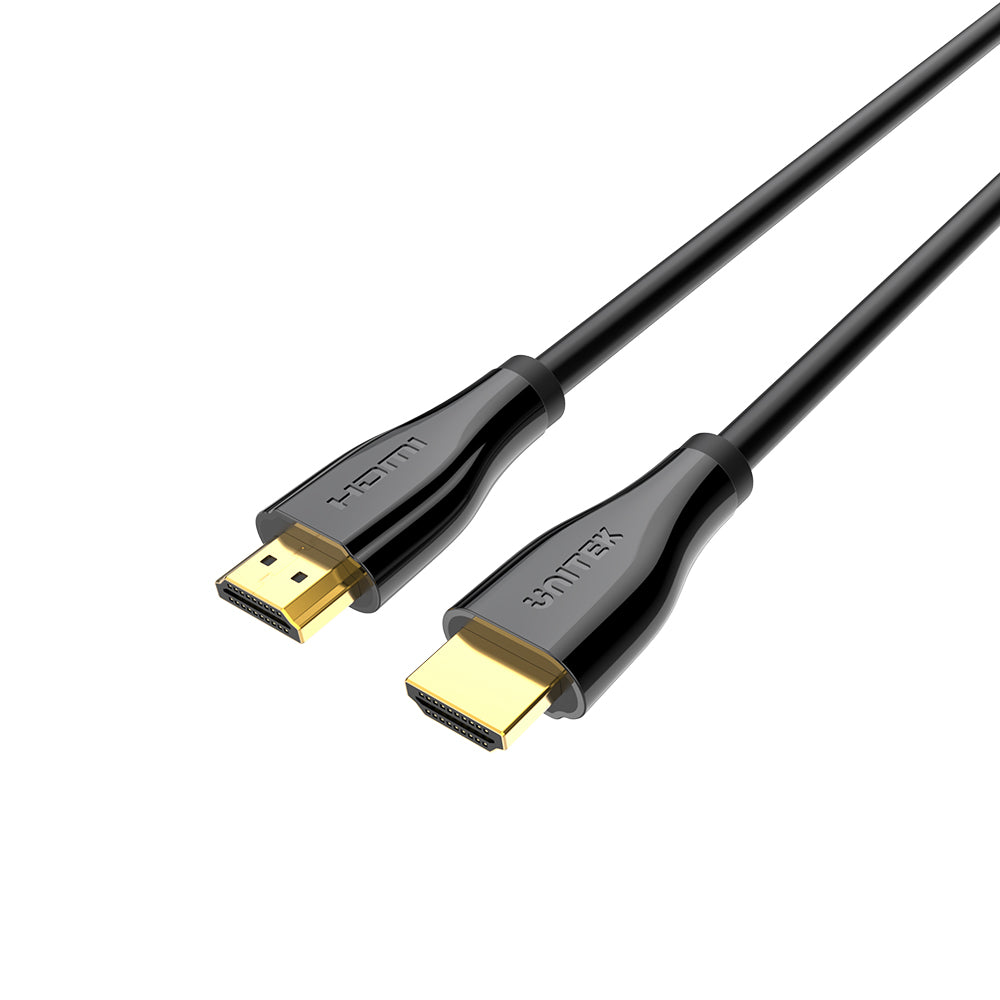
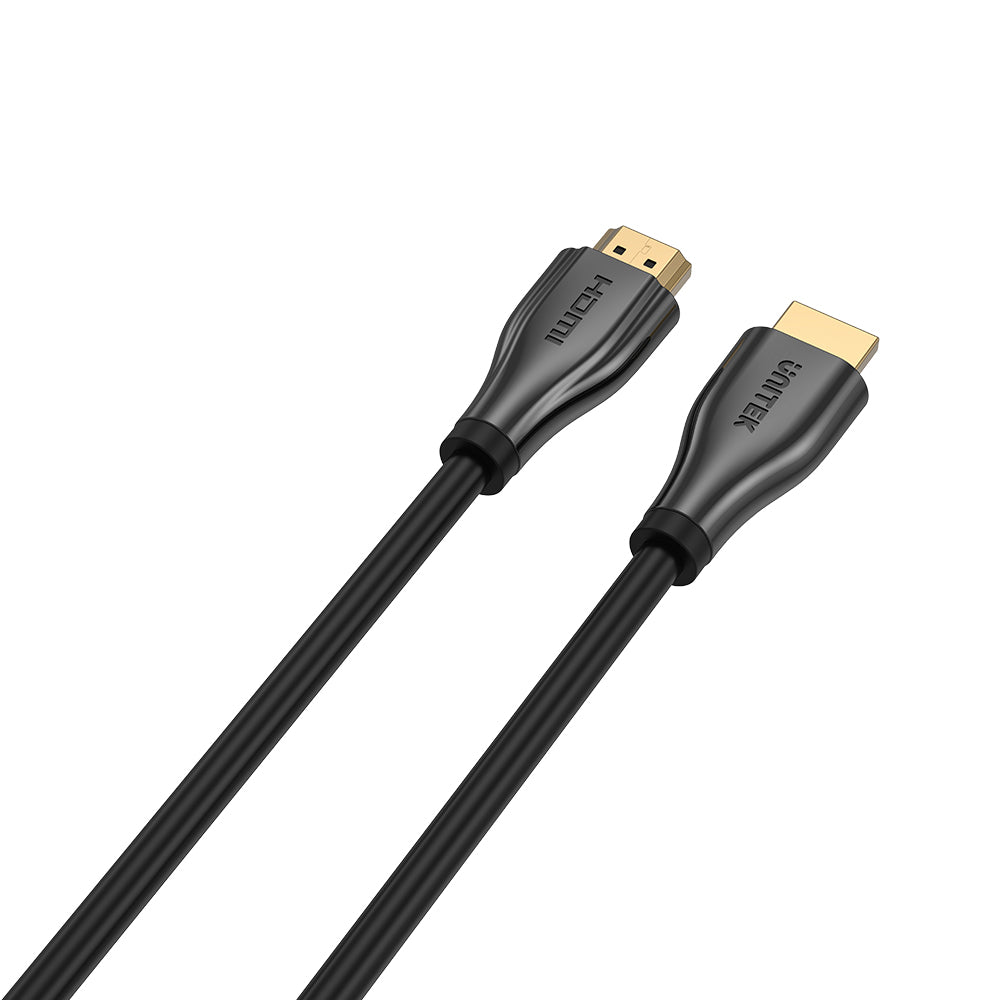
Officially certified at an HDMI Authorized Test Center, this UNITEK HDMI 2.0 cable guarantees flawless 4K@60Hz streaming and robust performance. Gold-plated connectors and premium build ensure stable, high-speed connectivity for your home entertainment setup.
HDMI Premium Certified Cable—Tested for Quality, Trusted for Performance
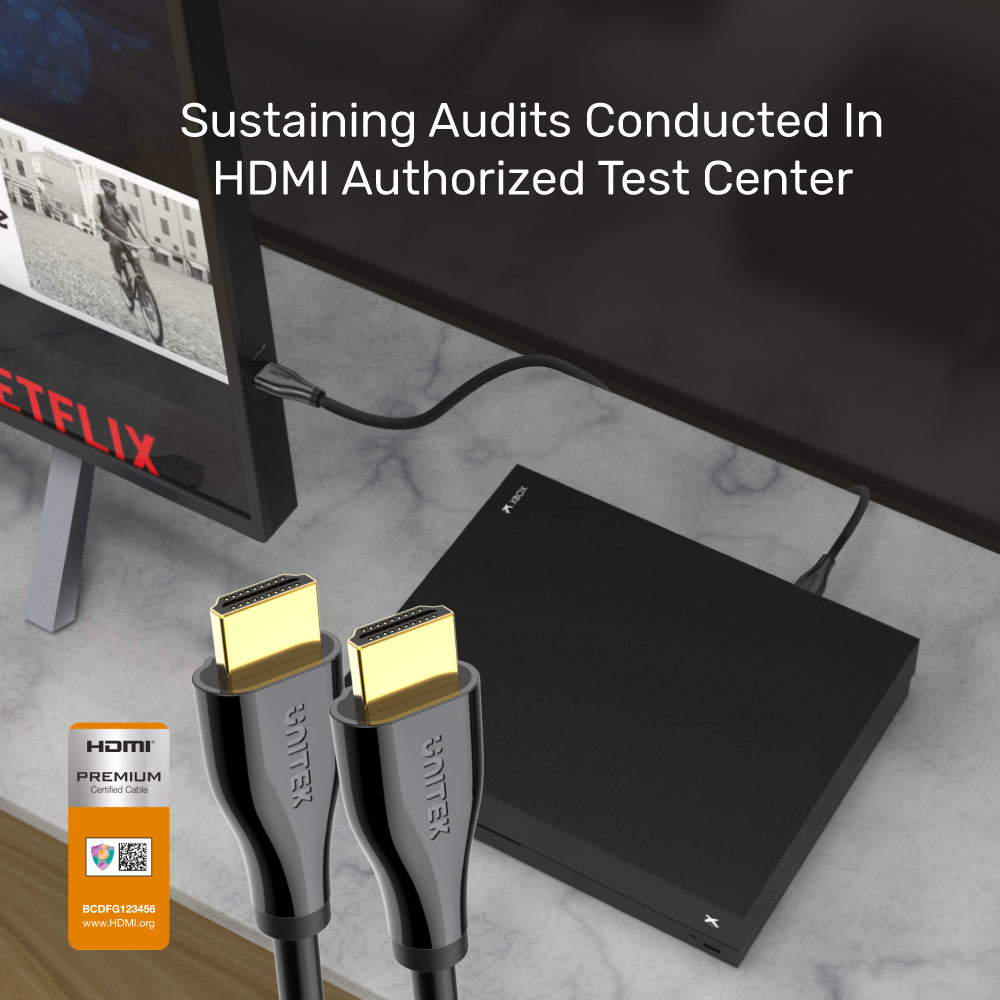
UNITEK’s HDMI 2.0 cable is officially certified and sustaining-audited at an HDMI Authorized Test Center. Enjoy flawless 4K streaming, gold-plated connectors, and reliable, high-speed connectivity for your home entertainment setup.

Premium HDMI Cable—Official Quality, Built for Lasting Performance
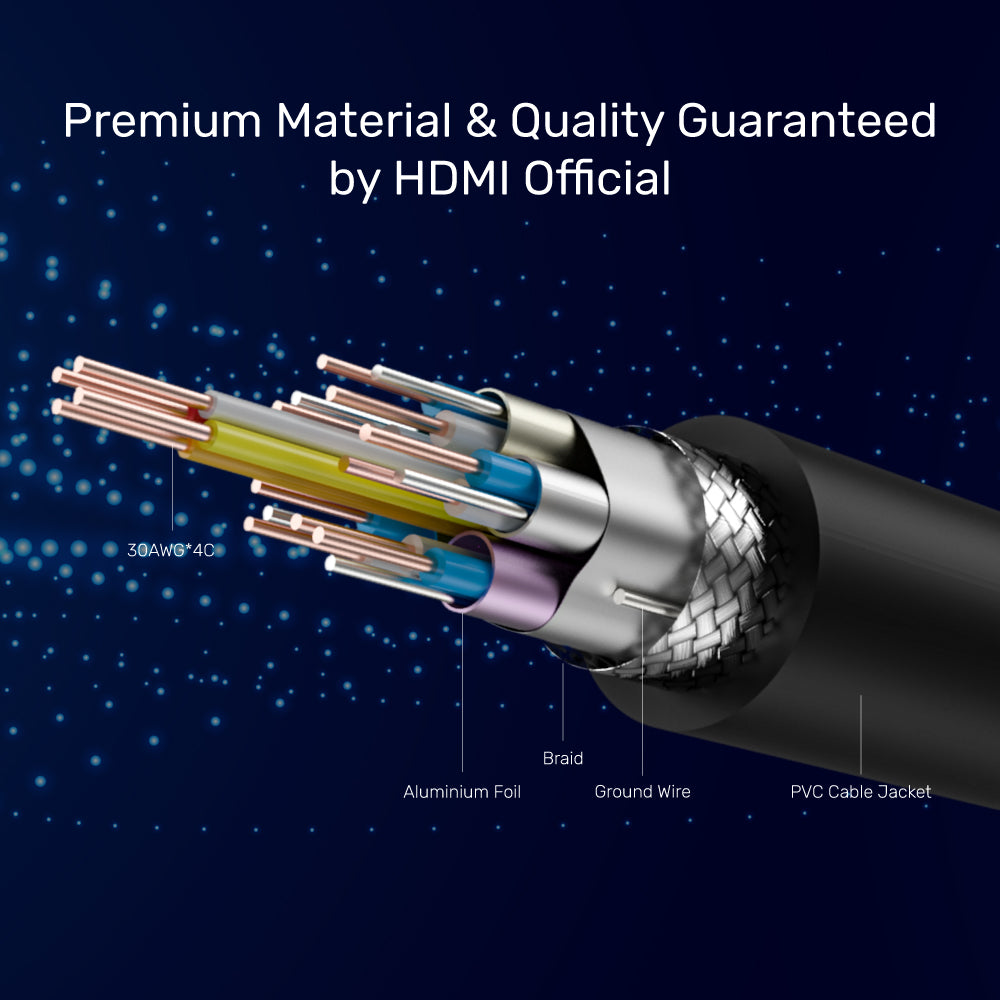
Constructed with high-grade 30AWG copper, aluminium foil shielding, and a durable PVC jacket, this HDMI cable is officially certified for premium material quality and reliable signal transmission—ensuring stable, high-speed 4K connectivity for your devices.
Elevate your home entertainment experience with our Premium HDMI Cable, certified for high-speed performance and designed to deliver stunning 4K@60Hz visuals. Verified at an official HDMI Authorized Test Center, this cable ensures reliable and smooth transmission for all your audio-visual needs.
Premium Certified HDMI 2.0 Cable: 4K@60Hz, HDR, and Ethernet Support
Enjoy ultra-clear 4K@60Hz visuals and immersive audio with this HDMI Premium Certified cable. Officially verified for 18Gbps bandwidth, HDR, 3D, Audio Return Channel, and Ethernet, it ensures reliable, interference-free performance for home entertainment and professional setups.
Premium HDMI 2.0 Cable—Certified for 4K@60Hz and Lasting Reliability
Officially certified at an HDMI Authorized Test Center, this UNITEK HDMI 2.0 cable guarantees flawless 4K@60Hz streaming and robust performance. Gold-plated connectors and premium build ensure stable, high-speed connectivity for your home entertainment setup.
HDMI Premium Certified Cable—Tested for Quality, Trusted for Performance
UNITEK’s HDMI 2.0 cable is officially certified and sustaining-audited at an HDMI Authorized Test Center. Enjoy flawless 4K streaming, gold-plated connectors, and reliable, high-speed connectivity for your home entertainment setup.
Premium HDMI Cable—Official Quality, Built for Lasting Performance
Constructed with high-grade 30AWG copper, aluminium foil shielding, and a durable PVC jacket, this HDMI cable is officially certified for premium material quality and reliable signal transmission—ensuring stable, high-speed 4K connectivity for your devices.
| Max Output Resolution | 4K@60Hz |
|---|---|
| HDMI | 2 |
| Data transfer rate | 18Gbps |
| Cable Length | 100万 |
| Cable Type | HDMIからHDMIへ |
| Material | PVC |
| Colour | Black |
- 4K 60Hz プレミアム認証 HDMI ケーブル (イーサネット付き) x 1
オプションを選択