
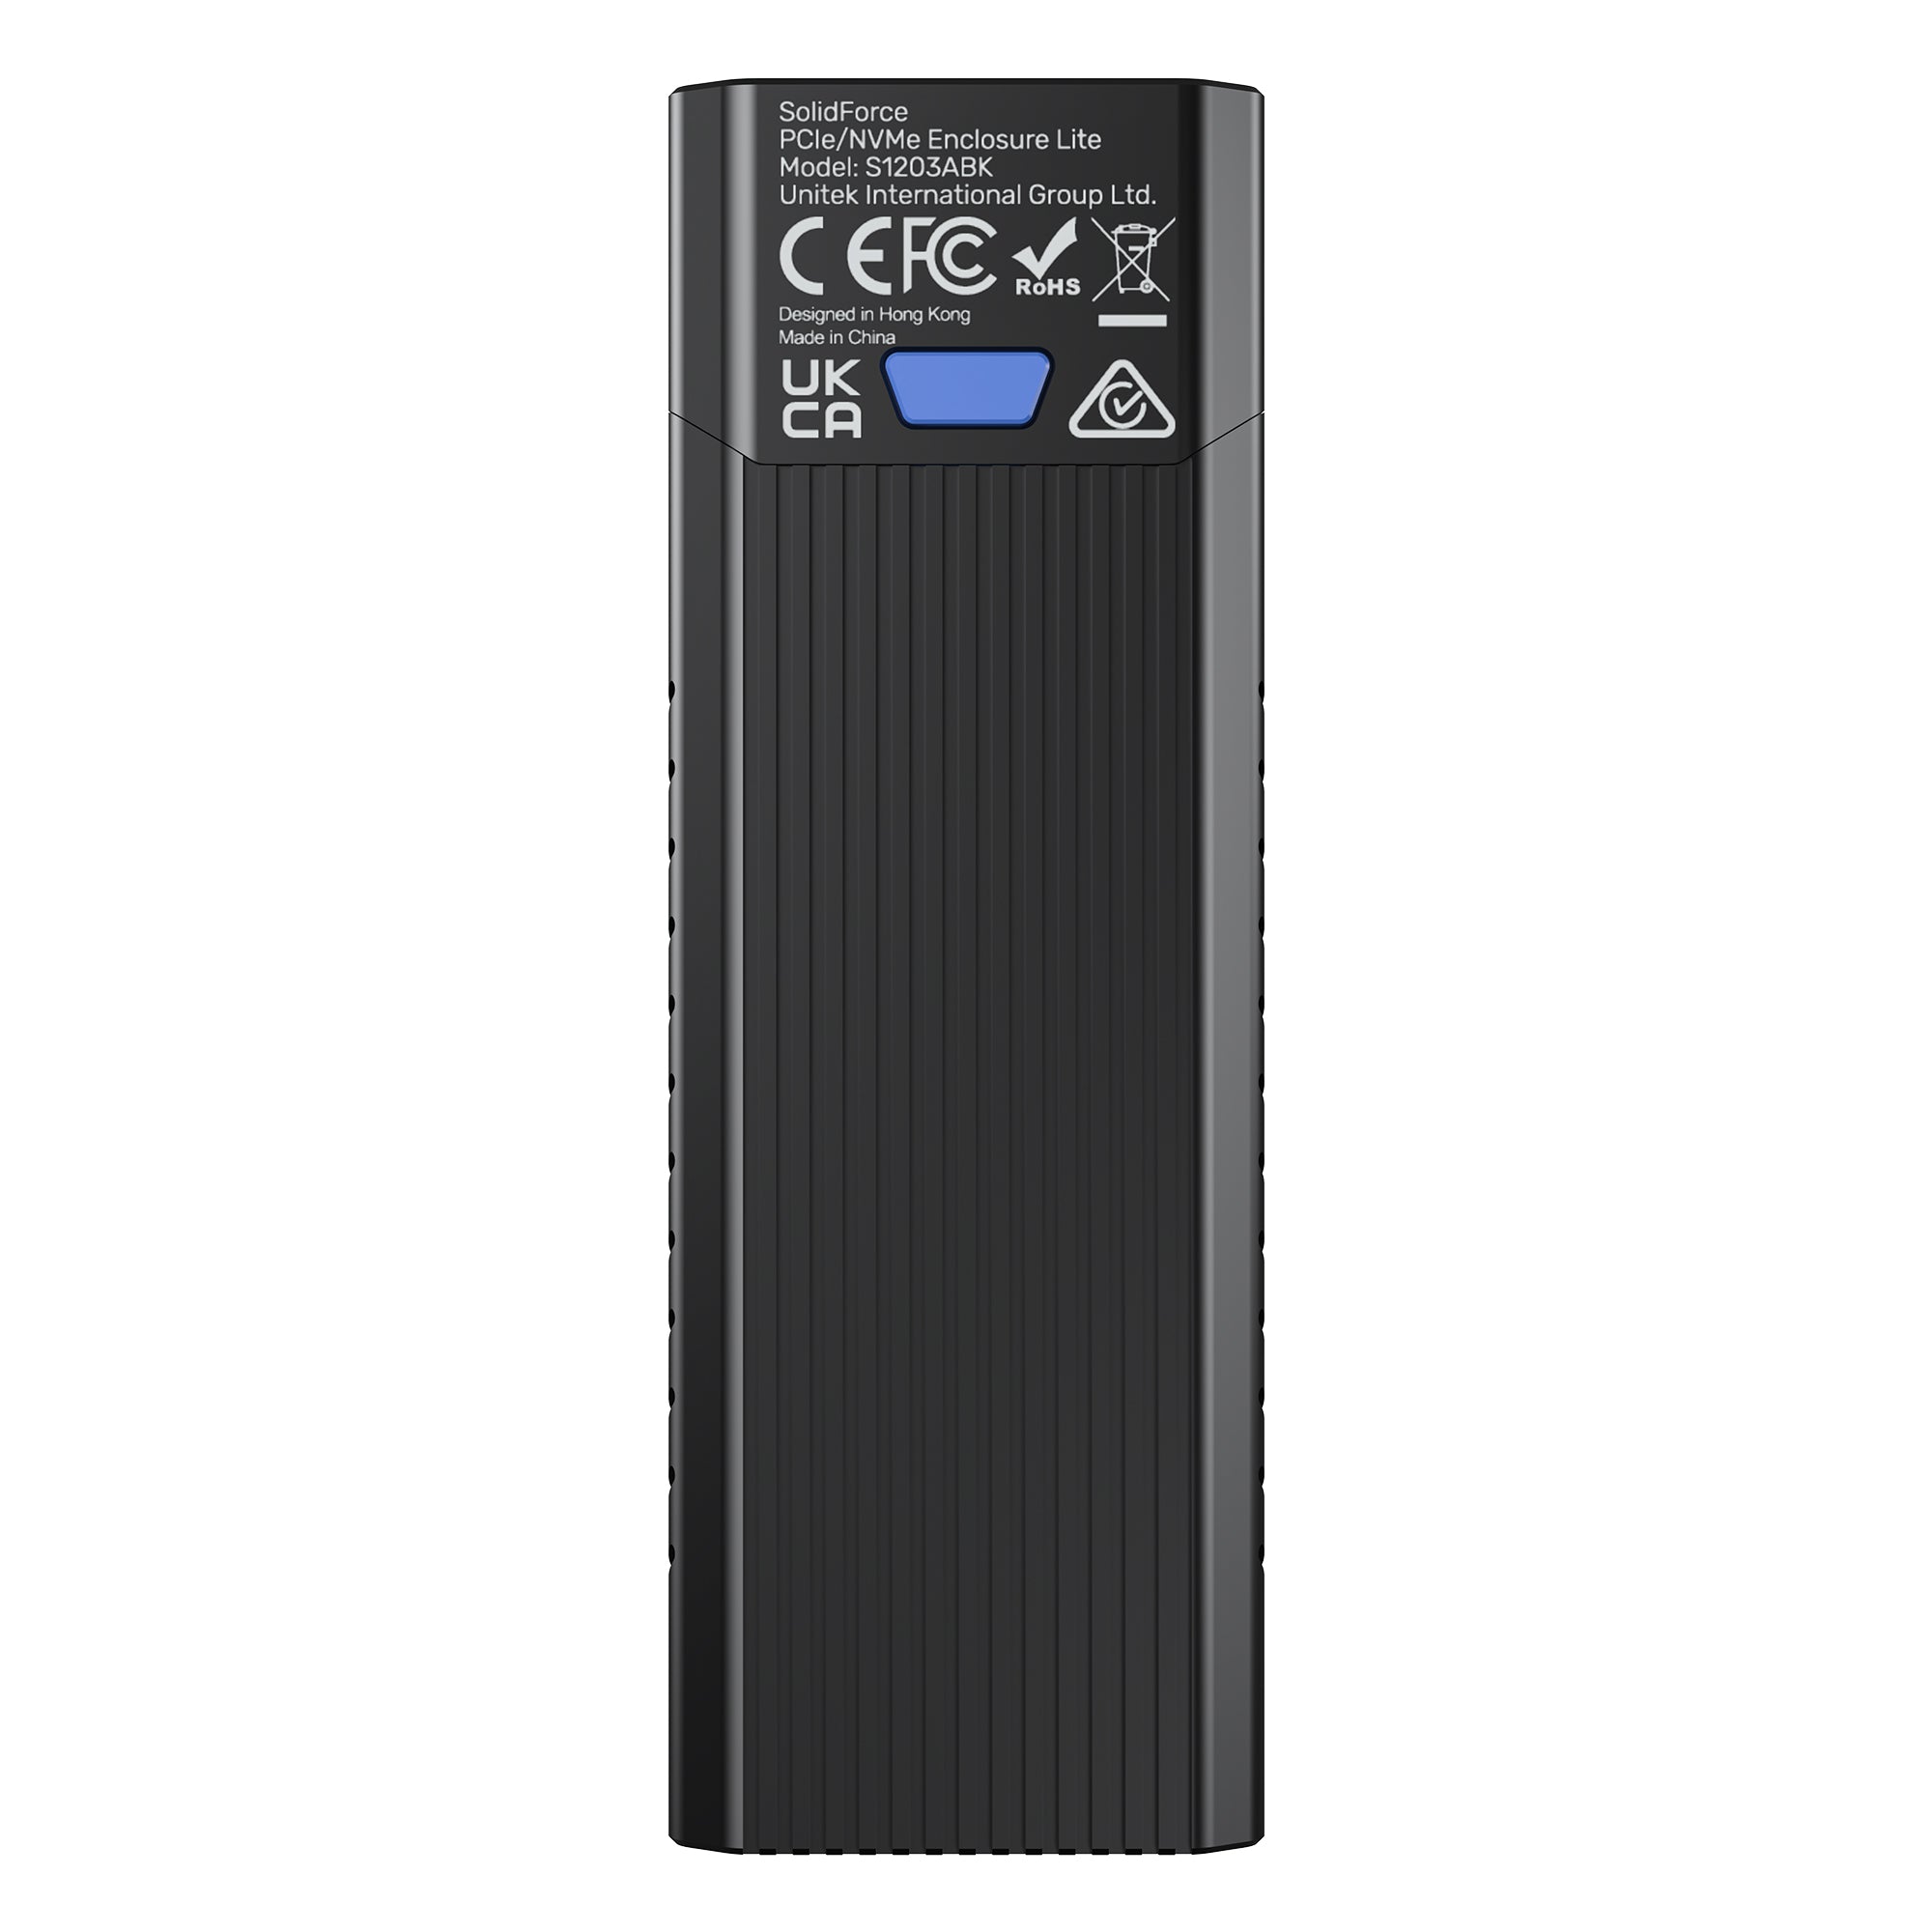
SolidForce PCIe/NVMe M.2 SSD エンクロージャ ライト
SolidForce PCIe/NVMe M.2 SSDエンクロージャLiteは、M.2 NVMe SSDを活用するための堅牢かつ効率的なソリューションを提供するように設計されています。このエンクロージャは、最大8TBまでのMおよびM+BキーのNVMe SSDをサポートし、さまざまなサイズ(42mm、60mm、80mm)に対応しているため、さまざまなストレージニーズに柔軟に対応できます。

ツール不要の取り付け
ツールフリー設計で、M.2 NVMe SSDを素早く簡単に取り付けることができます。プラグアンドプレイで、ドライバーは不要です。ハードドライブが新品の場合は、ご使用前に初期化、パーティション設定、フォーマットを行ってください。

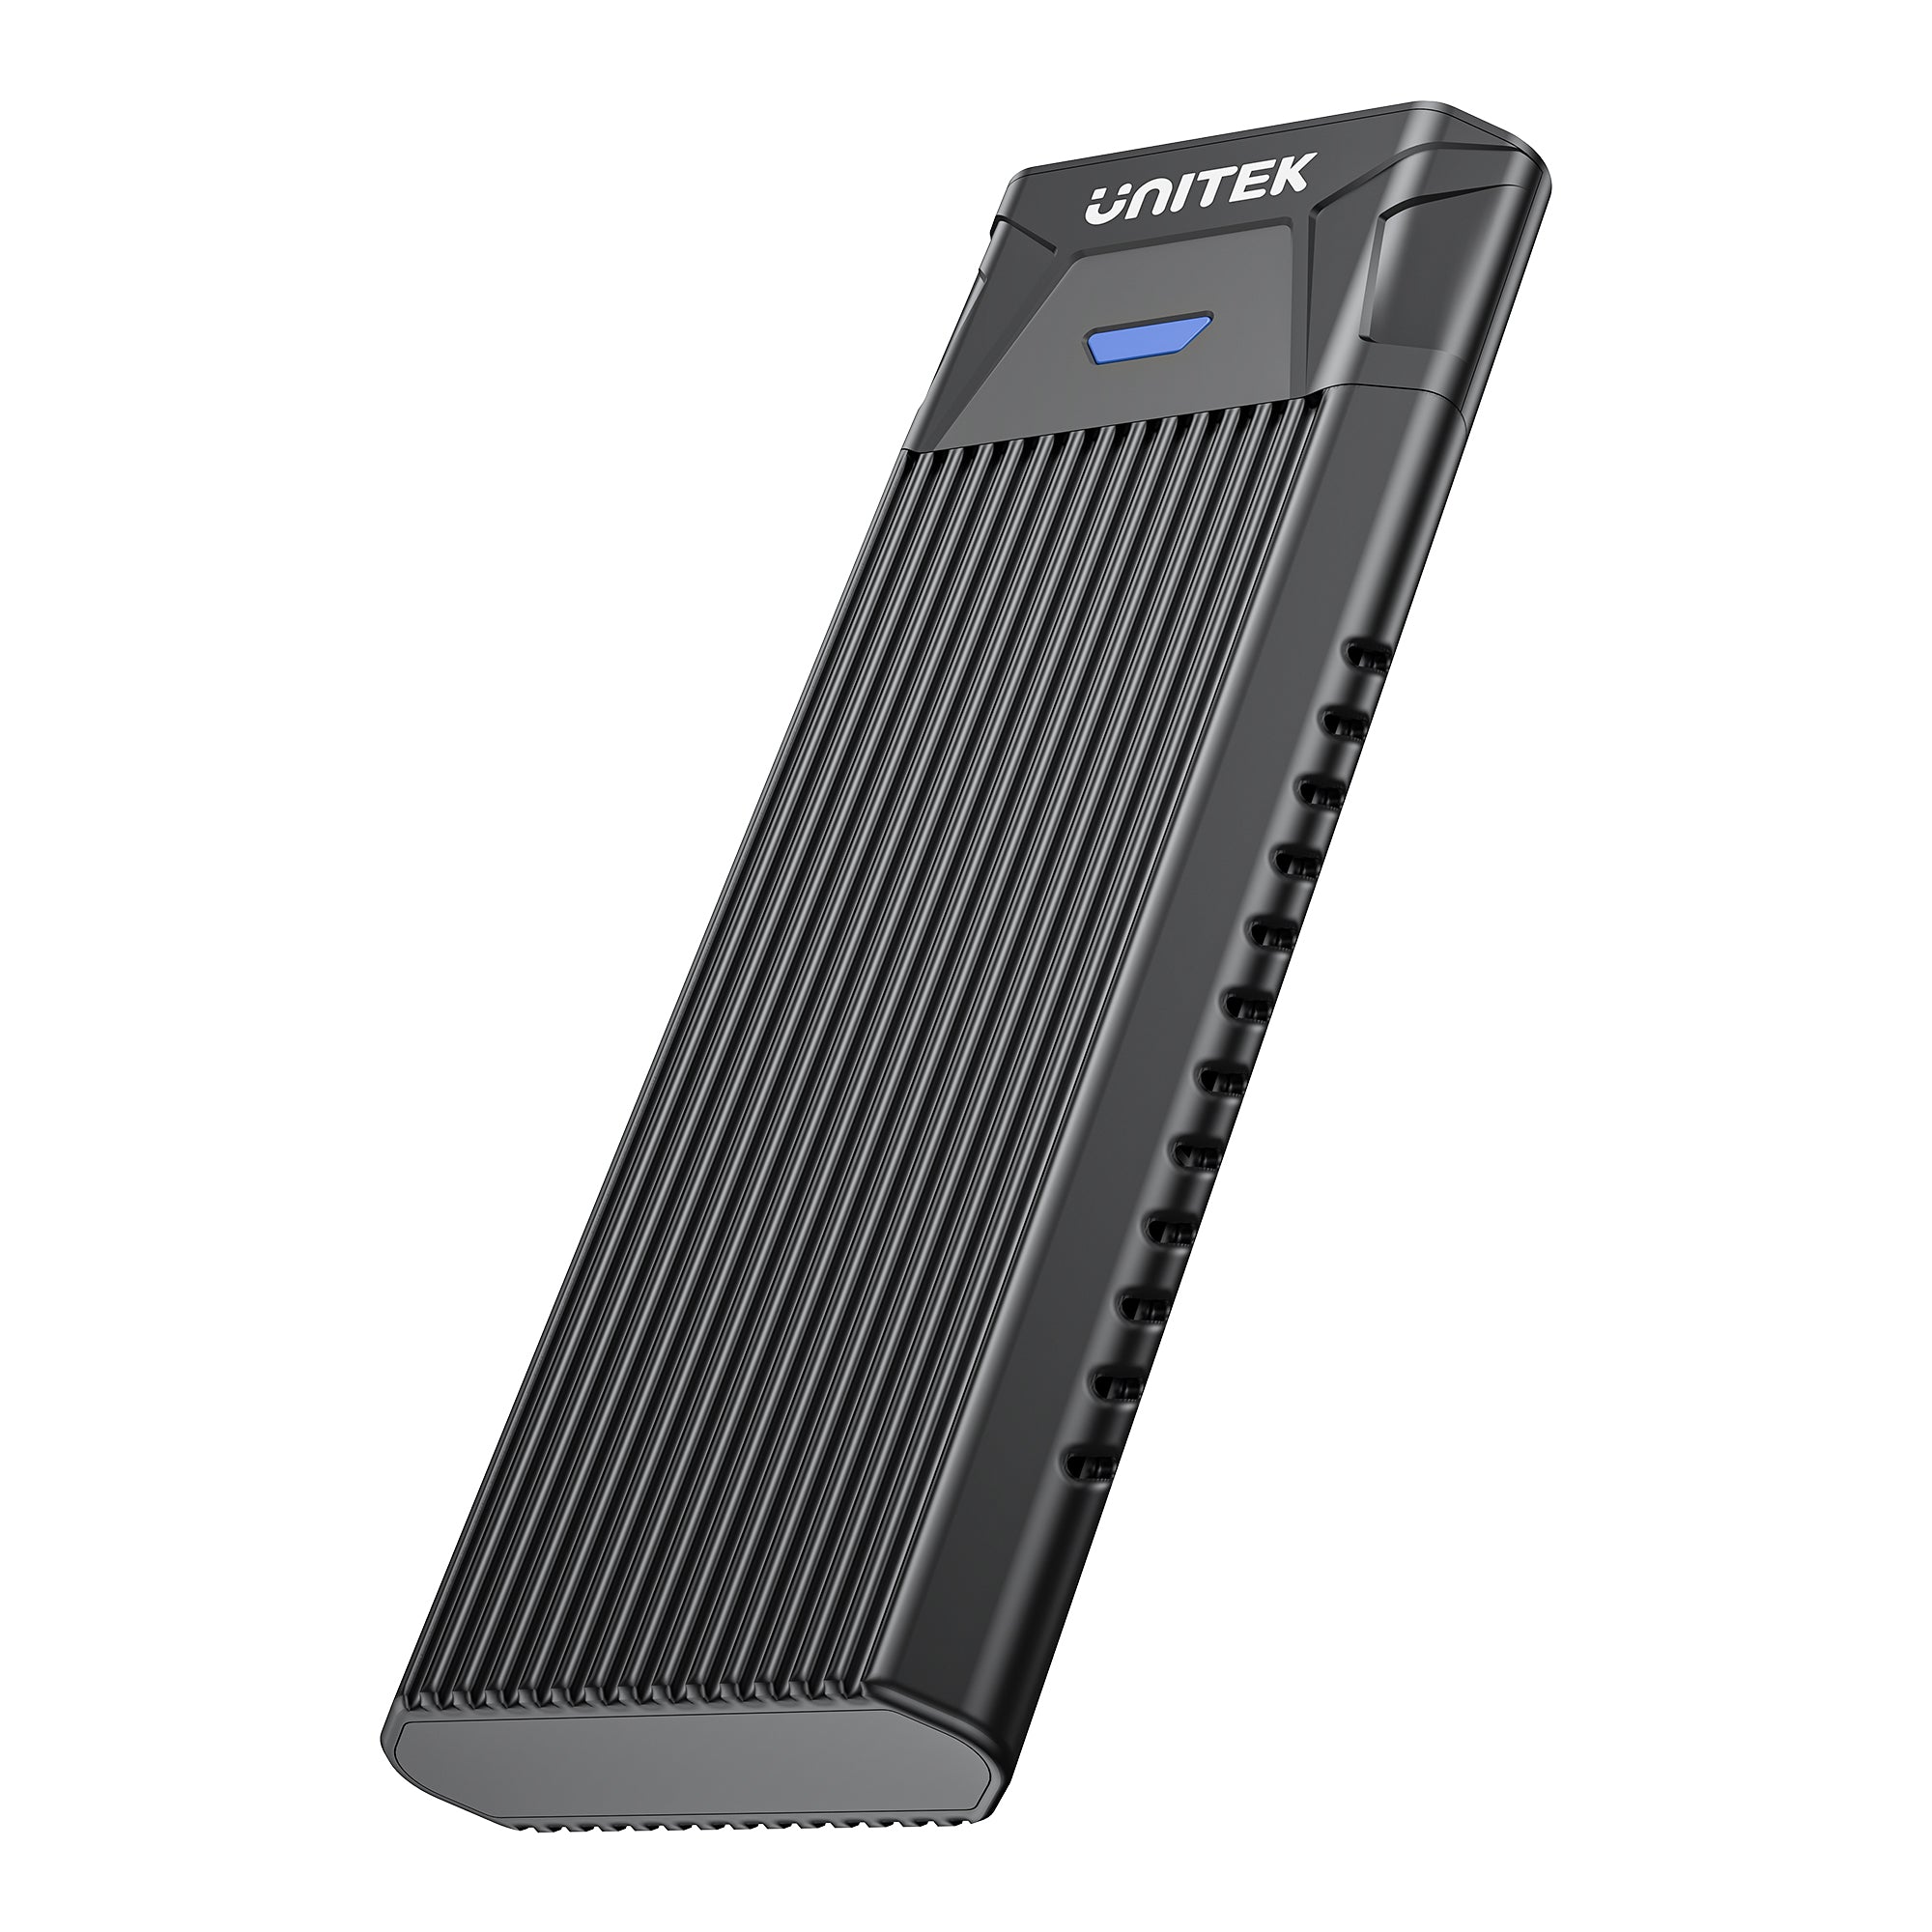
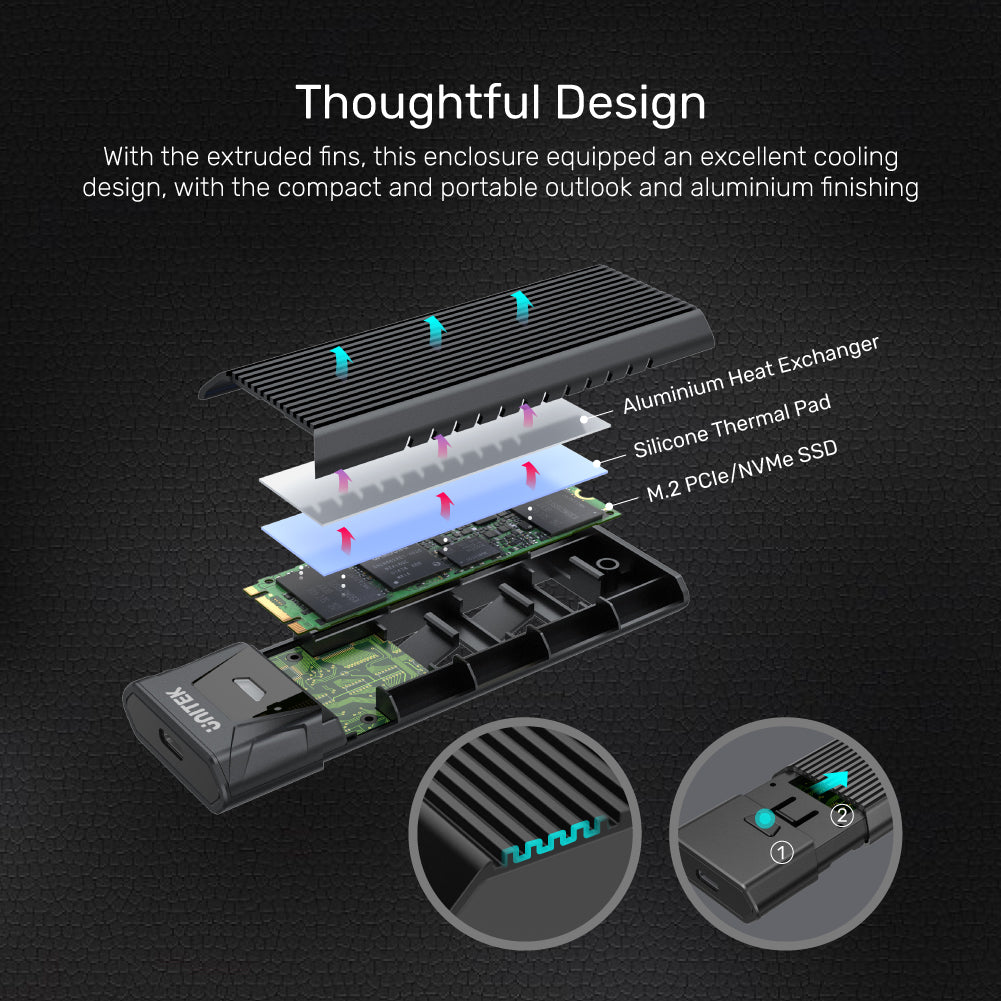
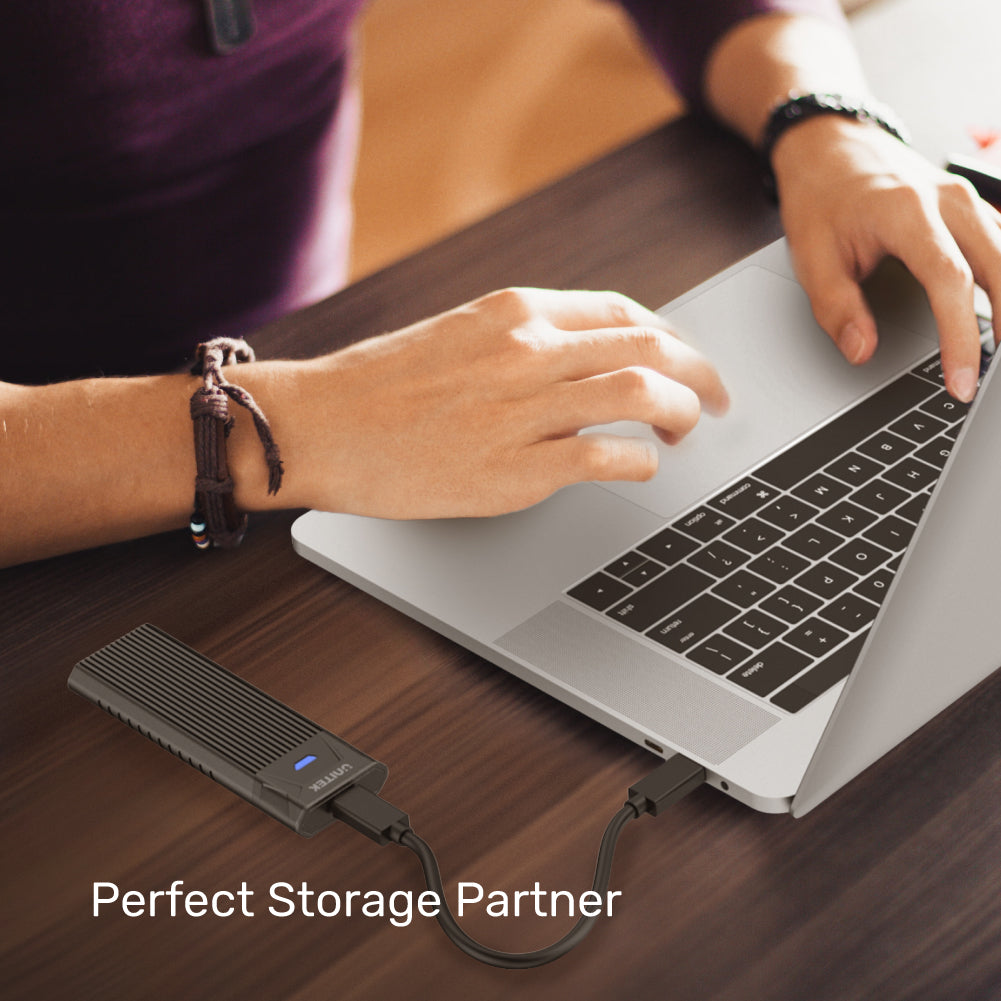
効果的な放熱
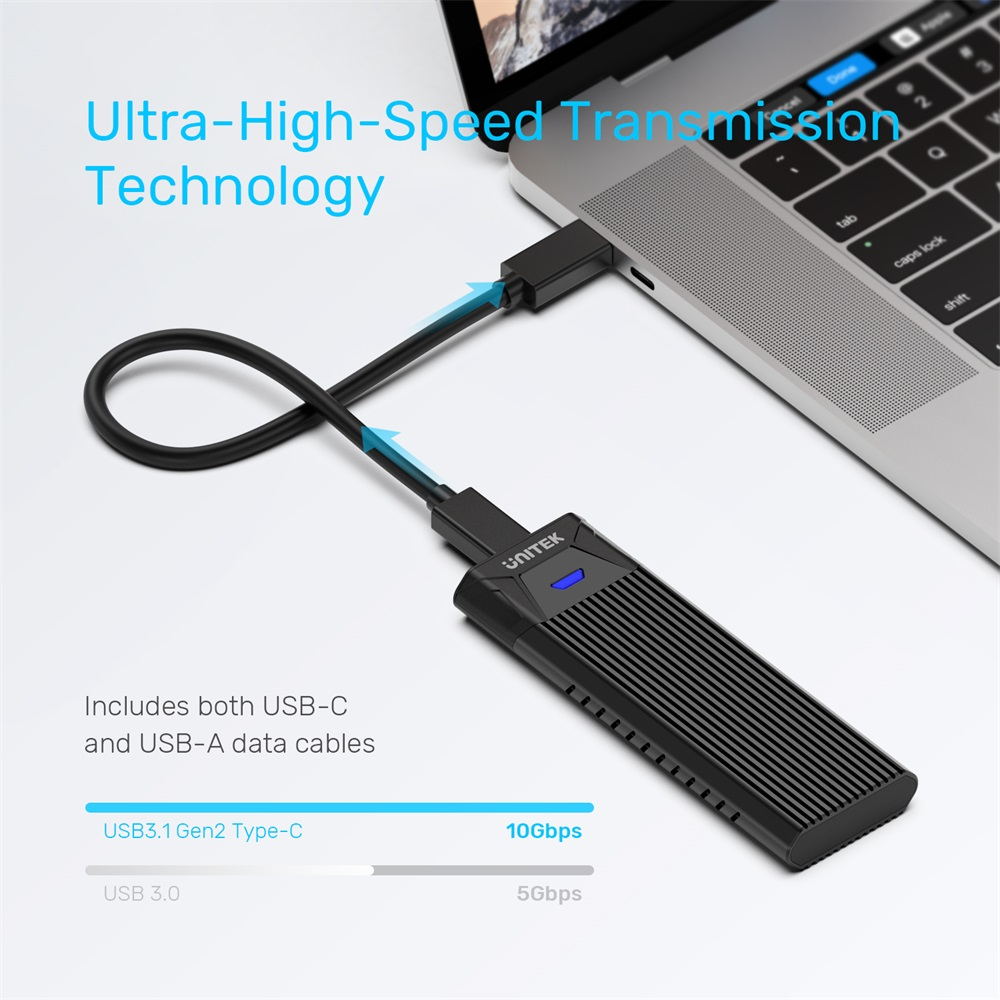
このPCIe/NVMeエンクロージャは、アルミニウム製の筐体を採用し、スリムなデザインで耐久性と優れた放熱性を備え、消費電力を抑えます。UASP/TRIMをサポートし、超高速転送速度を実現します。

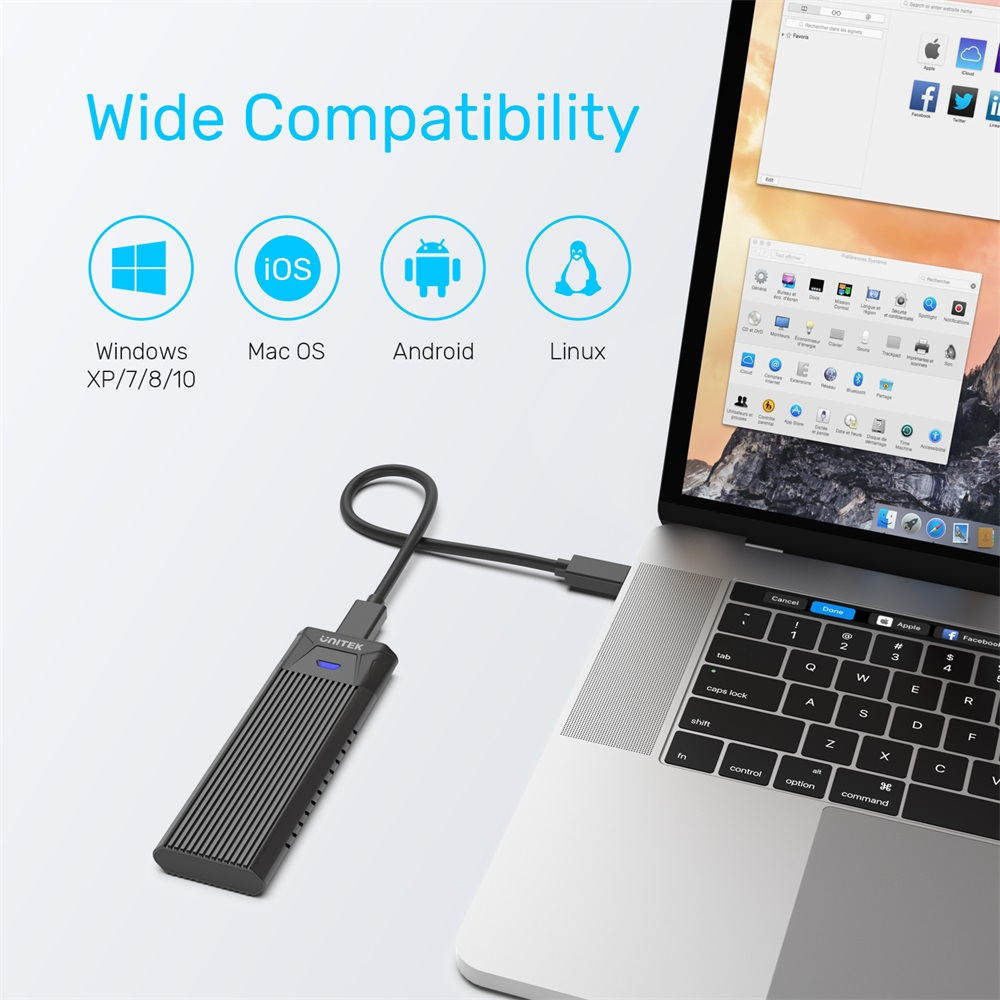
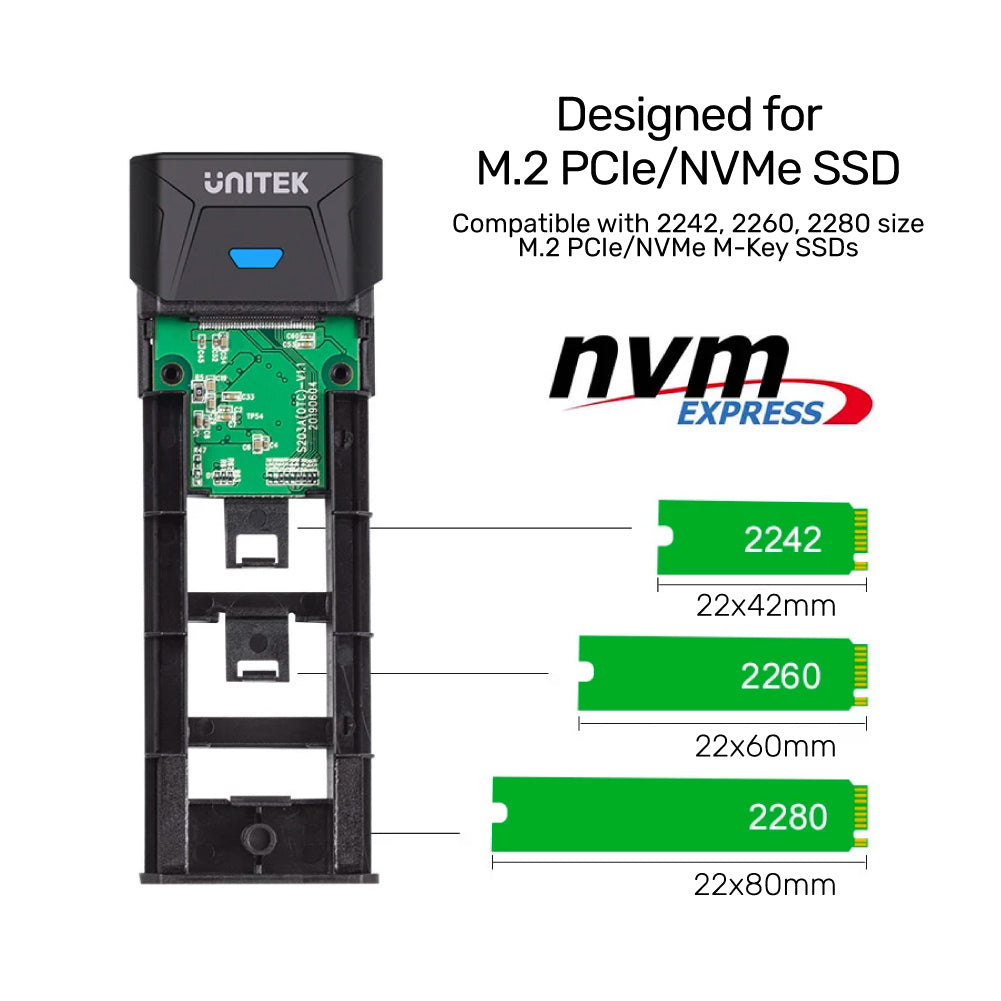
幅広い互換性
この M.2 SSD エンクロージャは、サイズ 2230/2242/2260/2280 の M.2 NVMe M Key SSD をサポートします。
SolidForce PCIe/NVMe M.2 SSDエンクロージャLiteは、M.2 NVMe SSDを活用するための堅牢かつ効率的なソリューションを提供するように設計されています。このエンクロージャは、最大8TBまでのMおよびM+BキーのNVMe SSDをサポートし、さまざまなサイズ(42mm、60mm、80mm)に対応しているため、さまざまなストレージニーズに柔軟に対応できます。
ツール不要の取り付け
ツールフリー設計で、M.2 NVMe SSDを素早く簡単に取り付けることができます。プラグアンドプレイで、ドライバーは不要です。ハードドライブが新品の場合は、ご使用前に初期化、パーティション設定、フォーマットを行ってください。
効果的な放熱
このPCIe/NVMeエンクロージャは、アルミニウム製の筐体を採用し、スリムなデザインで耐久性と優れた放熱性を備え、消費電力を抑えます。UASP/TRIMをサポートし、超高速転送速度を実現します。
幅広い互換性
この M.2 SSD エンクロージャは、サイズ 2230/2242/2260/2280 の M.2 NVMe M Key SSD をサポートします。
| Operating System | Windows 10/ 11 (32/ 64bit), Linux kernel 3.x, Mac OS 10.6 or above |
|---|---|
| Host Port Compatibility | USB-C |
| Card Slot | M.2スロット×1 |
| USB-C | 1 x 10Gbps(メス) |
| SSD Compatibility | M.2 PCI-e NVMe SSD |
| Data transfer rate | 10Gbps |
| Cable Length | 30cm |
| Dimensions | 117.5mm x 40.0mm x 13.5mm |
| Material | Aluminum Alloy |
| Colour | Space Grey |
- M.2 SSDエンクロージャ x 1
- USB C - USB C ケーブル x 1
- USB C - USB A ケーブル x 1
- USB C - USB A ケーブル x 1
- ユーザーマニュアル x 1
オプションを選択