
USB3.0 から SATA6G ドッキングステーション
The USB3.0 to SATA6G Docking Station provides a convenient and efficient solution for accessing and managing your SATA HDDs and SSDs. Designed for both 3.5" and 2.5" drives, this docking station supports a variety of SATA standards and data transfer rates, making it a versatile addition to your storage toolkit.

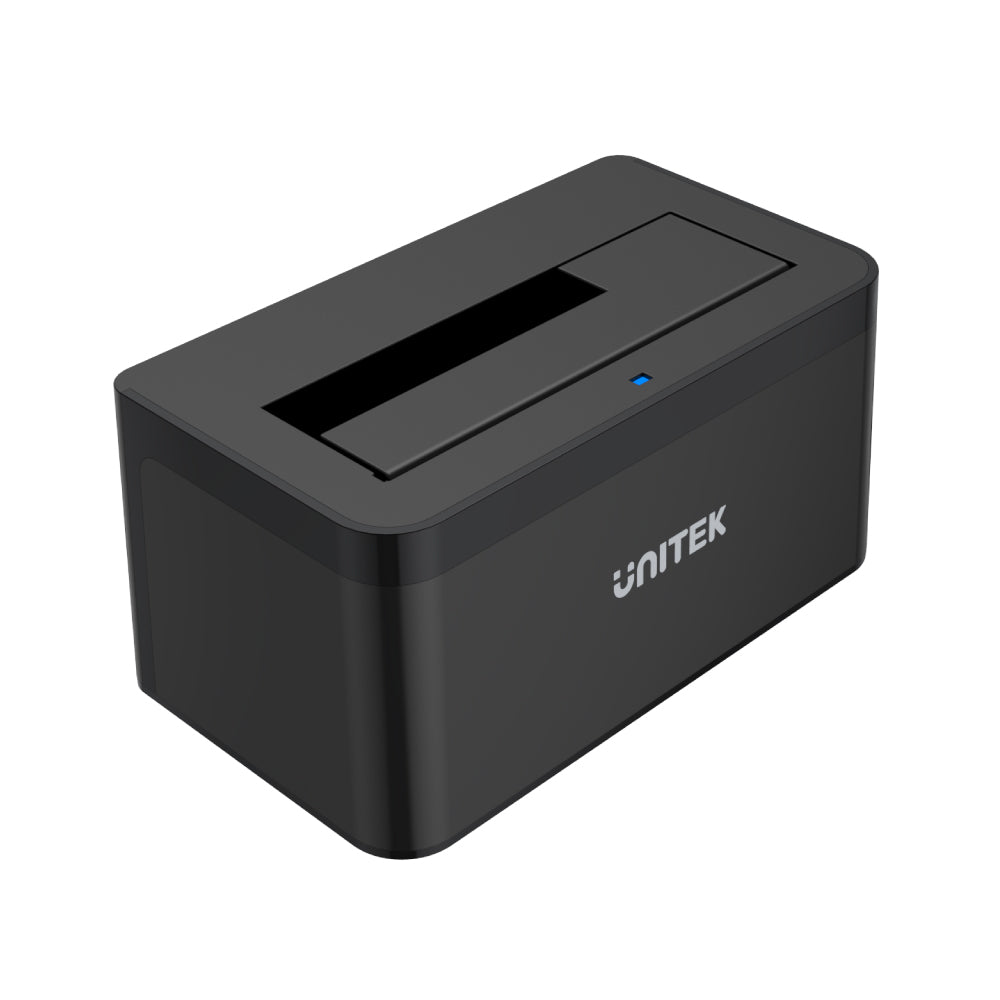
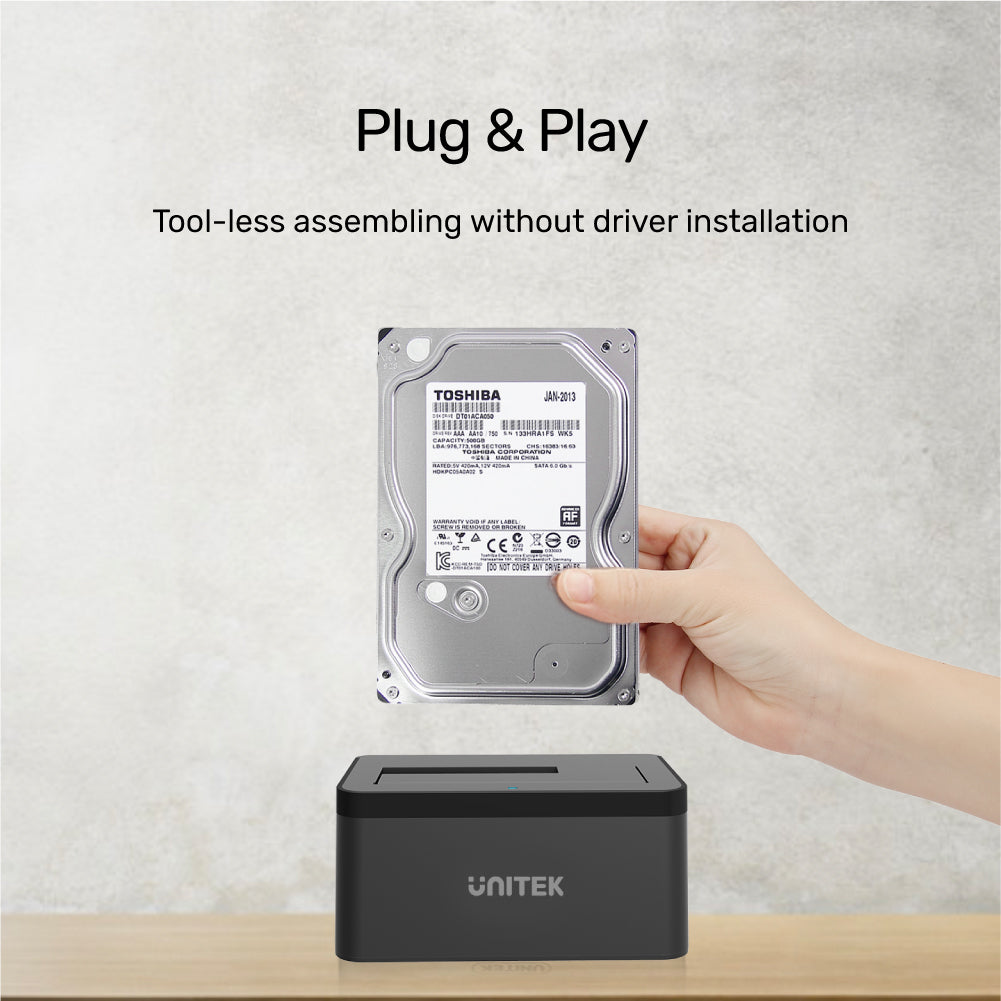
Transform Any HDD or SSD into a High-Speed External Drive
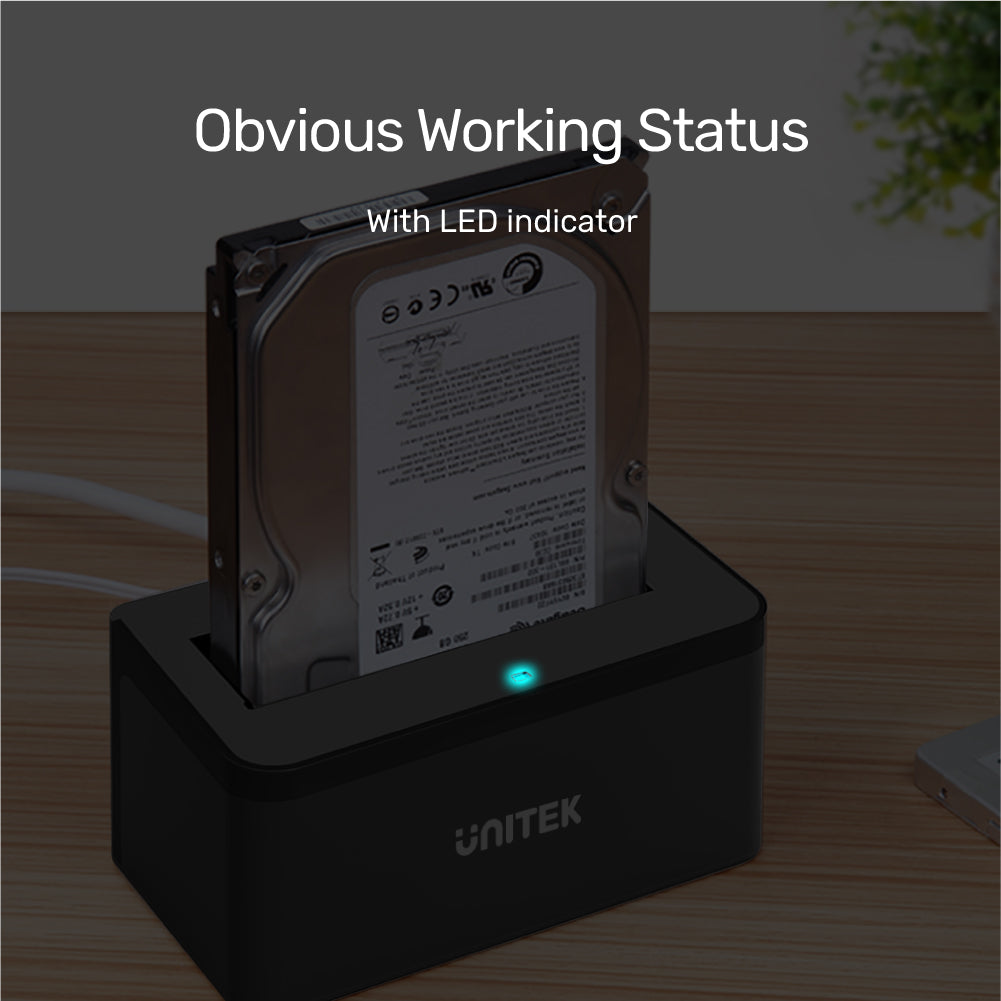
UNITEK USB3.0 to SATA6G Docking Station supports 2.5" and 3.5" SATA HDD/SSD, delivering up to 5Gbps transfer speeds. Plug and play, hot-swappable, with LED indicator and ON/OFF switch—ideal for backups, storage expansion, and easy data access.

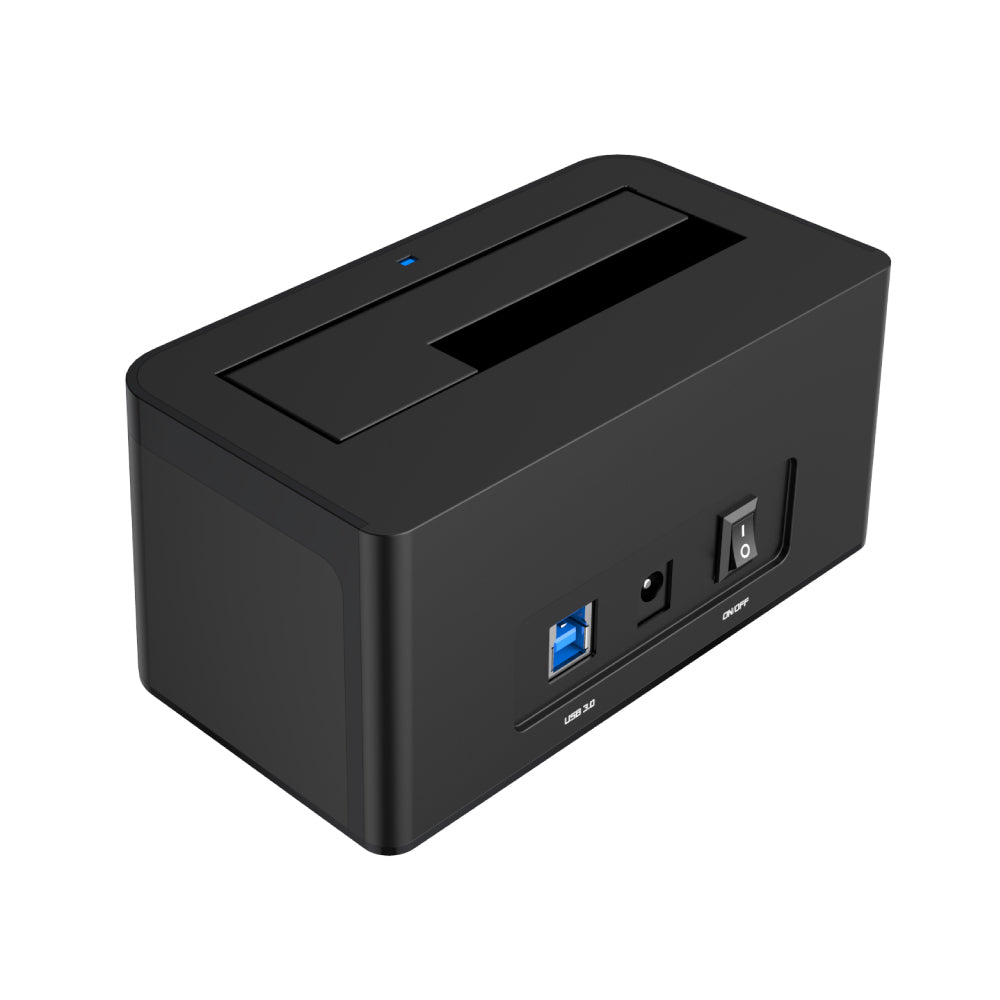
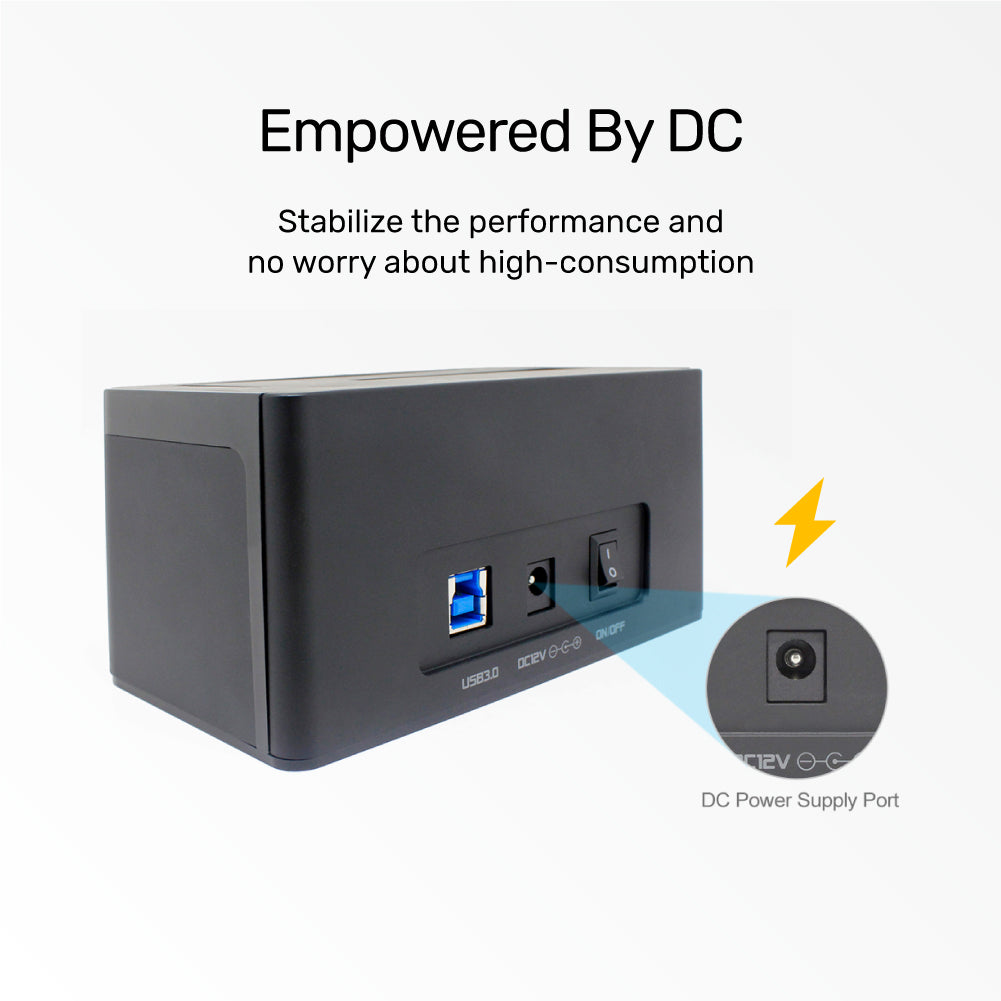
Stable Performance with Dedicated DC Power Supply
Empowered by a DC power port, this docking station ensures stable, high-performance operation for your HDD/SSD—no worries about power consumption, even with demanding tasks.

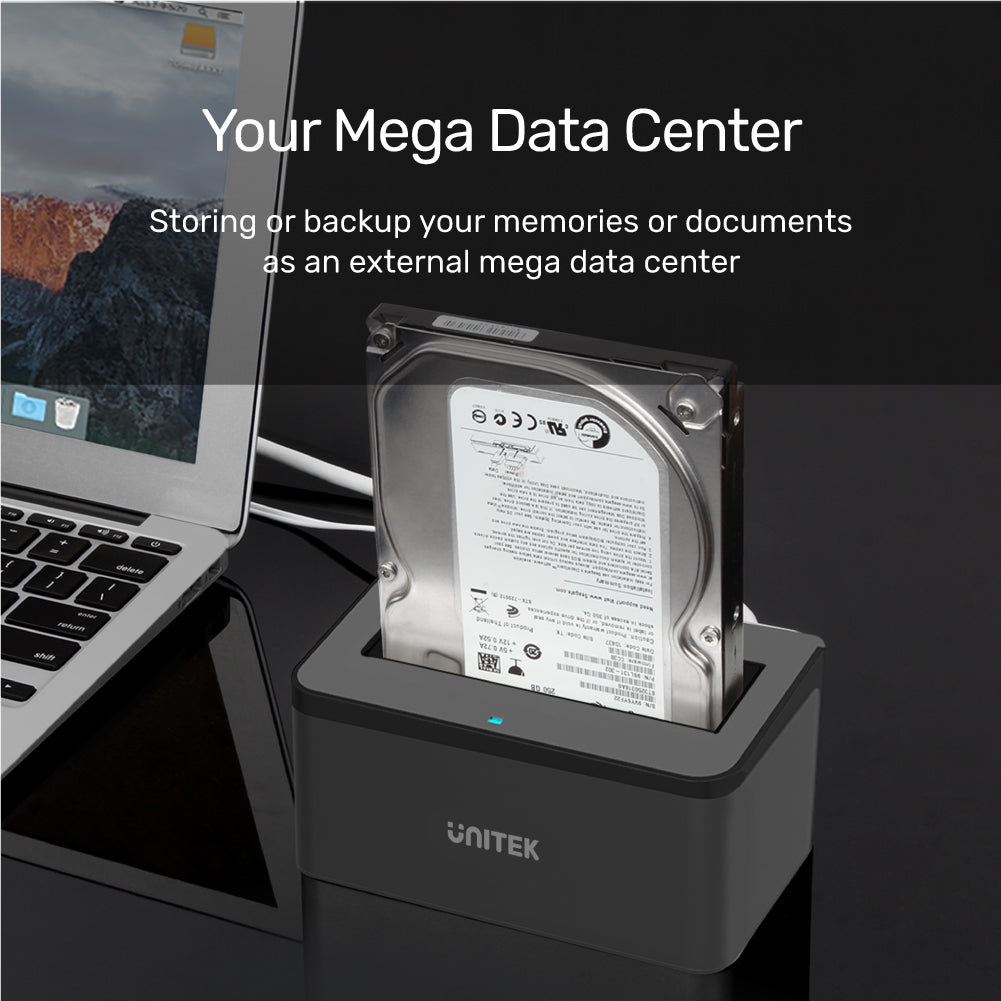
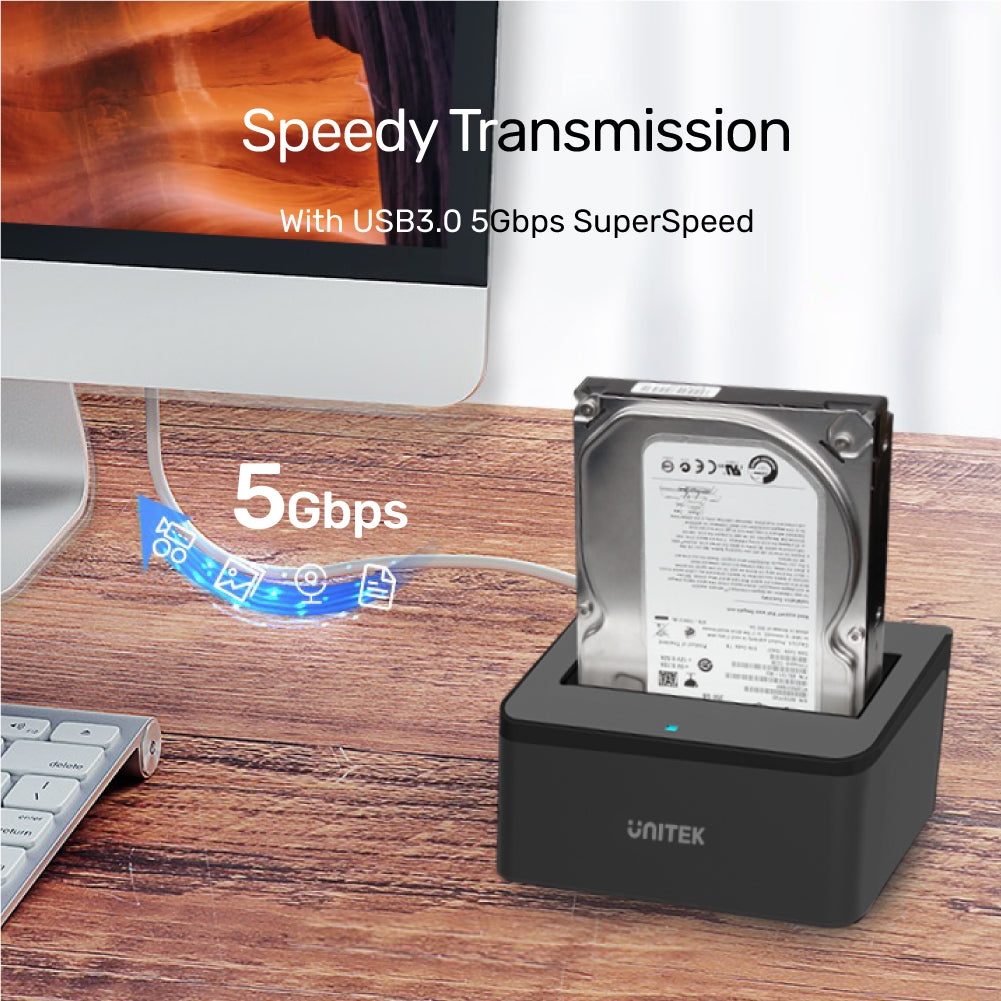
Speedy 5Gbps Transfers with USB 3.0 Docking Station
Effortlessly access and transfer data from your HDD or SSD at up to 5Gbps SuperSpeed with this UNITEK docking station—ideal for fast backups and storage expansion.

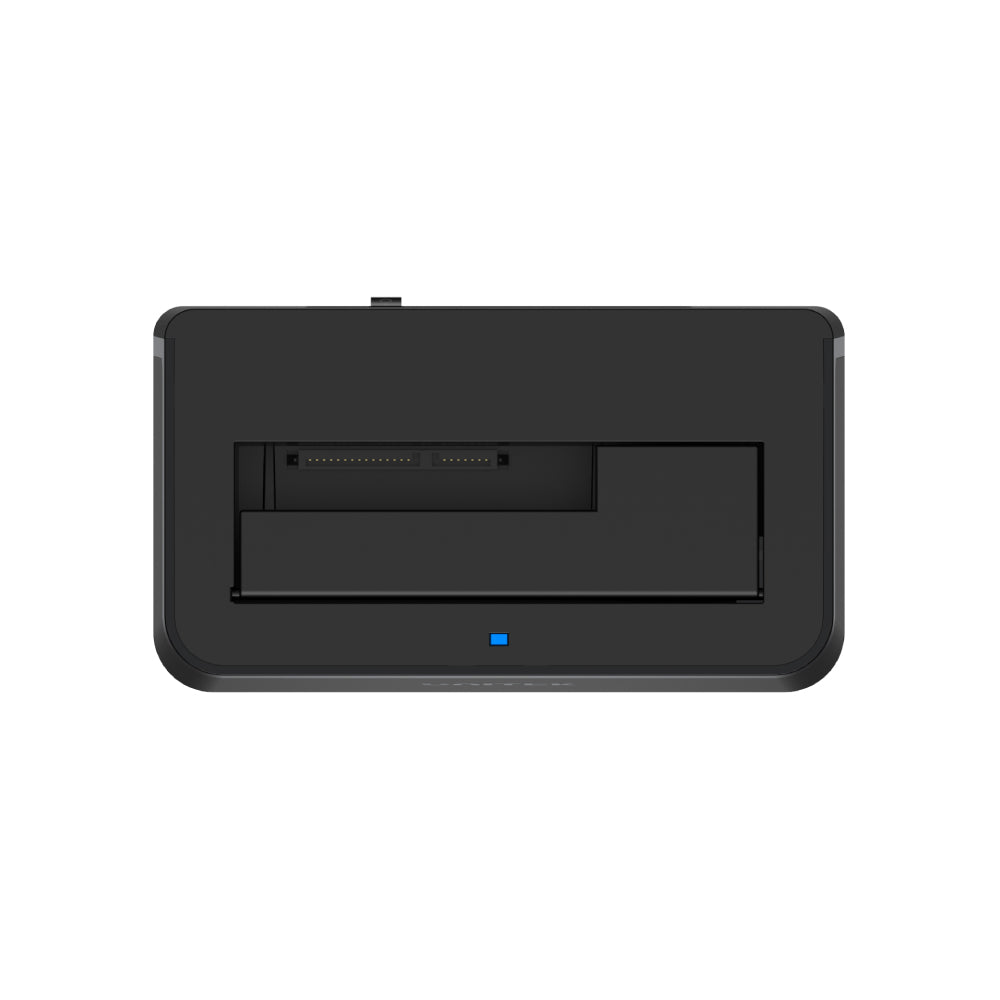
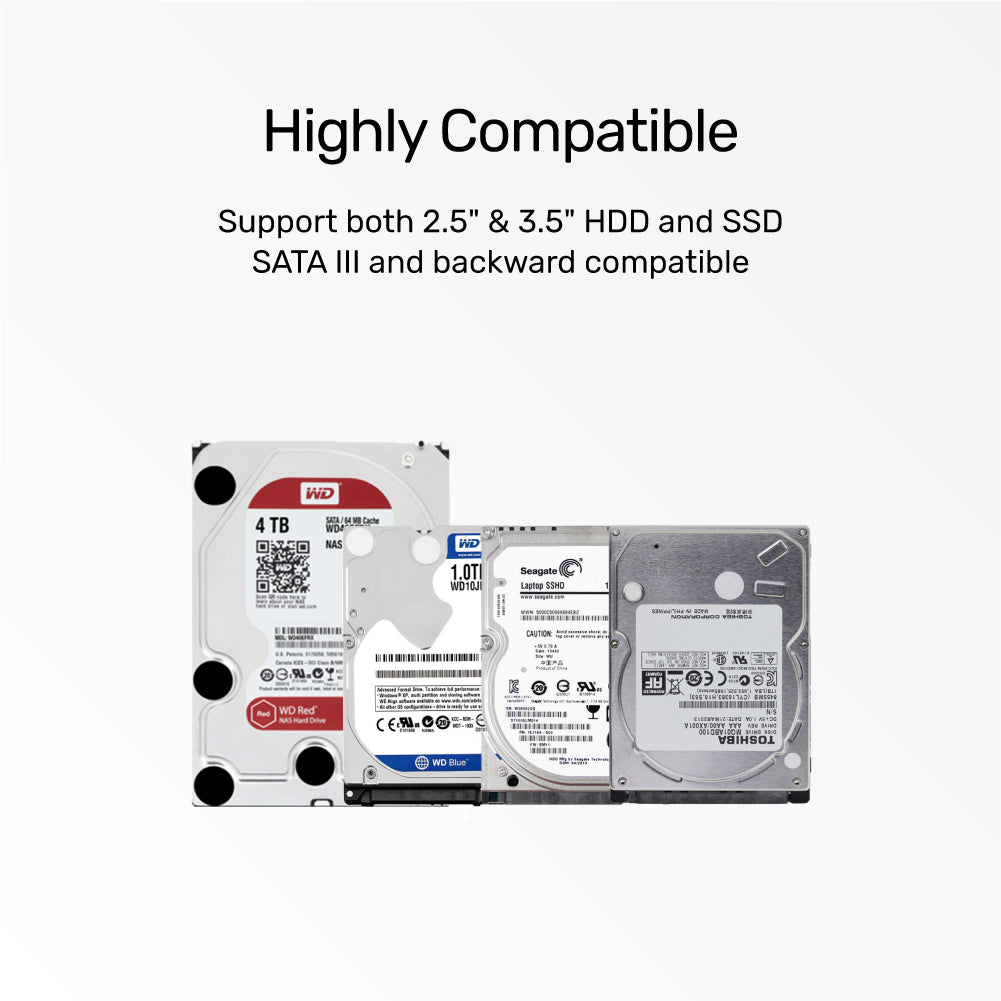
Highly Compatible Docking Station for 2.5" & 3.5" HDD/SSD
Supports both 2.5" and 3.5" SATA HDDs and SSDs, including SATA III and backward compatibility—ideal for versatile storage expansion and easy data access.
The USB3.0 to SATA6G Docking Station provides a convenient and efficient solution for accessing and managing your SATA HDDs and SSDs. Designed for both 3.5" and 2.5" drives, this docking station supports a variety of SATA standards and data transfer rates, making it a versatile addition to your storage toolkit.
Transform Any HDD or SSD into a High-Speed External Drive
UNITEK USB3.0 to SATA6G Docking Station supports 2.5" and 3.5" SATA HDD/SSD, delivering up to 5Gbps transfer speeds. Plug and play, hot-swappable, with LED indicator and ON/OFF switch—ideal for backups, storage expansion, and easy data access.
Stable Performance with Dedicated DC Power Supply
Empowered by a DC power port, this docking station ensures stable, high-performance operation for your HDD/SSD—no worries about power consumption, even with demanding tasks.
Speedy 5Gbps Transfers with USB 3.0 Docking Station
Effortlessly access and transfer data from your HDD or SSD at up to 5Gbps SuperSpeed with this UNITEK docking station—ideal for fast backups and storage expansion.
Highly Compatible Docking Station for 2.5" & 3.5" HDD/SSD
Supports both 2.5" and 3.5" SATA HDDs and SSDs, including SATA III and backward compatibility—ideal for versatile storage expansion and easy data access.
| Operating System | Windows 10/ 11 (32/ 64bit), Linux kernel 3.x, Mac OS 10.6 or above |
|---|---|
| Host Port Compatibility | USB-B |
| Connector Type | SATAコネクタ x 2 |
| Card Slot | SATAスロット×2 |
| Host Power (PD) | DC 12V2A |
| SSD Compatibility | SATA SSD |
| Data transfer rate | 5Gbps |
| Cable Length | 120万 |
| Dimensions | 138.0mm x 82.3mm x 63.3mm |
| Material | ABS |
| Colour | Black |
- USB3.0 - SATA6Gドッキングステーション x 1
- USB3.0データケーブル(1.2m)×1
- 12V2A電源アダプター×1
オプションを選択