
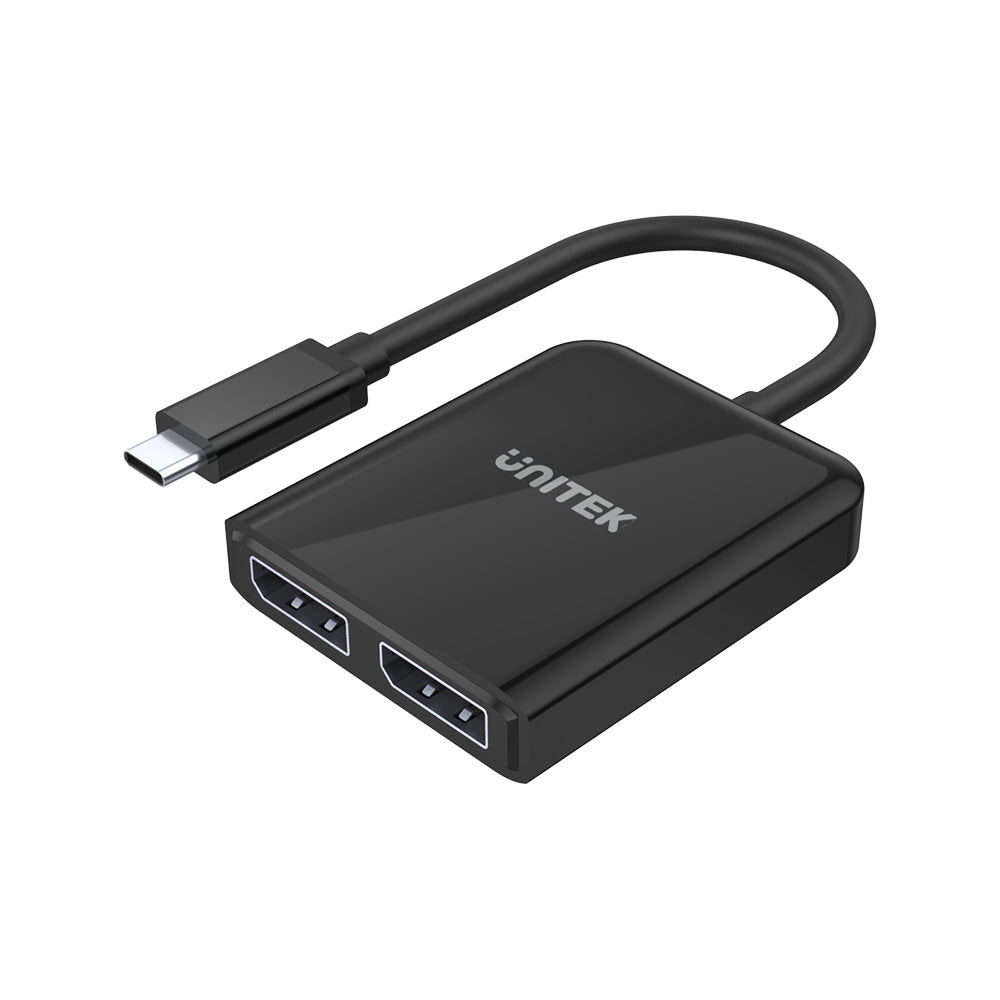

8K USB-C - デュアル DisplayPort 1.4 アダプター (MST デュアル モニター付き)
Enhance your visual experience with the 8K USB-C to Dual DisplayPort Adapter, capable of delivering stunning 8K@60Hz or 4K@120Hz output. This adapter supports Multi-Stream Transport (MST) for dual independent displays at 5K@60Hz, perfect for high-resolution tasks and entertainment.

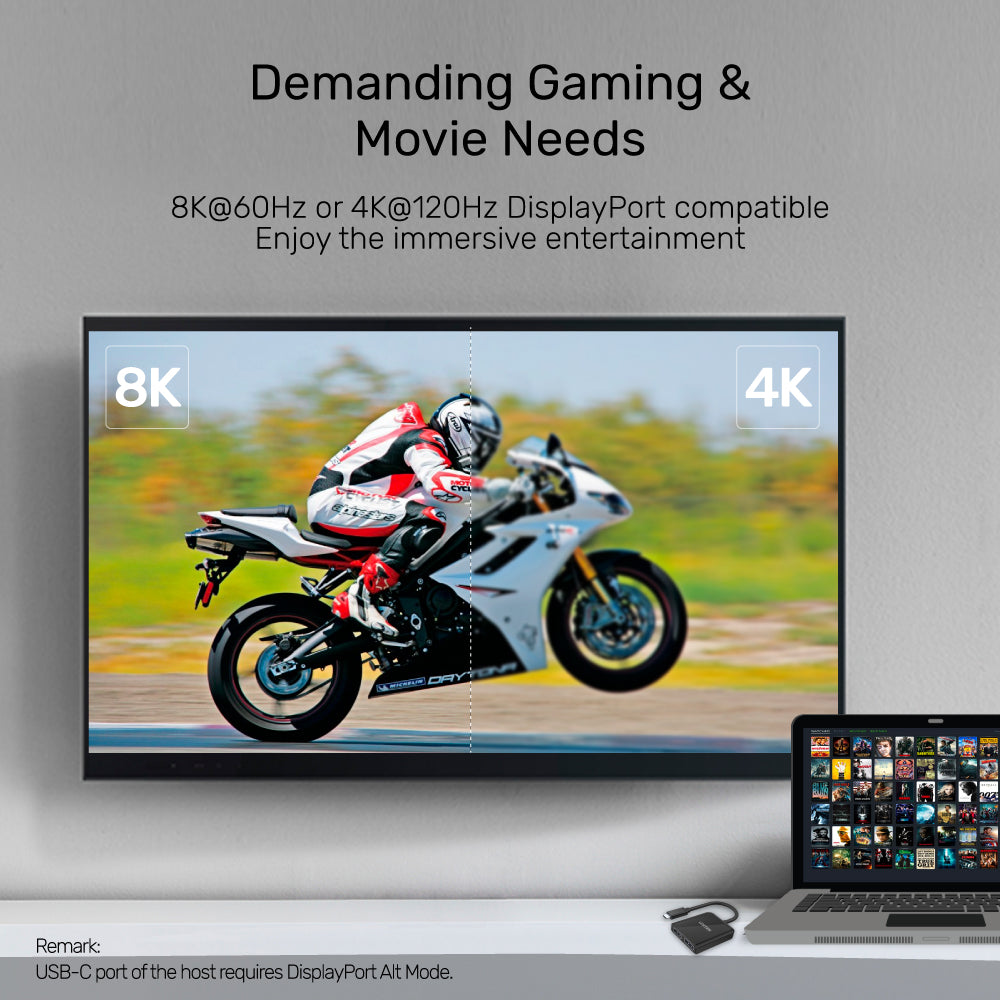
Immersive 8K Dual DisplayPort Adapter for Demanding Gaming & Entertainment
Unlock stunning visuals with this USB-C to Dual DisplayPort 1.4 adapter—supporting 8K@60Hz or 4K@120Hz for ultra-smooth gaming and movies. Enjoy multi-screen setups with MST (dual 5K@60Hz), HDCP 2.2 for Ultra HD streaming, and plug-and-play convenience in a compact, bus-powered design.

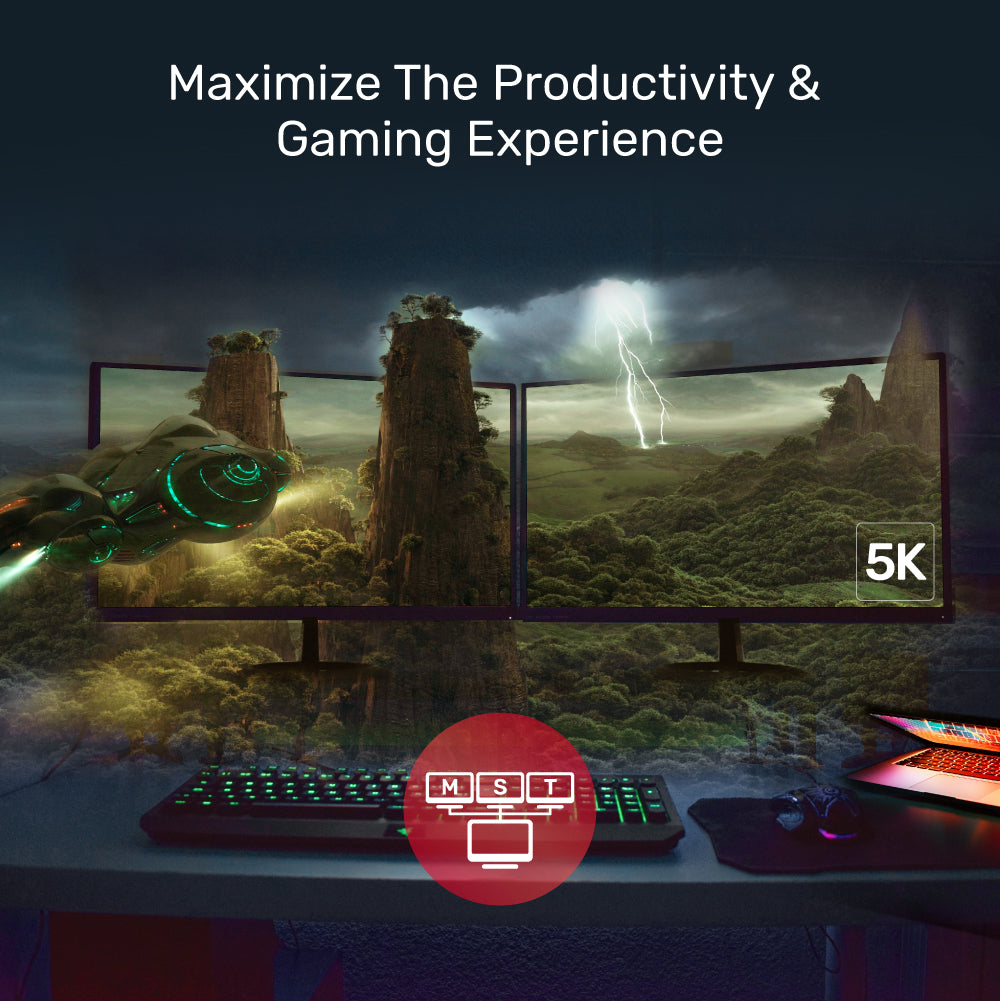
Maximize Productivity & Gaming with Dual 5K MST Support
Unlock immersive visuals and multitasking power—this adapter enables dual 5K displays via MST, perfect for seamless productivity and next-level gaming experiences.

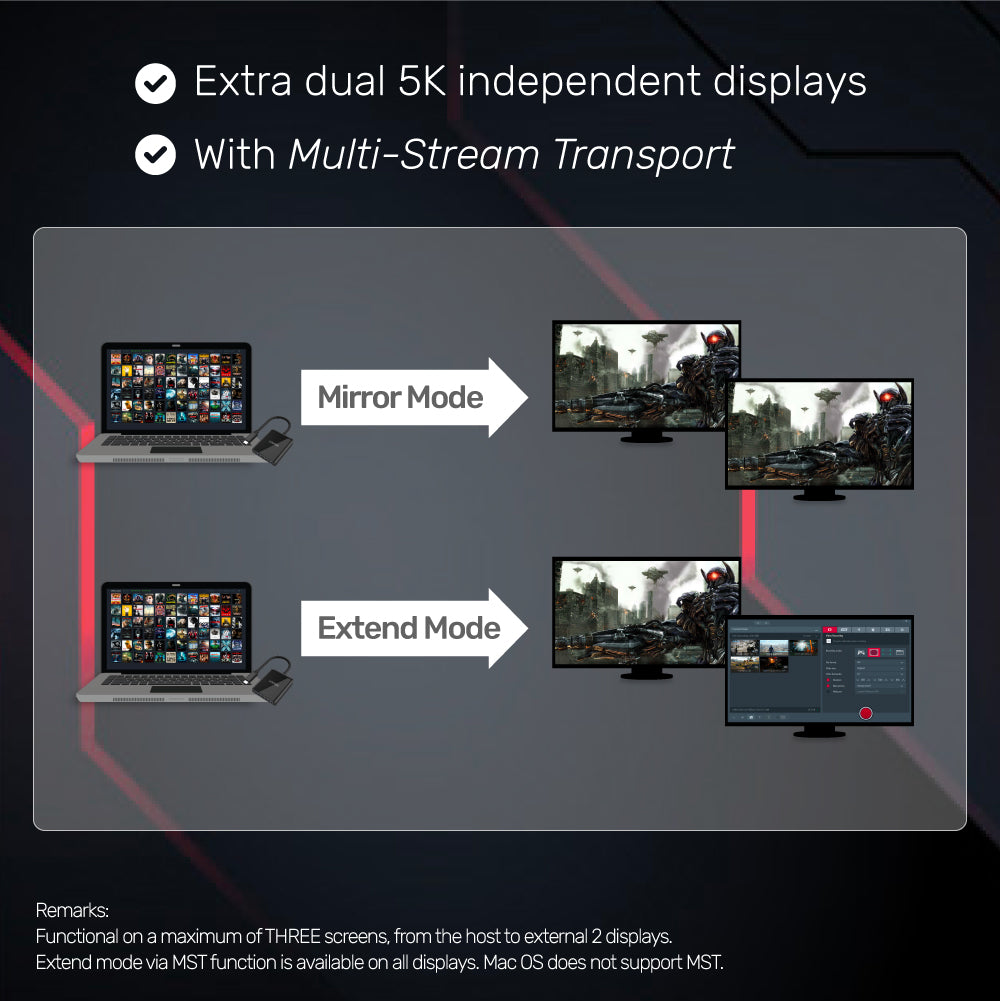
Dual 5K Display Expansion with Multi-Stream Transport
Effortlessly boost your workspace with extra dual 5K independent displays using Multi-Stream Transport (MST). Enjoy both mirror and extend modes—ideal for multitasking, immersive entertainment, and professional workflows. (Note: MST extend mode is not supported on Mac OS.)

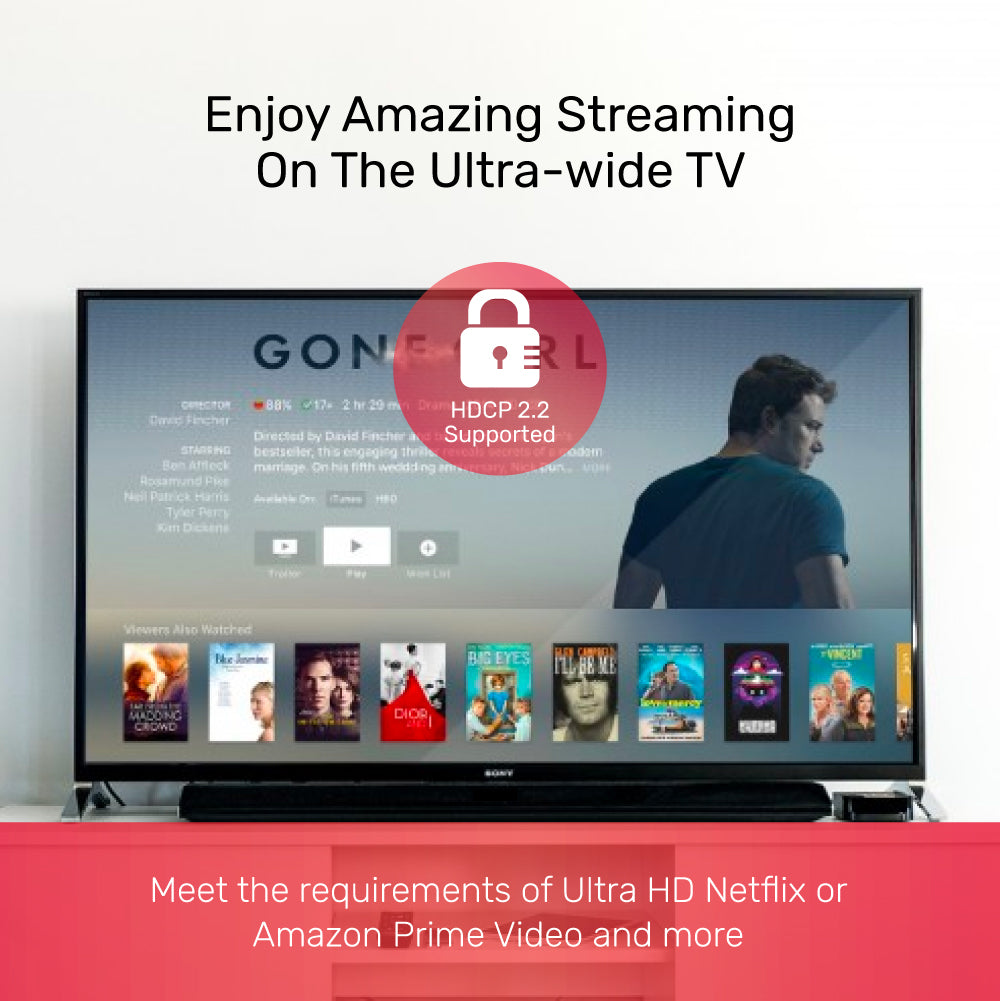
Seamless Ultra HD Streaming with HDCP 2.2 Support
Enjoy flawless streaming of Ultra HD content on your ultra-wide TV—this device supports HDCP 2.2, meeting the requirements for Netflix, Amazon Prime Video, and more.

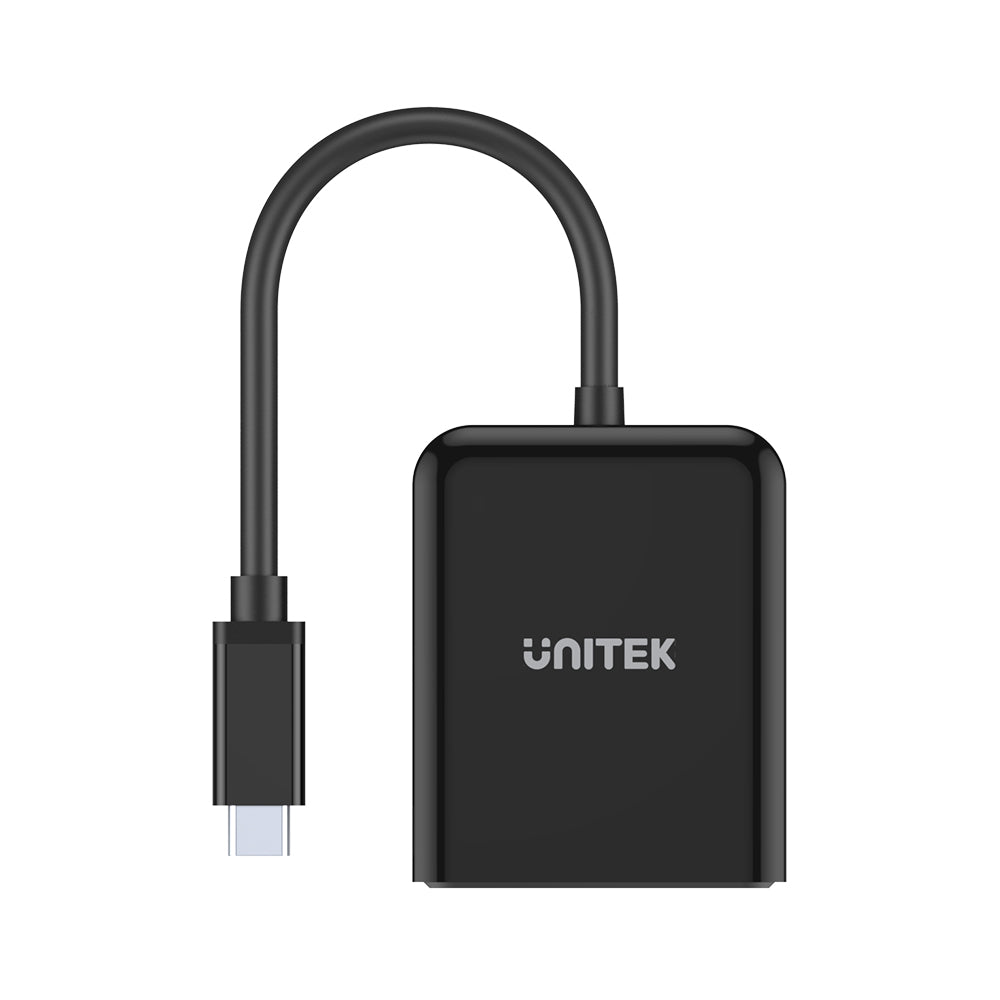
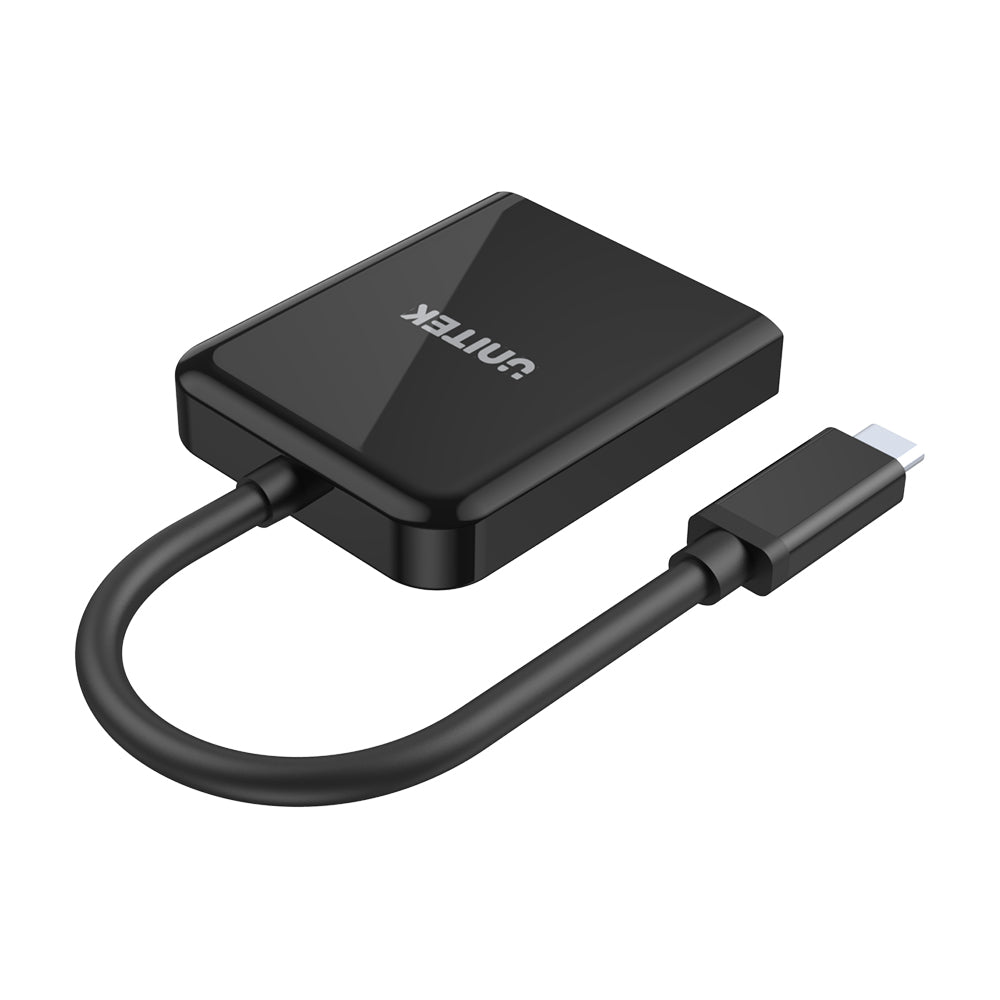
Ultra-Compact Adapter for On-the-Go Connectivity
Measuring just 60mm x 49mm x 11.3mm, this diminutive adapter fits comfortably in your hand or pocket—perfect for seamless, portable connectivity wherever you work.
Enhance your visual experience with the 8K USB-C to Dual DisplayPort Adapter, capable of delivering stunning 8K@60Hz or 4K@120Hz output. This adapter supports Multi-Stream Transport (MST) for dual independent displays at 5K@60Hz, perfect for high-resolution tasks and entertainment.
Immersive 8K Dual DisplayPort Adapter for Demanding Gaming & Entertainment
Unlock stunning visuals with this USB-C to Dual DisplayPort 1.4 adapter—supporting 8K@60Hz or 4K@120Hz for ultra-smooth gaming and movies. Enjoy multi-screen setups with MST (dual 5K@60Hz), HDCP 2.2 for Ultra HD streaming, and plug-and-play convenience in a compact, bus-powered design.
Maximize Productivity & Gaming with Dual 5K MST Support
Unlock immersive visuals and multitasking power—this adapter enables dual 5K displays via MST, perfect for seamless productivity and next-level gaming experiences.
Dual 5K Display Expansion with Multi-Stream Transport
Effortlessly boost your workspace with extra dual 5K independent displays using Multi-Stream Transport (MST). Enjoy both mirror and extend modes—ideal for multitasking, immersive entertainment, and professional workflows. (Note: MST extend mode is not supported on Mac OS.)
Seamless Ultra HD Streaming with HDCP 2.2 Support
Enjoy flawless streaming of Ultra HD content on your ultra-wide TV—this device supports HDCP 2.2, meeting the requirements for Netflix, Amazon Prime Video, and more.
Ultra-Compact Adapter for On-the-Go Connectivity
Measuring just 60mm x 49mm x 11.3mm, this diminutive adapter fits comfortably in your hand or pocket—perfect for seamless, portable connectivity wherever you work.
| Max Output Resolution | 8K@60Hz |
|---|---|
| DisplayPort | 2(下流) |
| USB-C | 1(上流) |
| Cable Type | USB-Cからディスプレイポート |
| Dimensions | 60mm x 49mm x 11.3mm |
| Material | ABS Housing |
| Colour | Black |
- 1 x 8K USB-C - デュアル DisplayPort 1.4 アダプター (MST デュアルモニター付き)
オプションを選択