
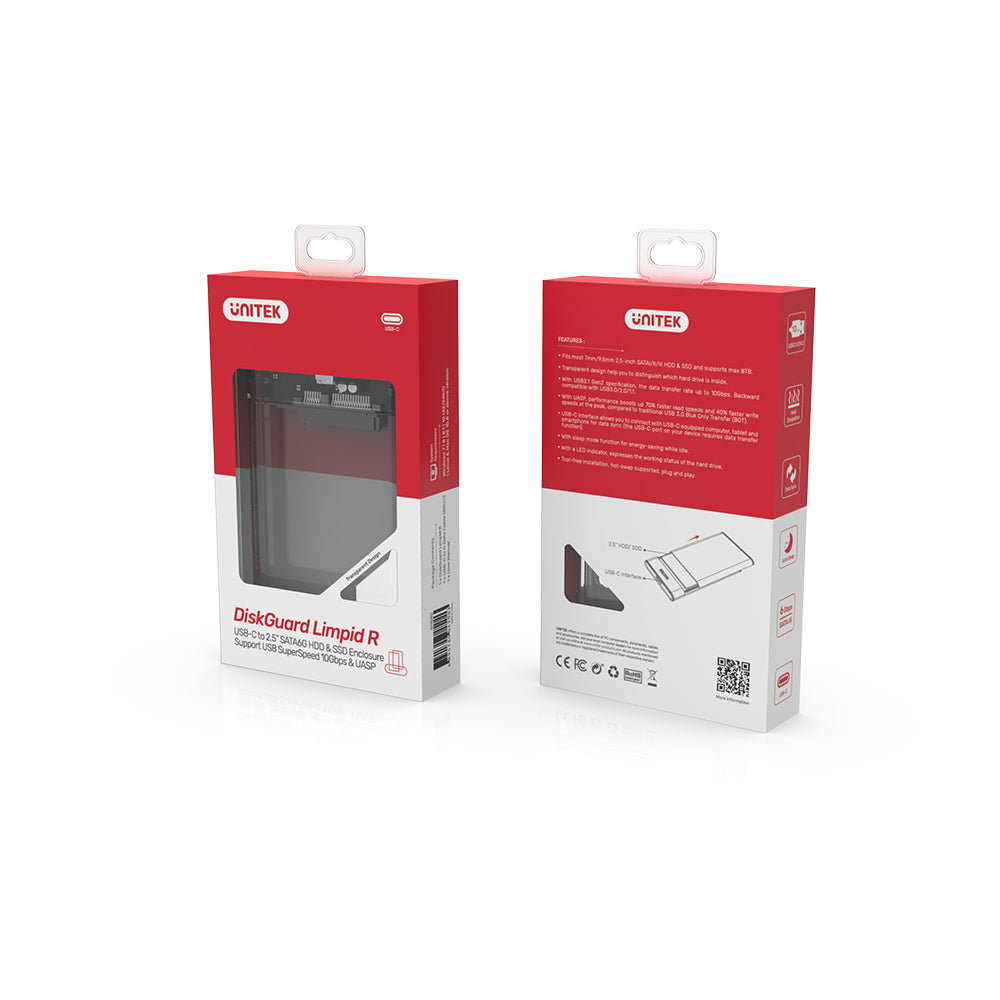
DiskGuard Limpid R USB-C to SATA6G 2.5 HDD/SSD HDD & SSD エンクロージャ

Crystal-Clear Protection and Speed: DiskGuard Limpid R USB-C to SATA6G 2.5" HDD/SSD Enclosure
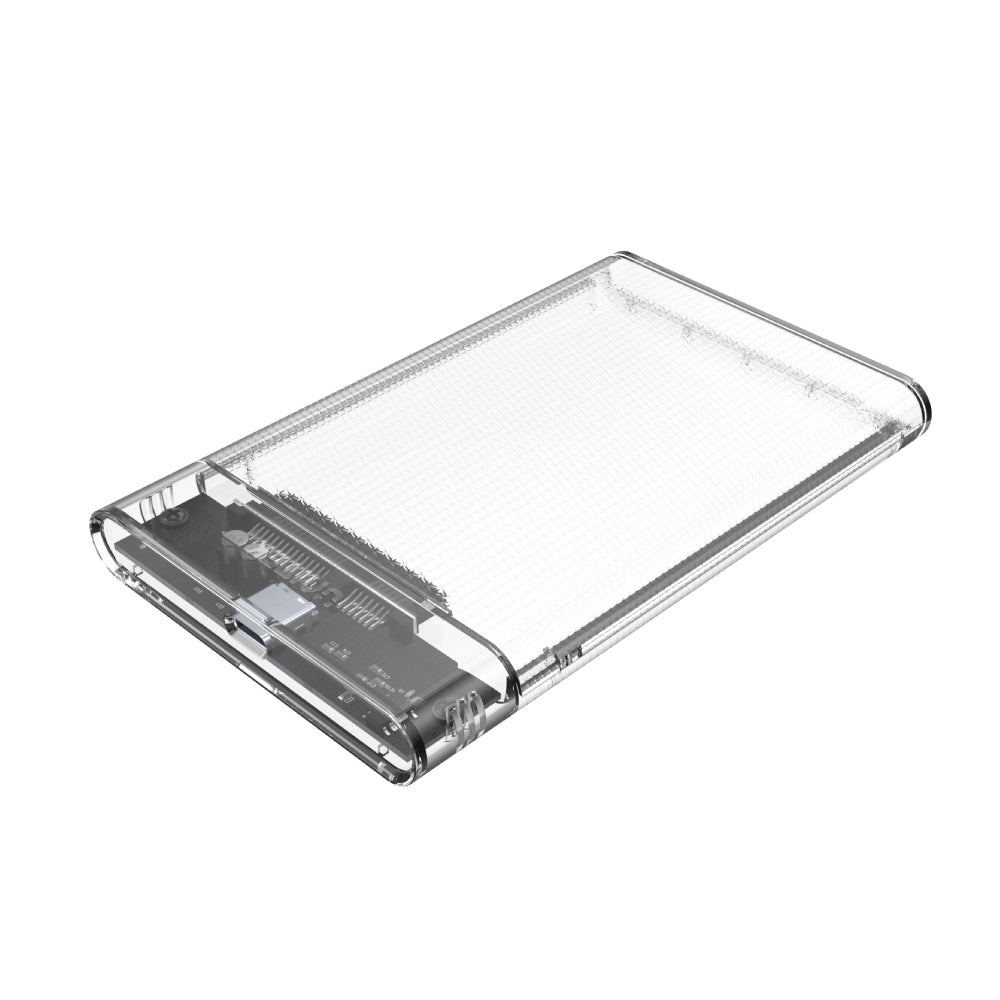
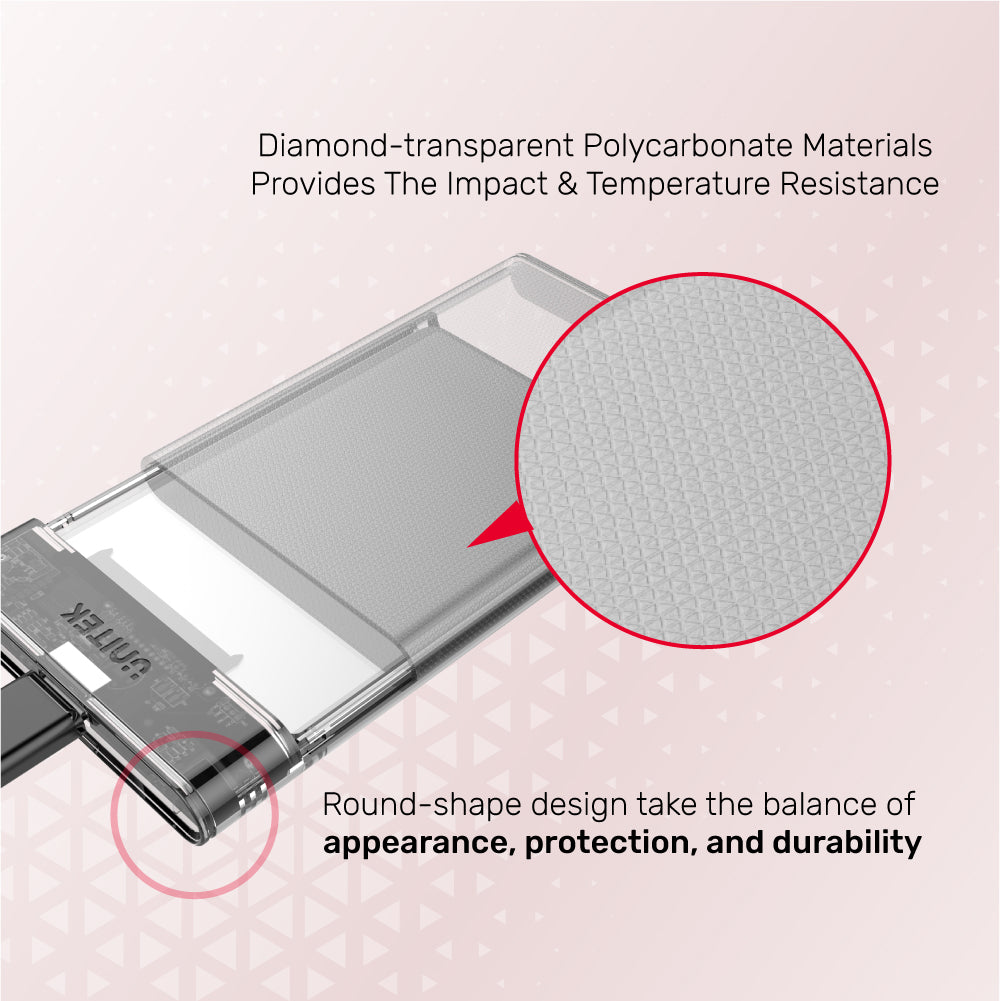
Crystal-clear and impact-resistant, the DiskGuard Limpid R USB-C to SATA6G 2.5" HDD/SSD Enclosure features diamond-transparent polycarbonate for durability and a rounded design that balances appearance, protection, and longevity.

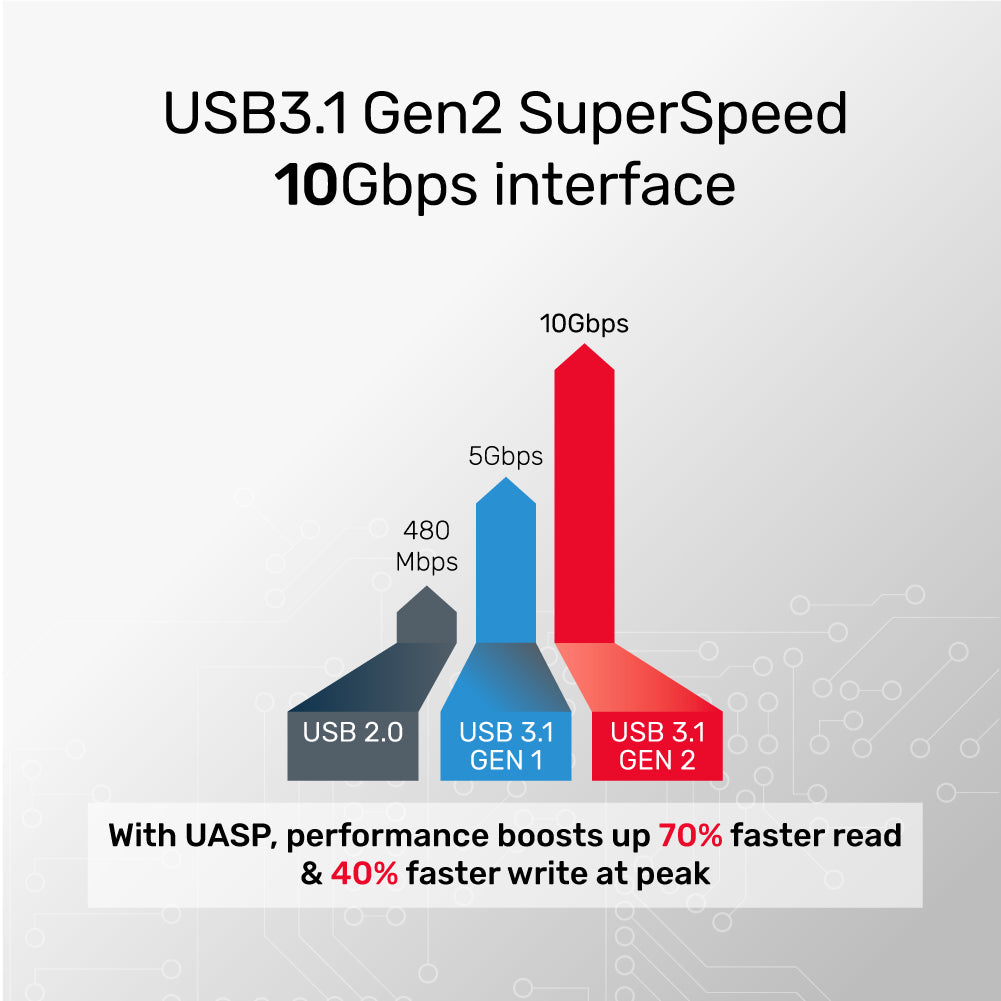
Blazing-Fast USB3.1 Gen2 Enclosure with 10Gbps SuperSpeed
Unlock peak performance with a USB3.1 Gen2 interface delivering up to 10Gbps data transfer—twice as fast as Gen1 and over 20 times faster than USB 2.0. With UASP support, enjoy up to 70% faster read and 40% faster write speeds at peak performance.

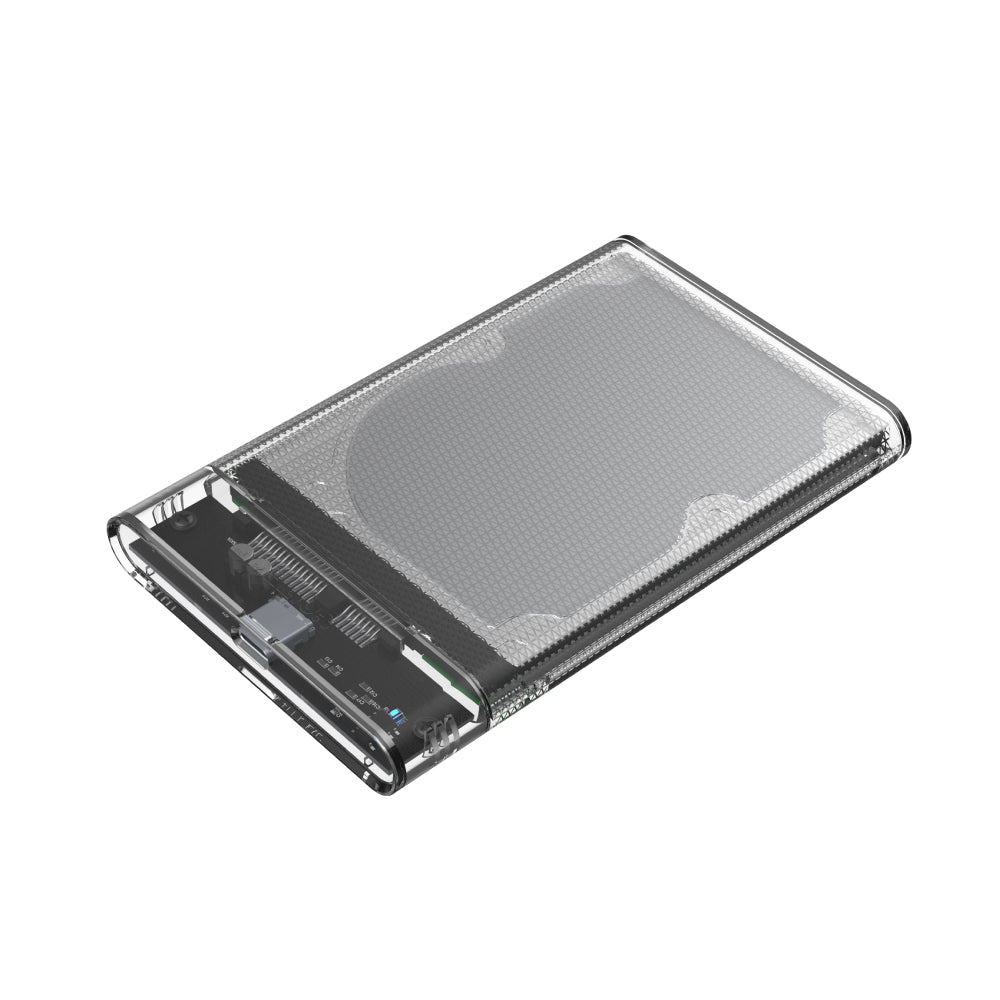
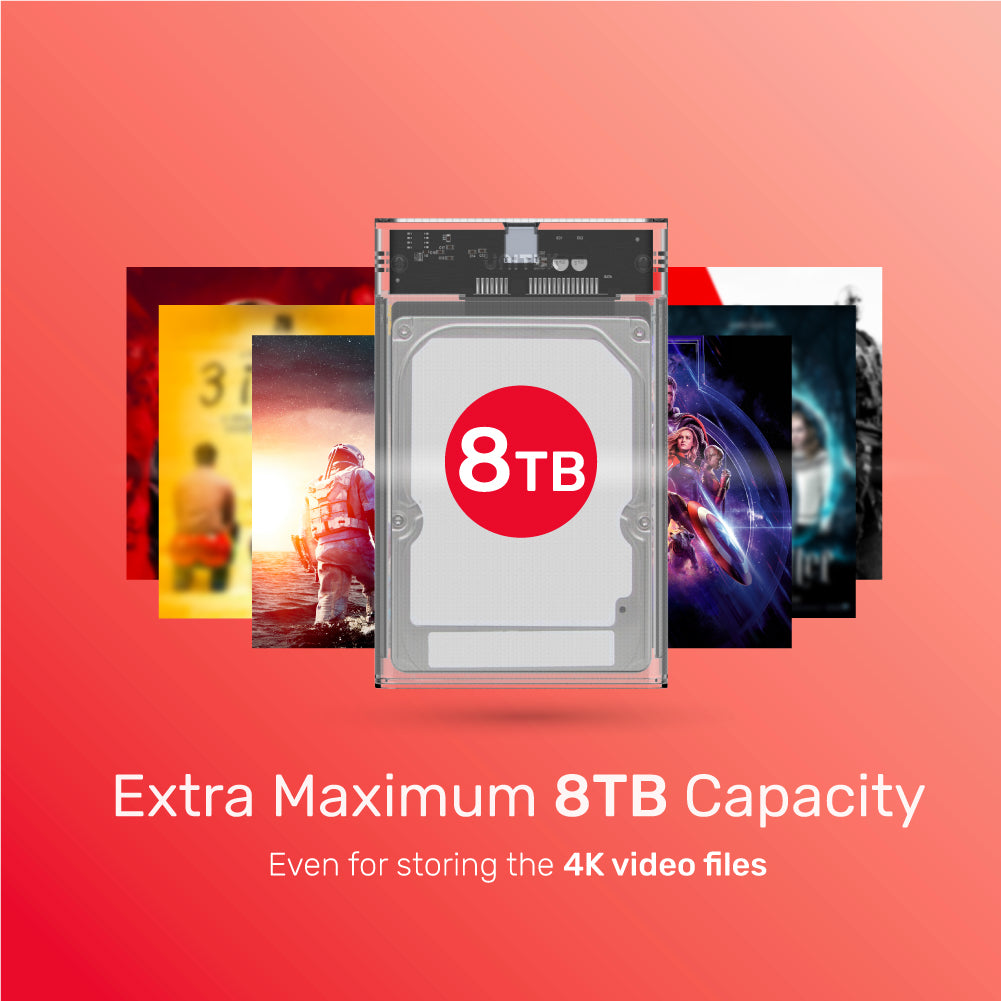
Massive 8TB Storage for All Your 4K Video Files
Store more with extra maximum 8TB capacity—perfect for safely keeping large 4K video files, games, and media collections without compromise.

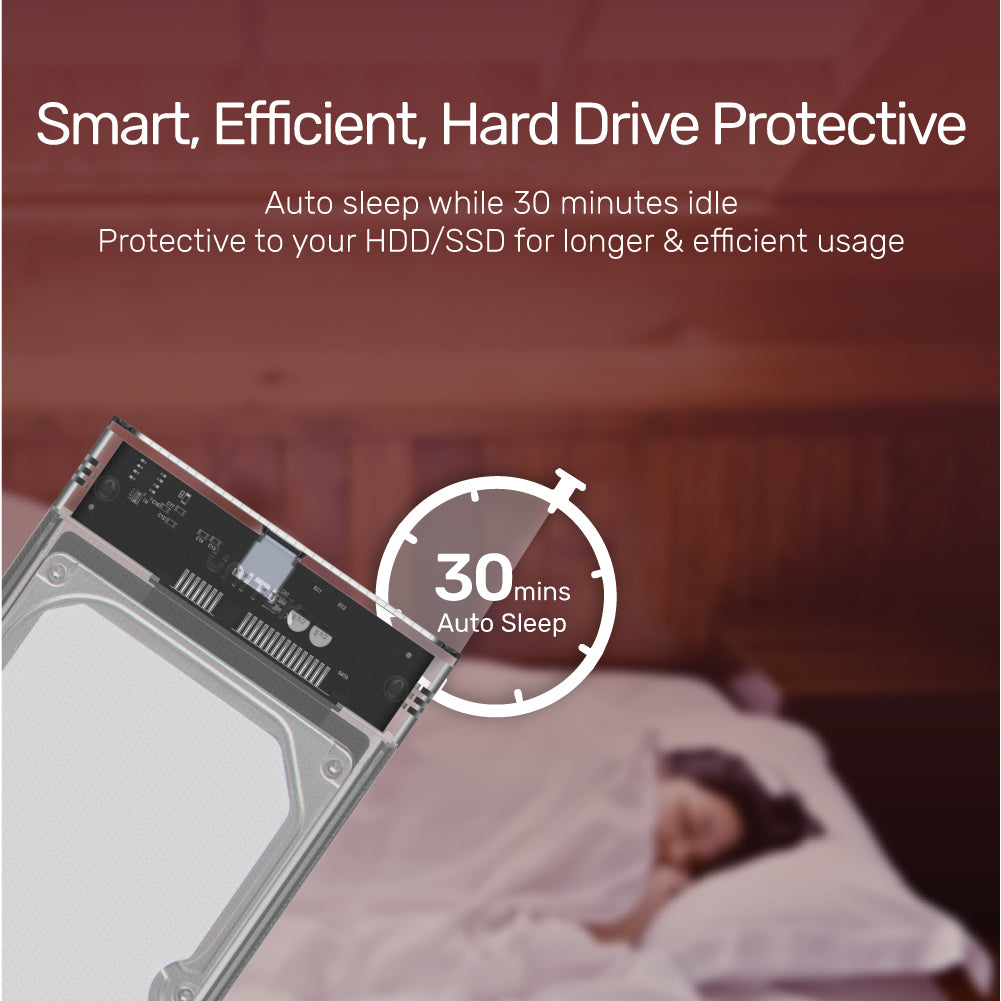
Smart Auto Sleep for Longer Drive Life
Enjoy efficient, worry-free storage—this enclosure automatically enters sleep mode after 30 minutes of inactivity, protecting your HDD/SSD for longer and more reliable use.

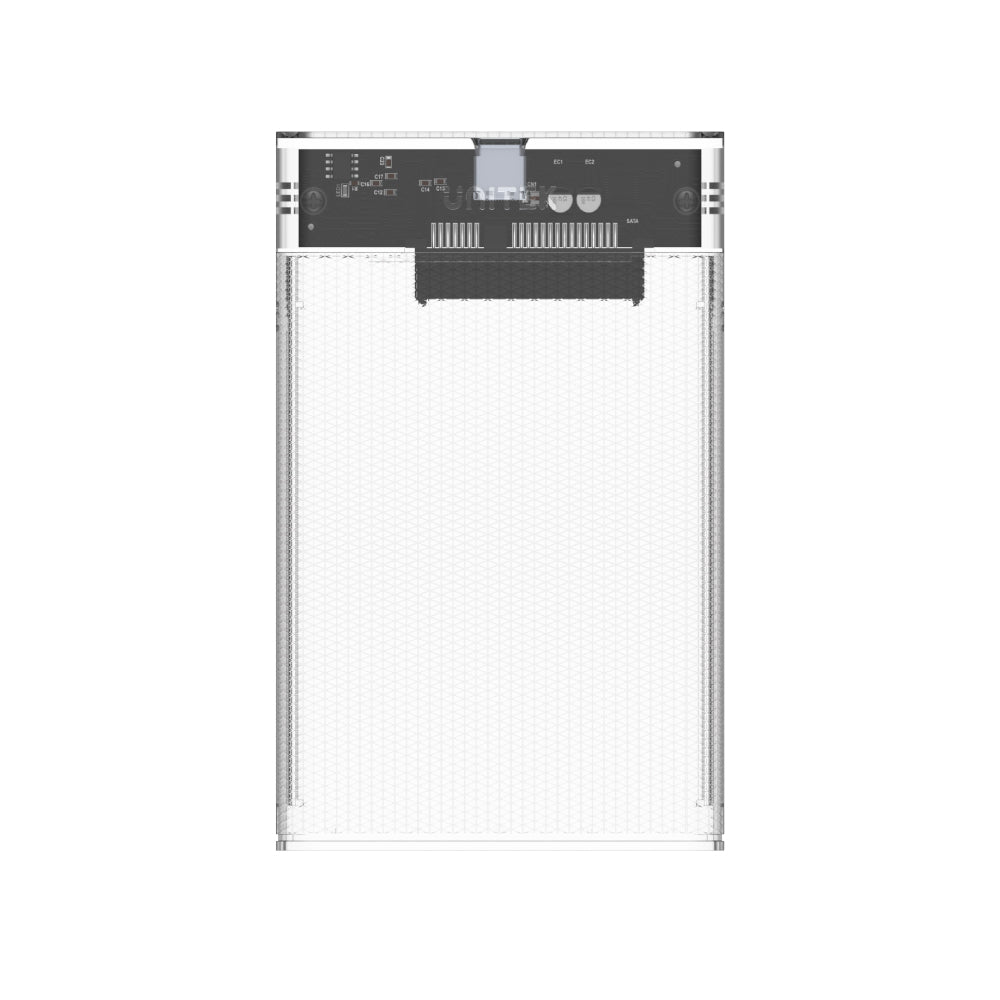
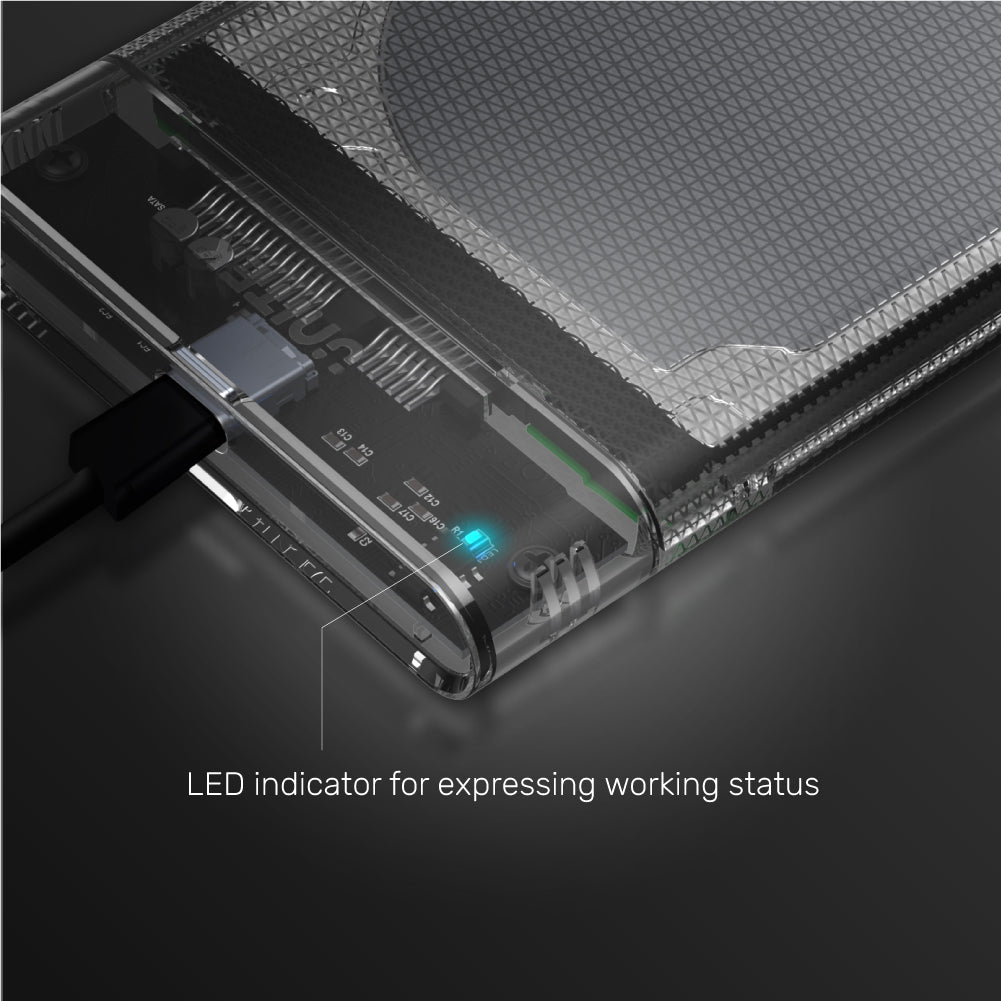
Clear LED Indicator for Instant Status Updates
Easily monitor your drive’s activity with a built-in LED indicator that clearly displays the working status of your enclosure at a glance.

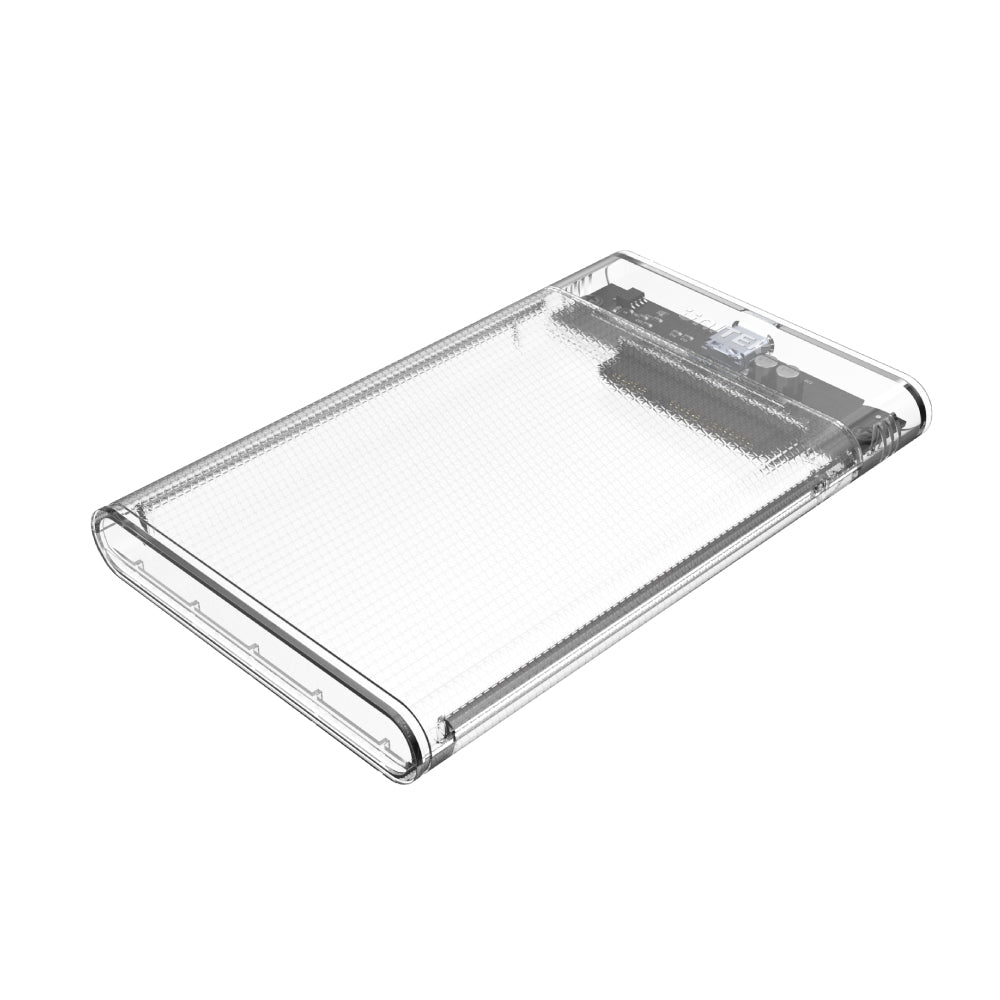
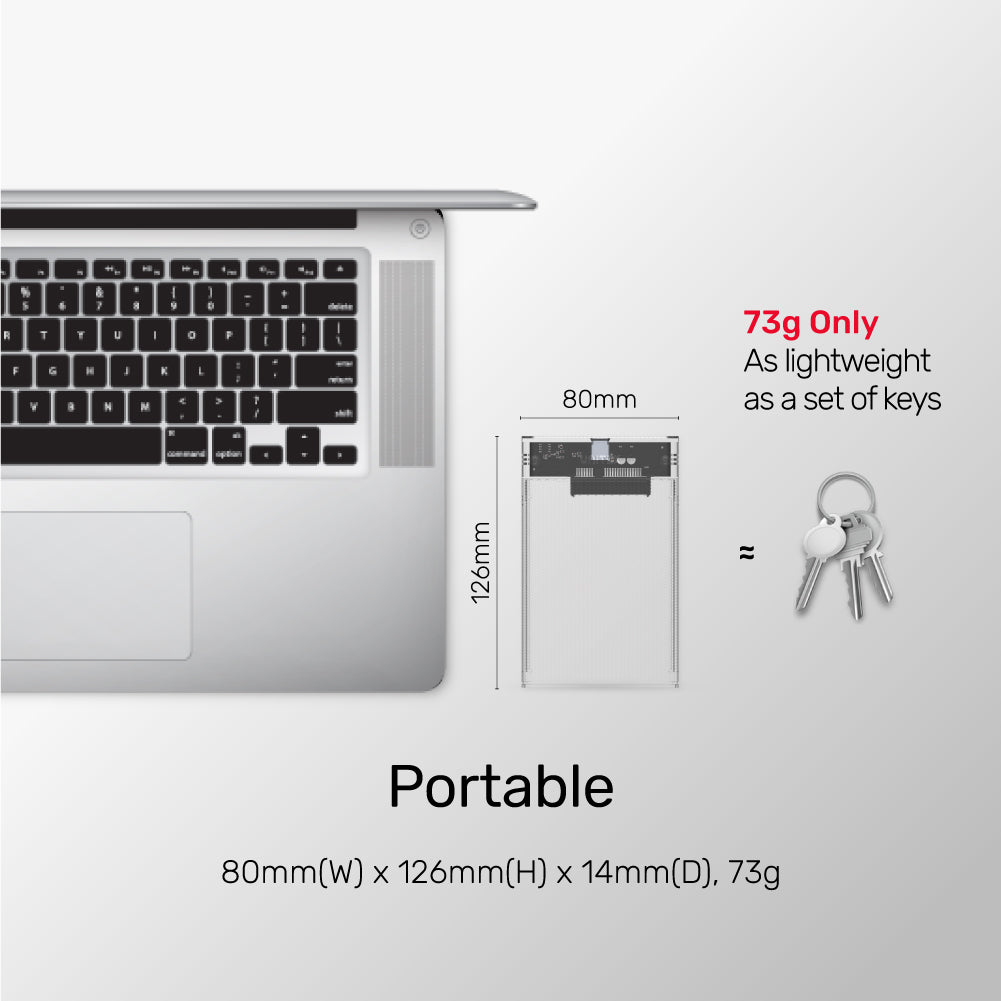
Ultra-Portable, Lightweight Design—Just 73g
Take your storage anywhere with an enclosure that weighs only 73g—about as light as a set of keys—and measures just 80mm x 126mm x 14mm for effortless portability.
Crystal-Clear Protection and Speed: DiskGuard Limpid R USB-C to SATA6G 2.5" HDD/SSD Enclosure
Crystal-clear and impact-resistant, the DiskGuard Limpid R USB-C to SATA6G 2.5" HDD/SSD Enclosure features diamond-transparent polycarbonate for durability and a rounded design that balances appearance, protection, and longevity.
Blazing-Fast USB3.1 Gen2 Enclosure with 10Gbps SuperSpeed
Unlock peak performance with a USB3.1 Gen2 interface delivering up to 10Gbps data transfer—twice as fast as Gen1 and over 20 times faster than USB 2.0. With UASP support, enjoy up to 70% faster read and 40% faster write speeds at peak performance.
Massive 8TB Storage for All Your 4K Video Files
Store more with extra maximum 8TB capacity—perfect for safely keeping large 4K video files, games, and media collections without compromise.
Smart Auto Sleep for Longer Drive Life
Enjoy efficient, worry-free storage—this enclosure automatically enters sleep mode after 30 minutes of inactivity, protecting your HDD/SSD for longer and more reliable use.
Clear LED Indicator for Instant Status Updates
Easily monitor your drive’s activity with a built-in LED indicator that clearly displays the working status of your enclosure at a glance.
Ultra-Portable, Lightweight Design—Just 73g
Take your storage anywhere with an enclosure that weighs only 73g—about as light as a set of keys—and measures just 80mm x 126mm x 14mm for effortless portability.
| USB-C | 1 x 10Gbps |
|---|---|
| Dimensions | 126mm x 80mm x 14mm |
| Colour | White |
- ディスクガード リンピッド R 1個
- USB-C - C データケーブル (50cm) x 1
オプションを選択