
Cat 7 SSTP RJ45 フラット イーサネット ケーブル 10M 以上
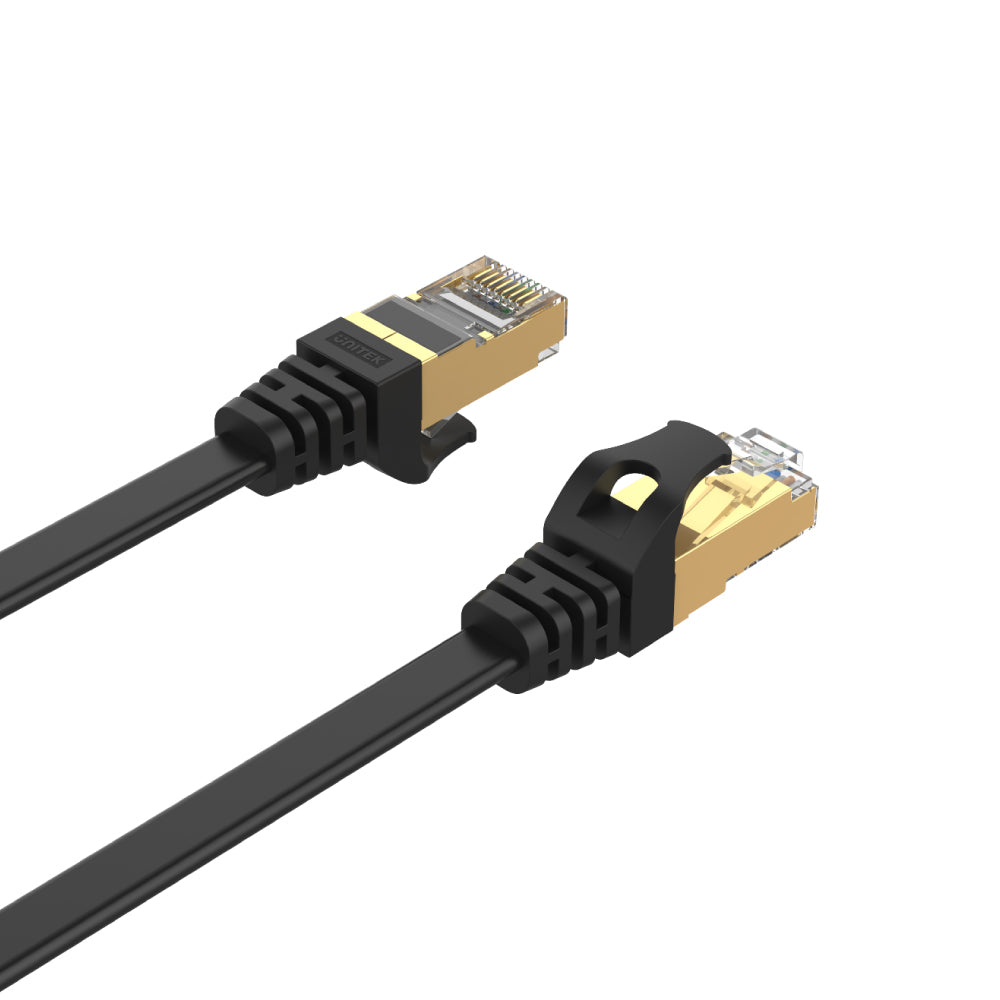
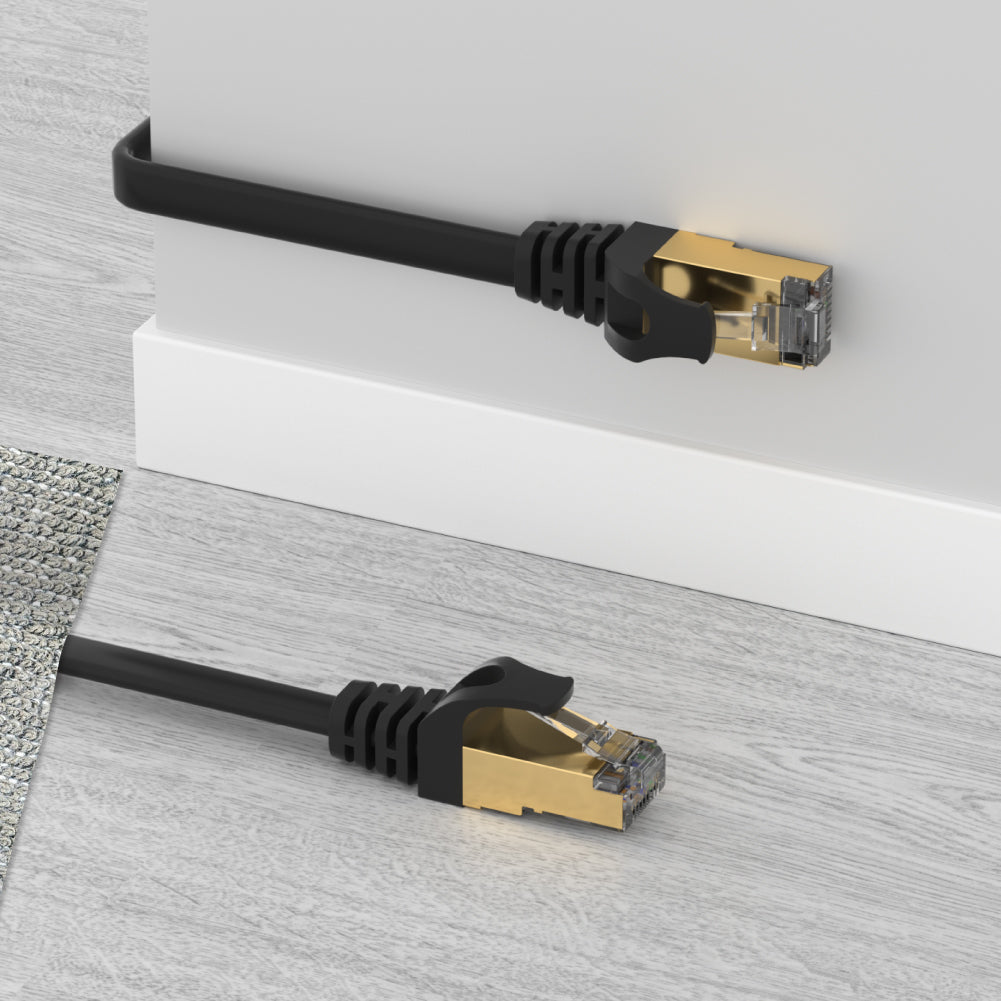
Elevate your network infrastructure with our Cat 7 LAN Cable, designed for high-speed connectivity and minimal visual impact. With a sleek 1.8mm height, this cable integrates seamlessly into any interior space, providing an indiscernible and harmonious installation.

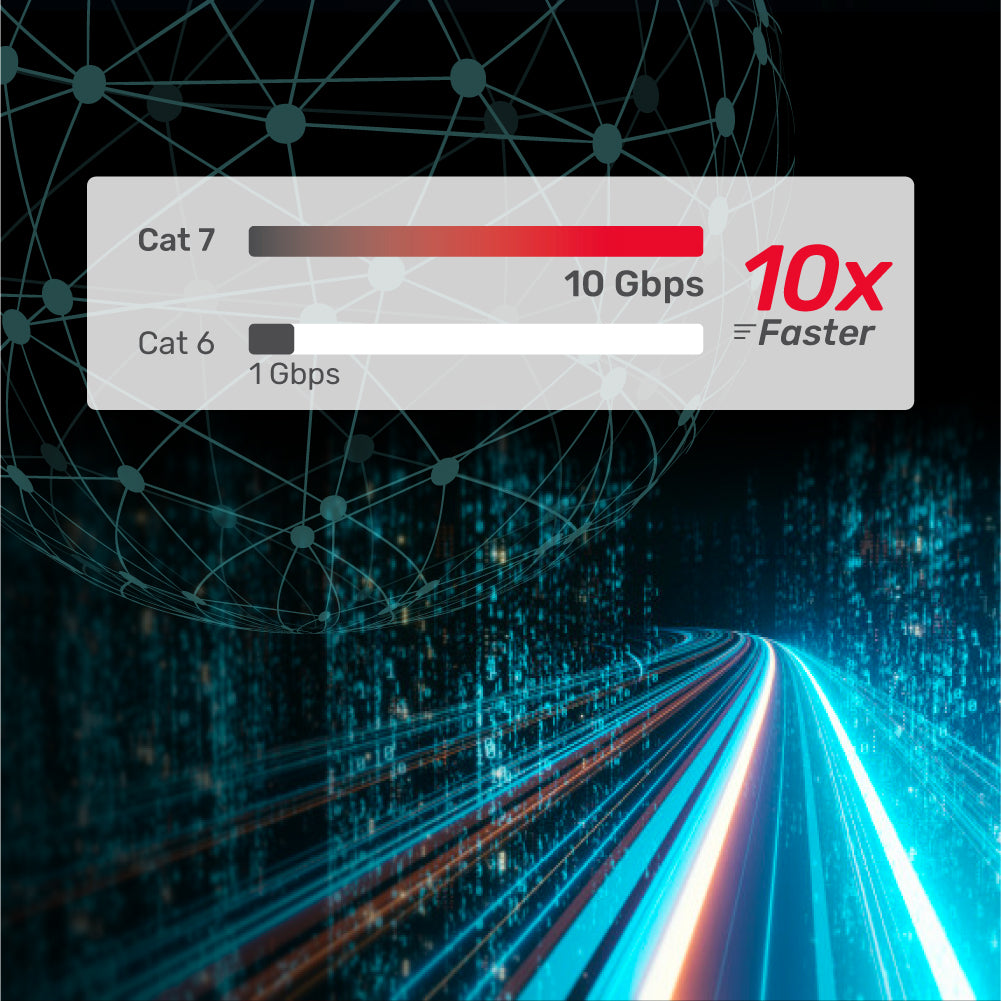
Ultra-Thin Cat 7 Cable: 10x Faster, Seamless Integration
This UNITEK Cat 7 SSTP RJ45 Flat Ethernet Cable delivers blazing 10Gbps speeds—10x faster than Cat 6—while its slim 1.8mm profile blends discreetly into any space. Double shielding ensures stable, interference-free connections for all your high-speed network needs.

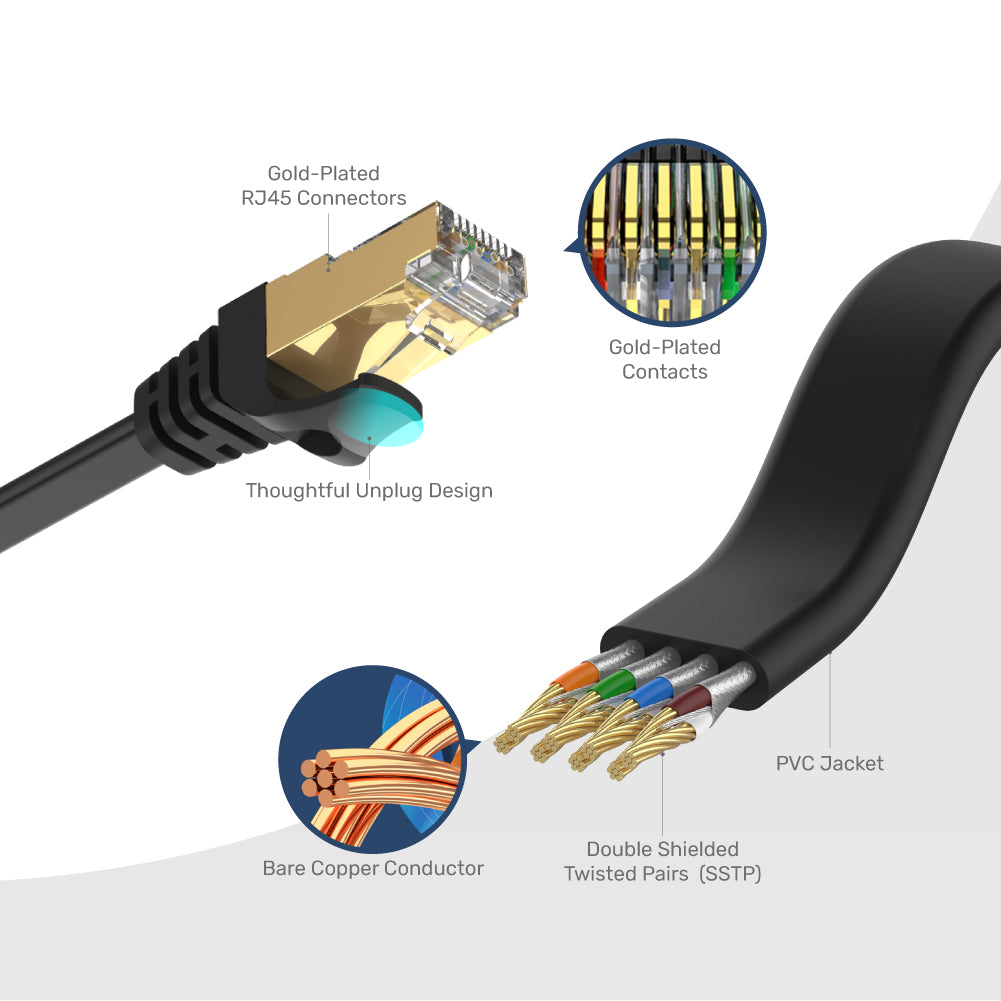
Premium Build for Superior Speed and Reliability
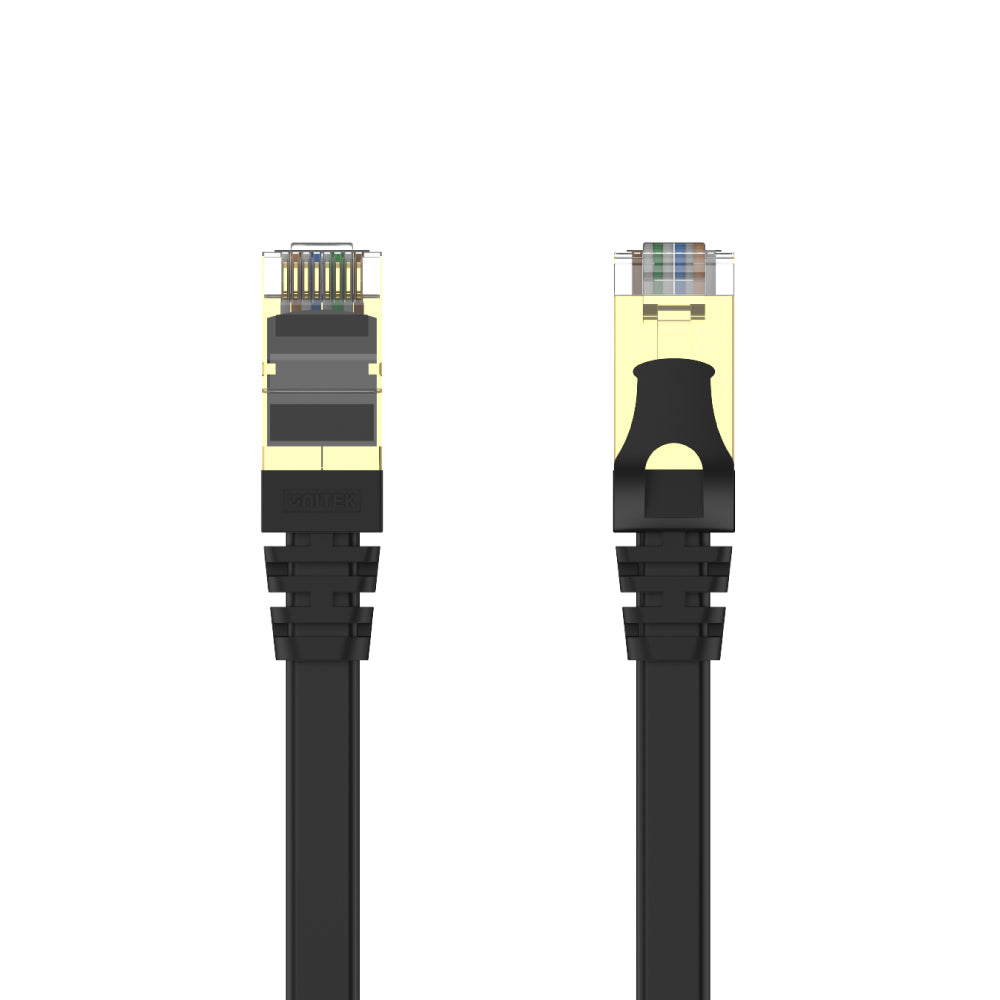
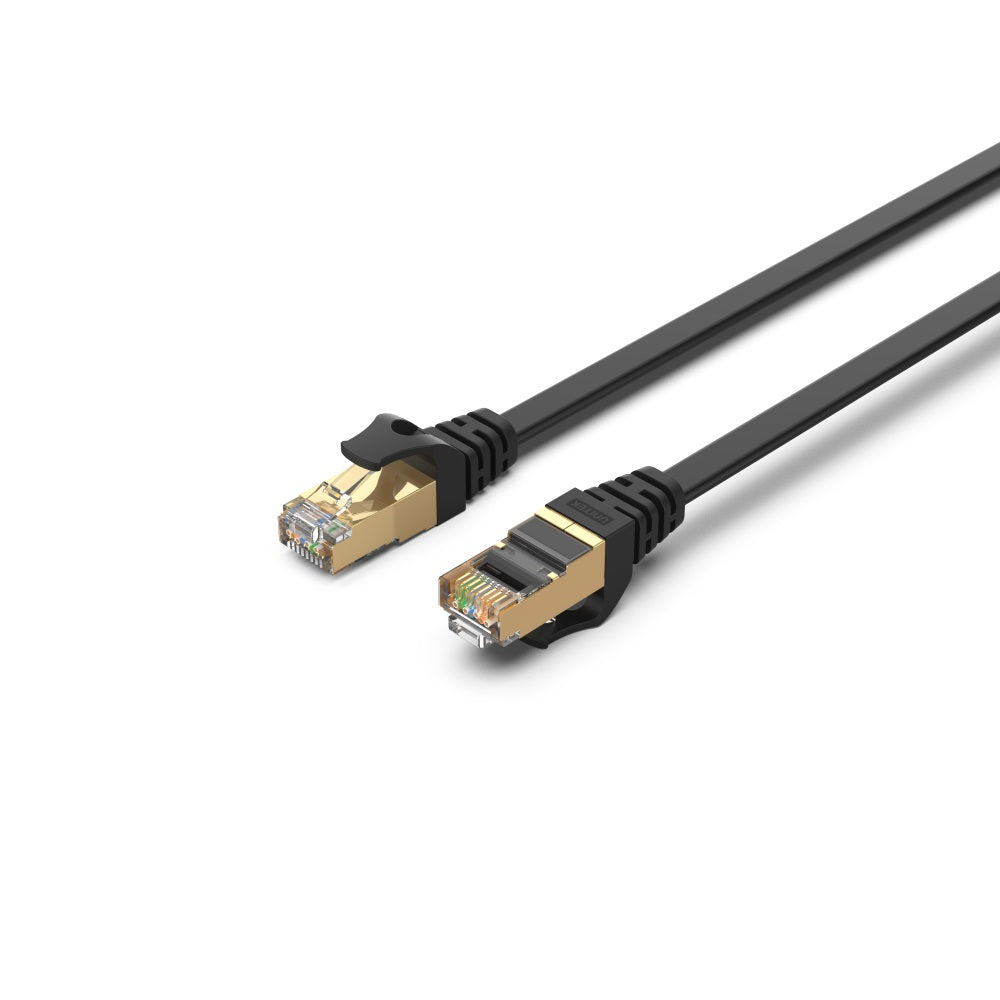
Features gold-plated connectors and contacts, a thoughtful unplug design, double shielded twisted pairs (SSTP), a durable PVC jacket, and bare copper conductors. It delivers ultra-fast 10Gbps speeds with superior signal stability, excellent EMI protection, and a slim profile ideal for discreet, reliable network installations.

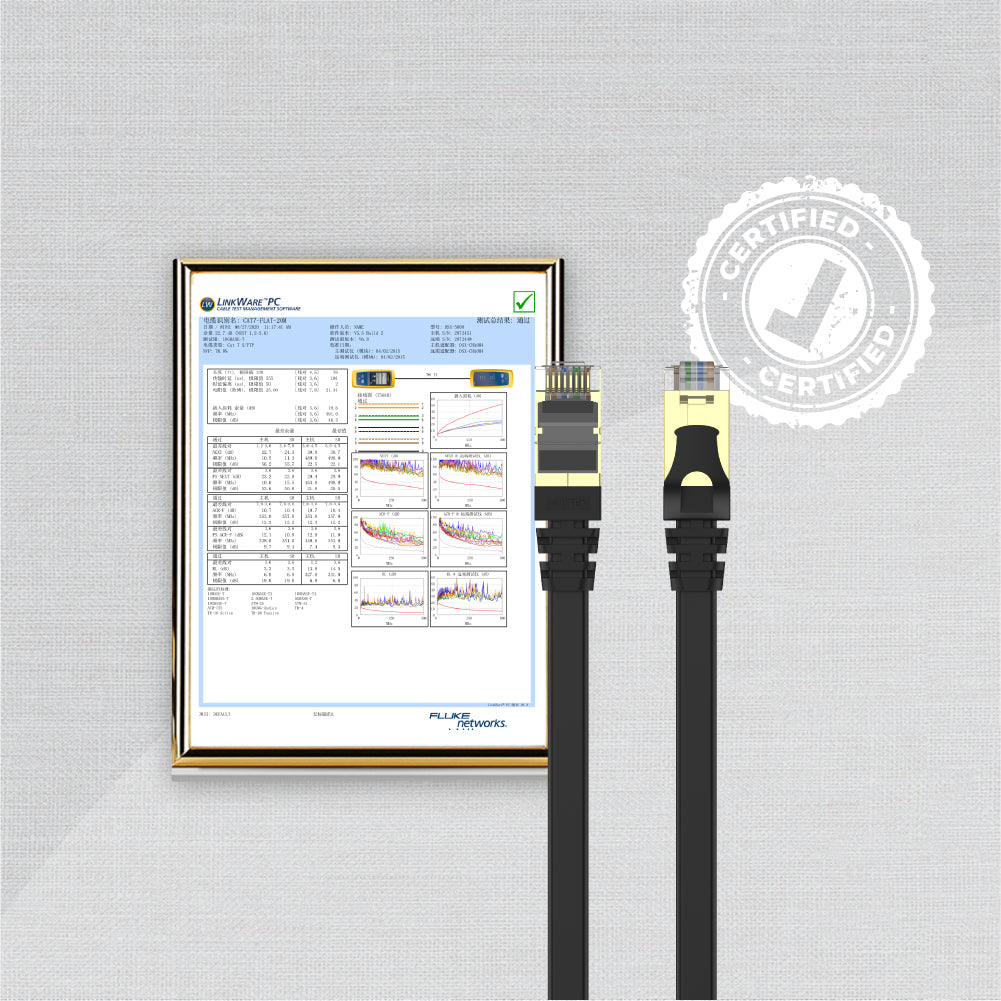
Certified Performance, Trusted Reliability
This Cat 7 SSTP RJ45 Flat Ethernet Cable is Fluke-tested and certified for quality and performance. Featuring gold-plated connectors and robust shielding, it ensures fast, stable 10Gbps network speeds and dependable connectivity for all your high-speed devices.

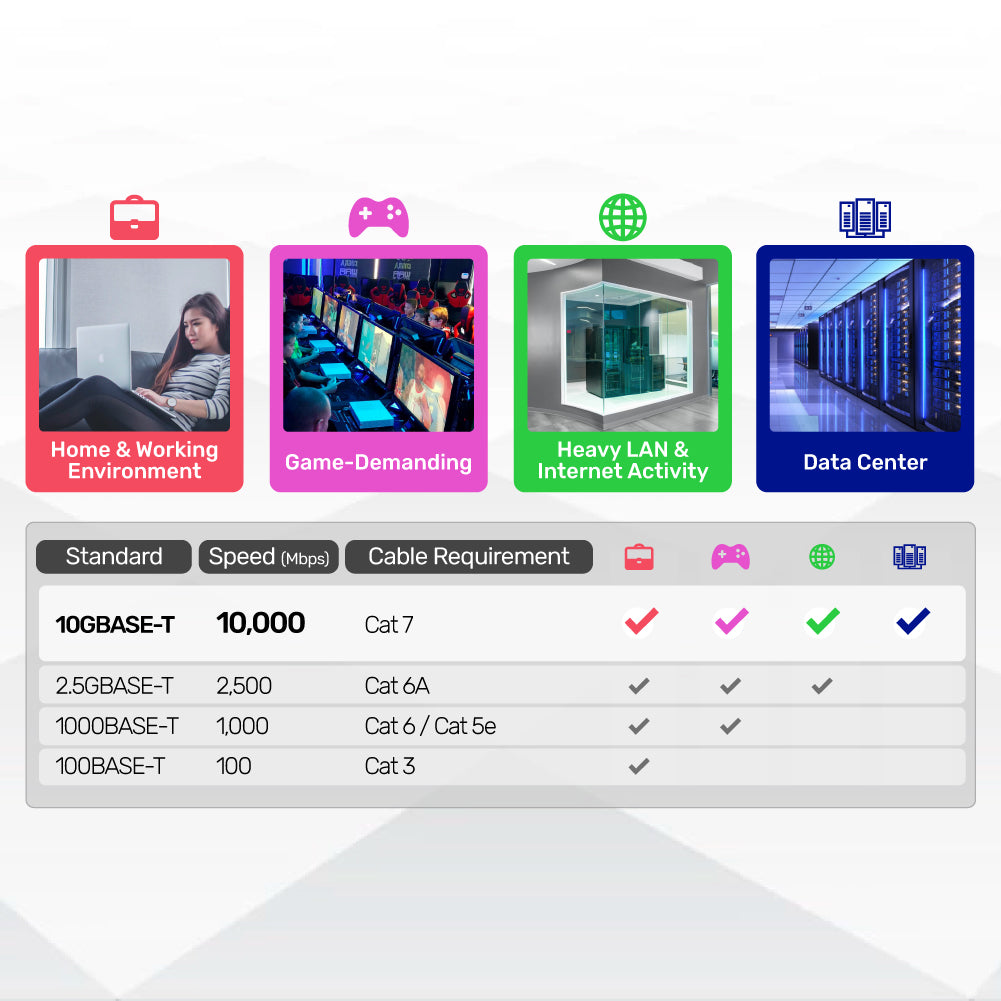
Cat 7 Cable: Ultimate Speed for Every Environment
Supporting up to 10Gbps with Cat 7 standard, this cable is ideal for home offices, gaming setups, heavy LAN activity, and data centers—delivering fast, reliable connections wherever you need them.
Elevate your network infrastructure with our Cat 7 LAN Cable, designed for high-speed connectivity and minimal visual impact. With a sleek 1.8mm height, this cable integrates seamlessly into any interior space, providing an indiscernible and harmonious installation.
Ultra-Thin Cat 7 Cable: 10x Faster, Seamless Integration
This UNITEK Cat 7 SSTP RJ45 Flat Ethernet Cable delivers blazing 10Gbps speeds—10x faster than Cat 6—while its slim 1.8mm profile blends discreetly into any space. Double shielding ensures stable, interference-free connections for all your high-speed network needs.
Premium Build for Superior Speed and Reliability
Features gold-plated connectors and contacts, a thoughtful unplug design, double shielded twisted pairs (SSTP), a durable PVC jacket, and bare copper conductors. It delivers ultra-fast 10Gbps speeds with superior signal stability, excellent EMI protection, and a slim profile ideal for discreet, reliable network installations.
Certified Performance, Trusted Reliability
This Cat 7 SSTP RJ45 Flat Ethernet Cable is Fluke-tested and certified for quality and performance. Featuring gold-plated connectors and robust shielding, it ensures fast, stable 10Gbps network speeds and dependable connectivity for all your high-speed devices.
Cat 7 Cable: Ultimate Speed for Every Environment
Supporting up to 10Gbps with Cat 7 standard, this cable is ideal for home offices, gaming setups, heavy LAN activity, and data centers—delivering fast, reliable connections wherever you need them.
| Ethernet RJ45 Jack | 2 |
|---|---|
| Network Speed | 500MHz |
| Data transfer rate | 10Gbps |
| Cable Length | 100万 |
| Cable Type | RJ45 |
| Cable OD | 6 x 1.8mm |
| Material | Gold-Plated |
| Colour | Black |
- Cat.7イーサネットフラットケーブル×1
オプションを選択