
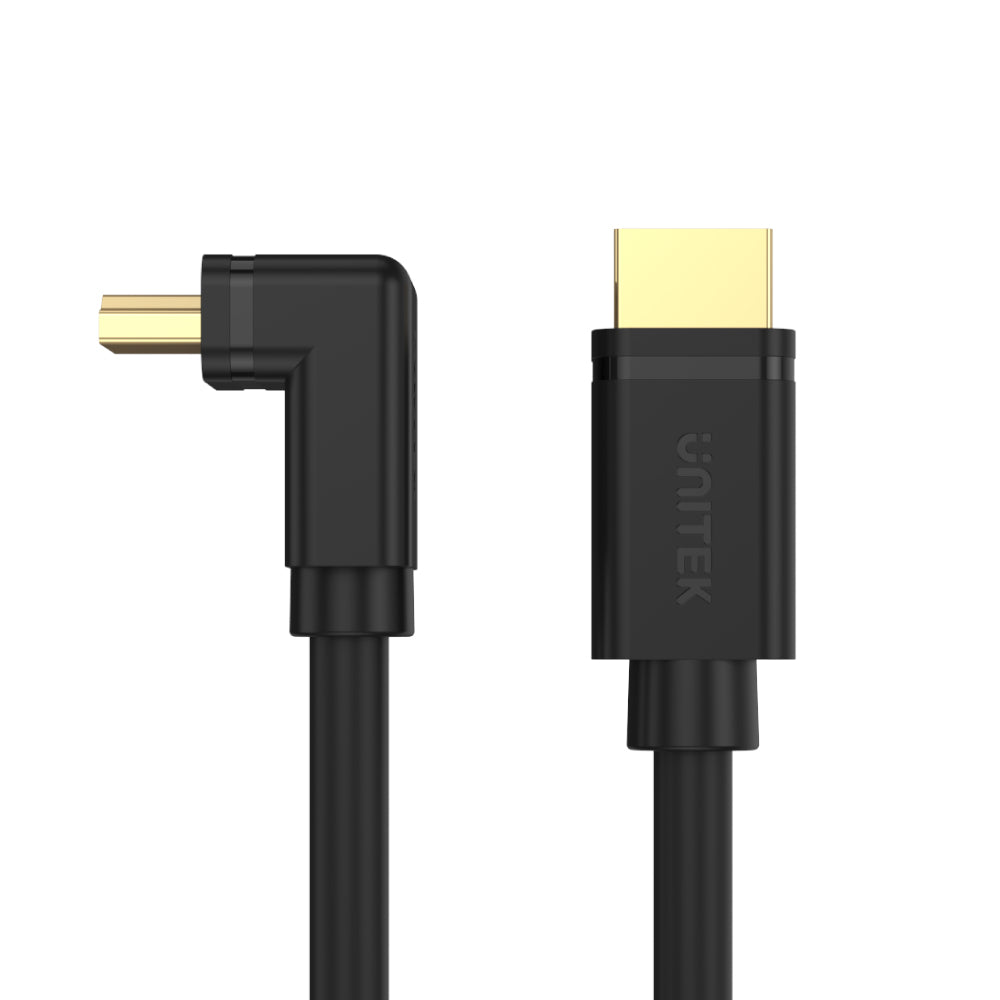


4K 60Hz 高速 HDMI 直角 270° ケーブル
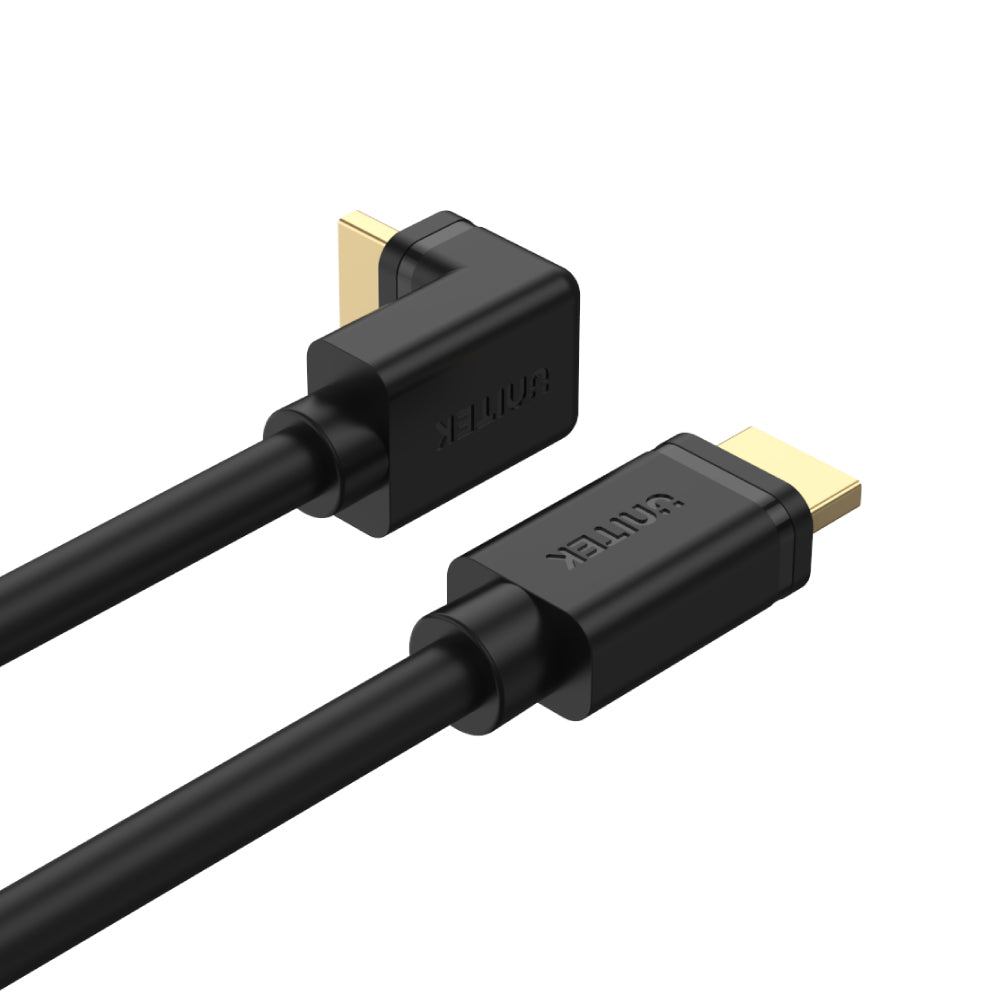
Transform your entertainment experience with the UNITEK 4K 60Hz High Speed HDMI Cable, designed to deliver stunning 4K UHD visuals and immersive 3D gaming. Its innovative right-angle design is perfect for wall-mounted devices, ensuring a clean and efficient setup.

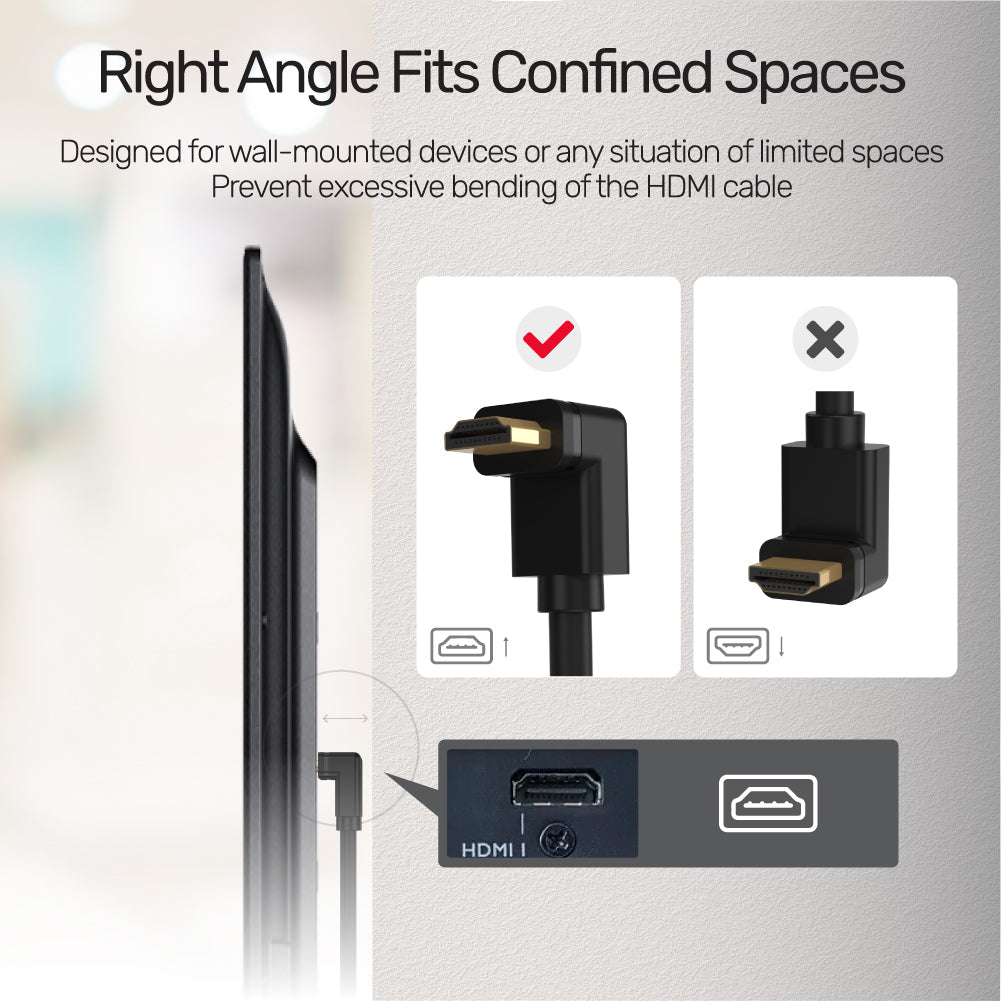
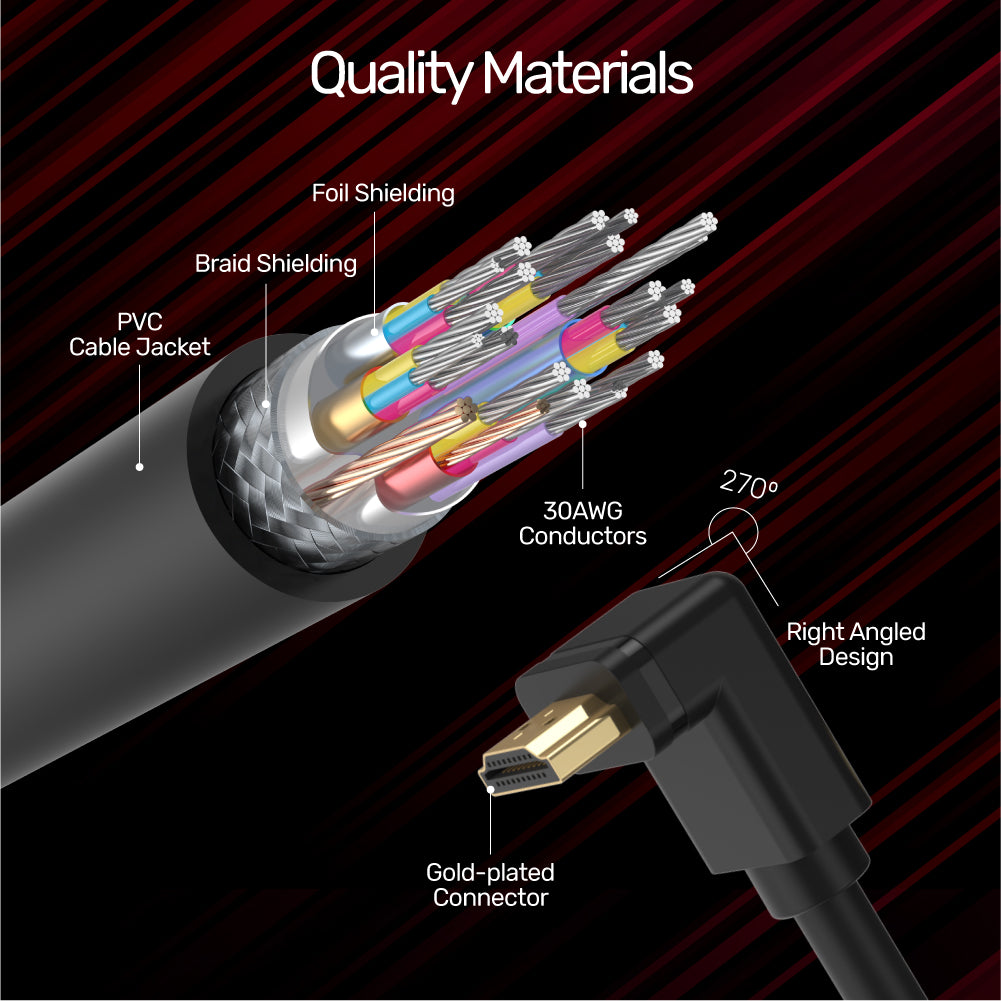
Right Angle Fits Confined Spaces
Making it ideal for wall-mounted devices and situations with limited space. The right angle connector helps prevent excessive bending of the cable, ensuring durability and a tidy installation. Perfect for optimizing space while maintaining high-quality video and audio performance, this cable is a practical solution for your AV setup.

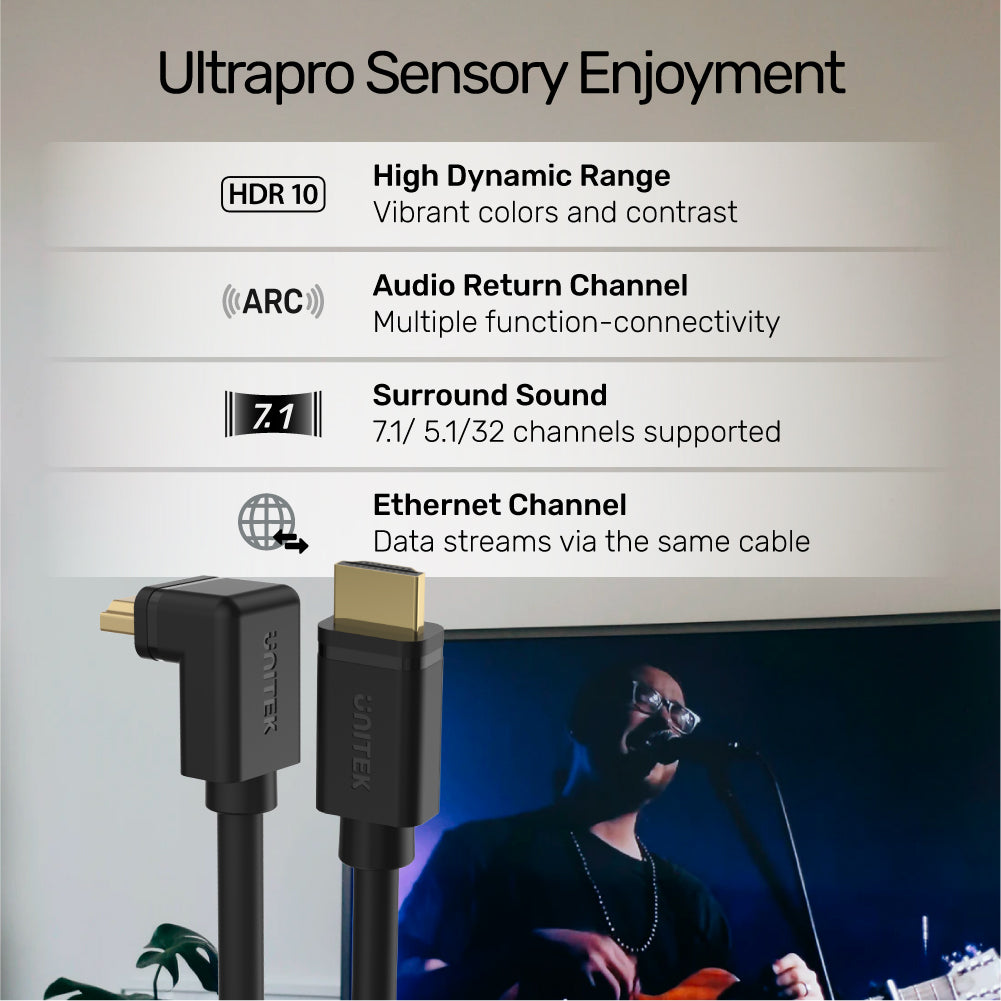
Ultrapro Sensory Enjoyment
Experience the pinnacle of audiovisual quality with this HDMI cable, supporting 48-bit Deep Color and 7.1 surround sound for an immersive sound experience. It features Audio Return Channel (ARC), 3D support, and an Ethernet channel for added convenience. With HDR10 technology, enjoy greater detail and contrast in both dark and bright areas of the same image, along with an extended color space for vibrant visuals. Elevate your home entertainment setup with this advanced HDMI cable for true sensory enjoyment.
Transform your entertainment experience with the UNITEK 4K 60Hz High Speed HDMI Cable, designed to deliver stunning 4K UHD visuals and immersive 3D gaming. Its innovative right-angle design is perfect for wall-mounted devices, ensuring a clean and efficient setup.
Right Angle Fits Confined Spaces
Making it ideal for wall-mounted devices and situations with limited space. The right angle connector helps prevent excessive bending of the cable, ensuring durability and a tidy installation. Perfect for optimizing space while maintaining high-quality video and audio performance, this cable is a practical solution for your AV setup.
Ultrapro Sensory Enjoyment
Experience the pinnacle of audiovisual quality with this HDMI cable, supporting 48-bit Deep Color and 7.1 surround sound for an immersive sound experience. It features Audio Return Channel (ARC), 3D support, and an Ethernet channel for added convenience. With HDR10 technology, enjoy greater detail and contrast in both dark and bright areas of the same image, along with an extended color space for vibrant visuals. Elevate your home entertainment setup with this advanced HDMI cable for true sensory enjoyment.
| Max Output Resolution | 4K@60Hz |
|---|---|
| HDMI | 1(上流)、1(下流) |
| Data transfer rate | 18Gbps |
| Cable Length | 200万 |
| Cable Type | HDMIからHDMIへ |
| Material | Gold-Plated, PVC |
| Colour | Black |
- 4K 60Hz 高速 HDMI 2.0 ケーブル x 1
- ユーザーマニュアル x 1
オプションを選択