
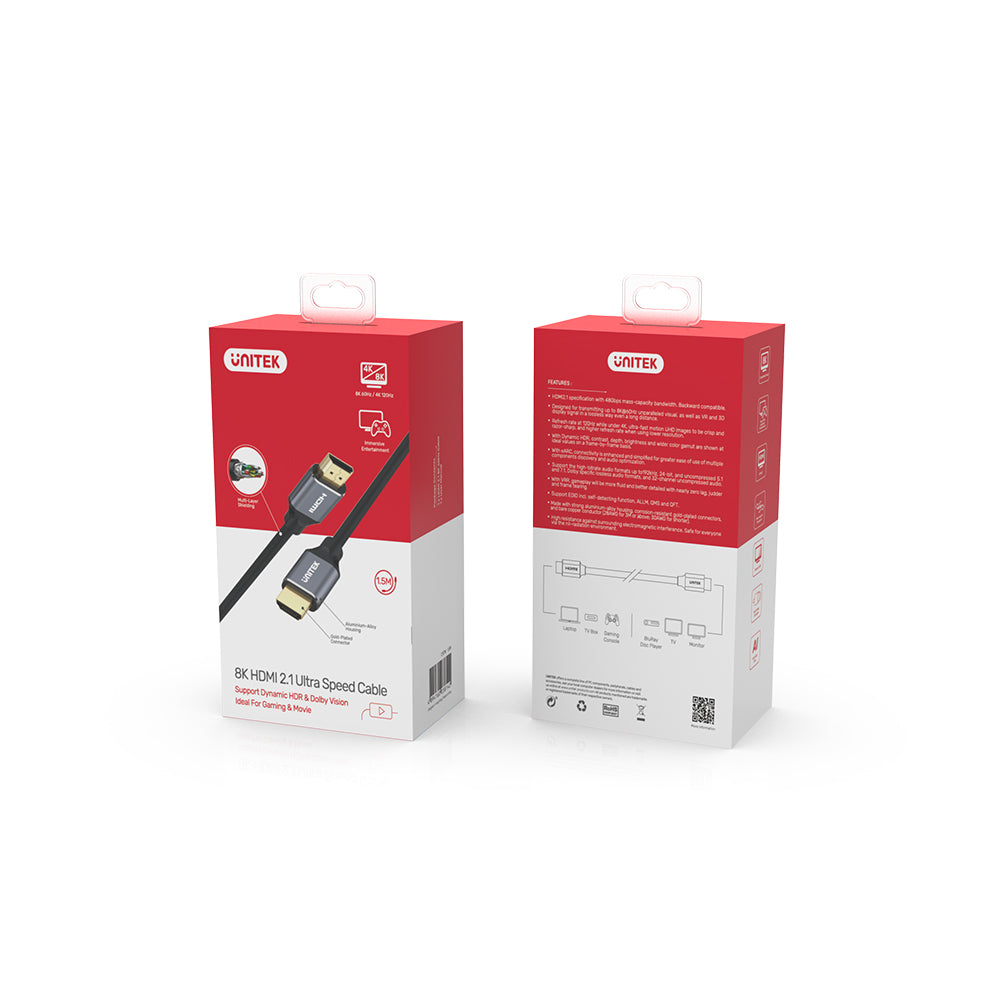
8K 超高速 HDMI ケーブル (PS5 4K @120Hz 対応)
Experience unparalleled visual and audio quality with the UNITEK 8K Ultra High Speed HDMI Cable. Designed for the latest technology, this cable is perfect for gamers, movie enthusiasts, and anyone looking to elevate their home entertainment setup.

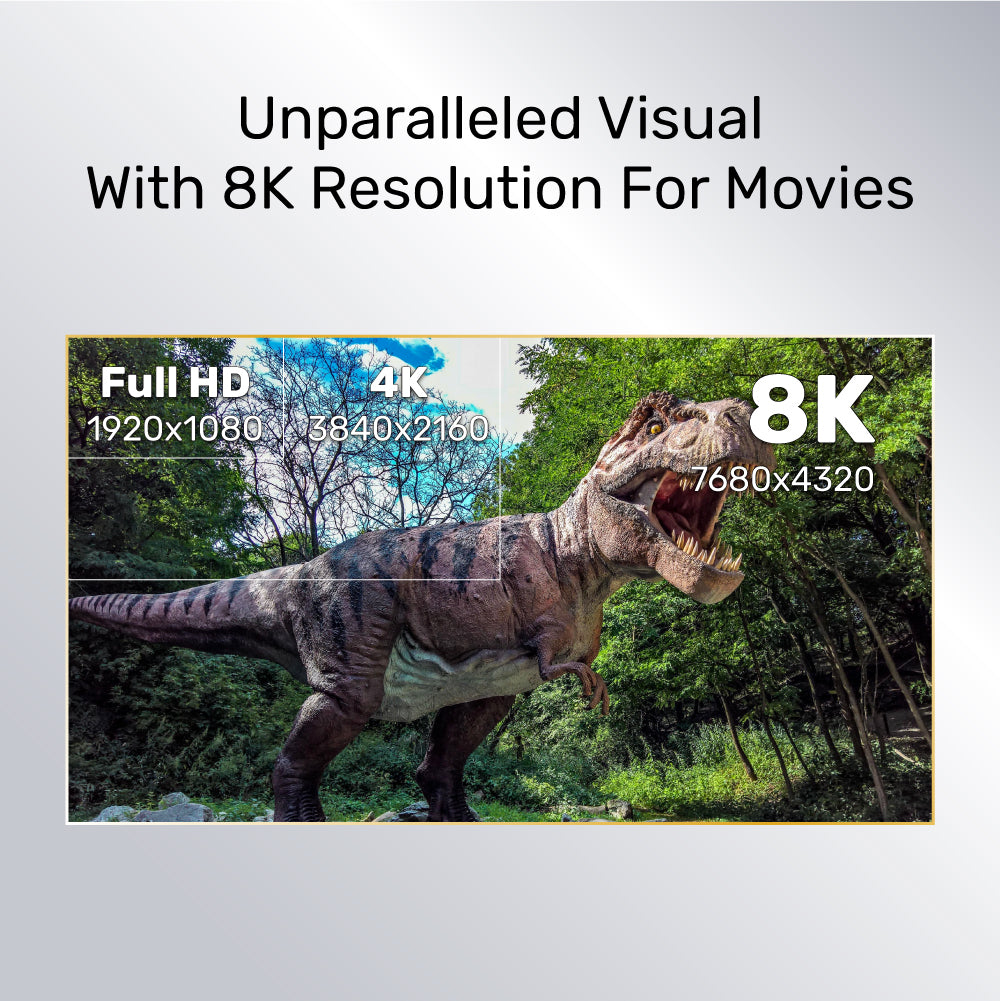
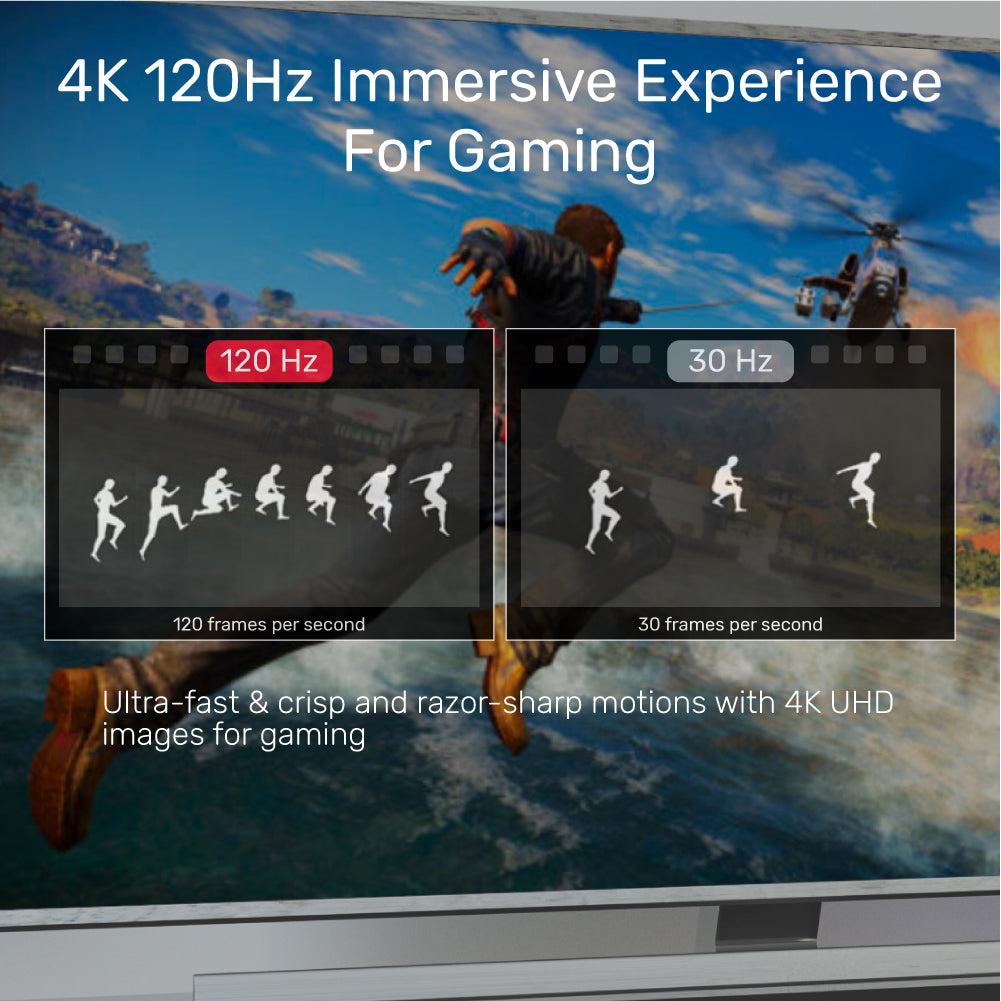
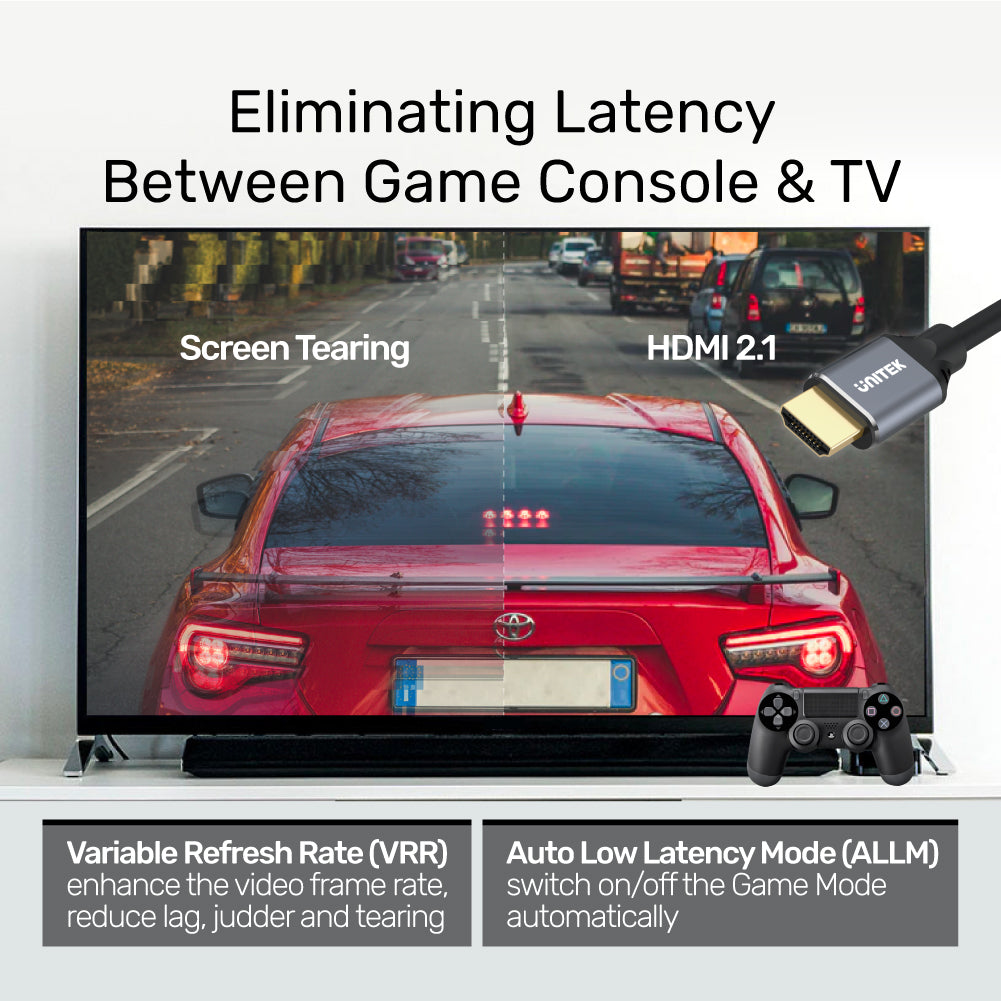
Ultimate Audio / Visual Enjoyment
Experience stunning visuals with our Ultra High-Speed HDMI cable, supporting up to 8K resolution for movies and games. This cable is designed for backward compatibility, allowing resolutions up to 8K @ 60Hz and 4K @ 120Hz, as specified in HDMI 2.1. Perfect for your PS5 and other high-performance devices, it ensures you enjoy every detail with crystal-clear clarity and smooth refresh rates.

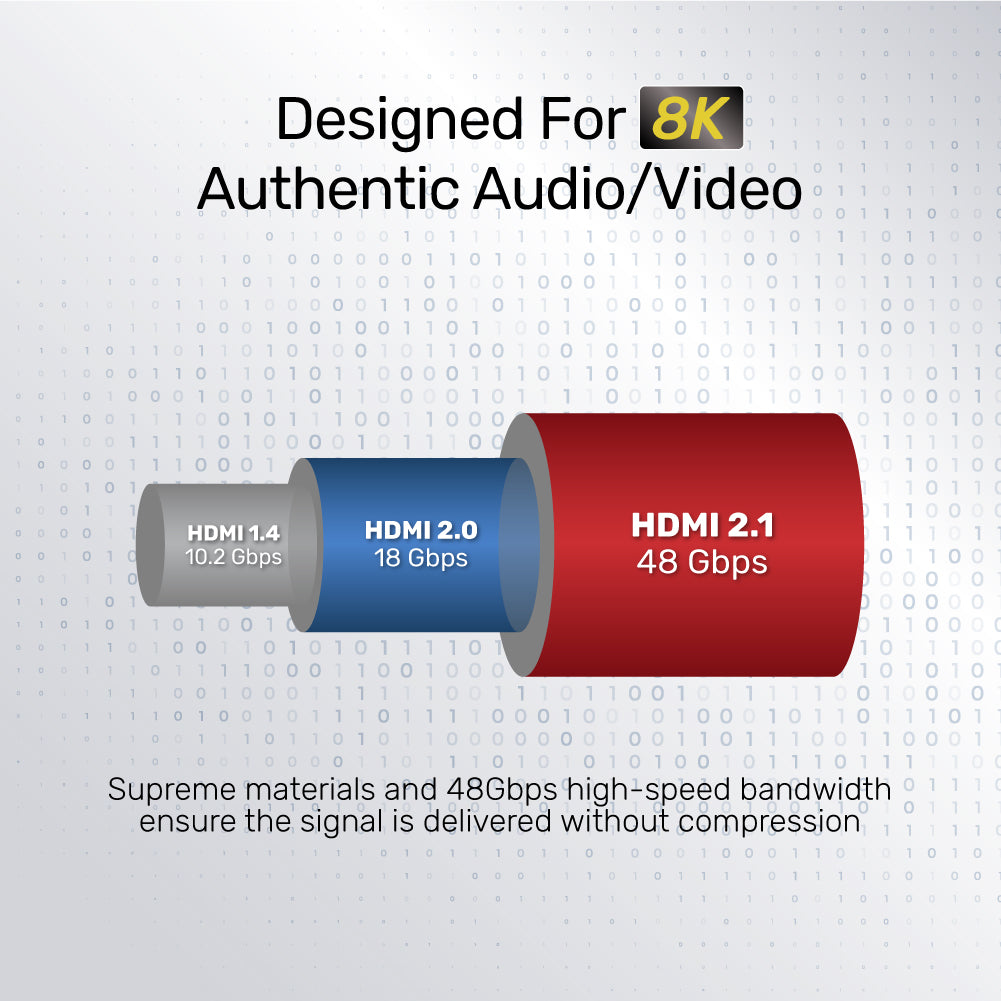
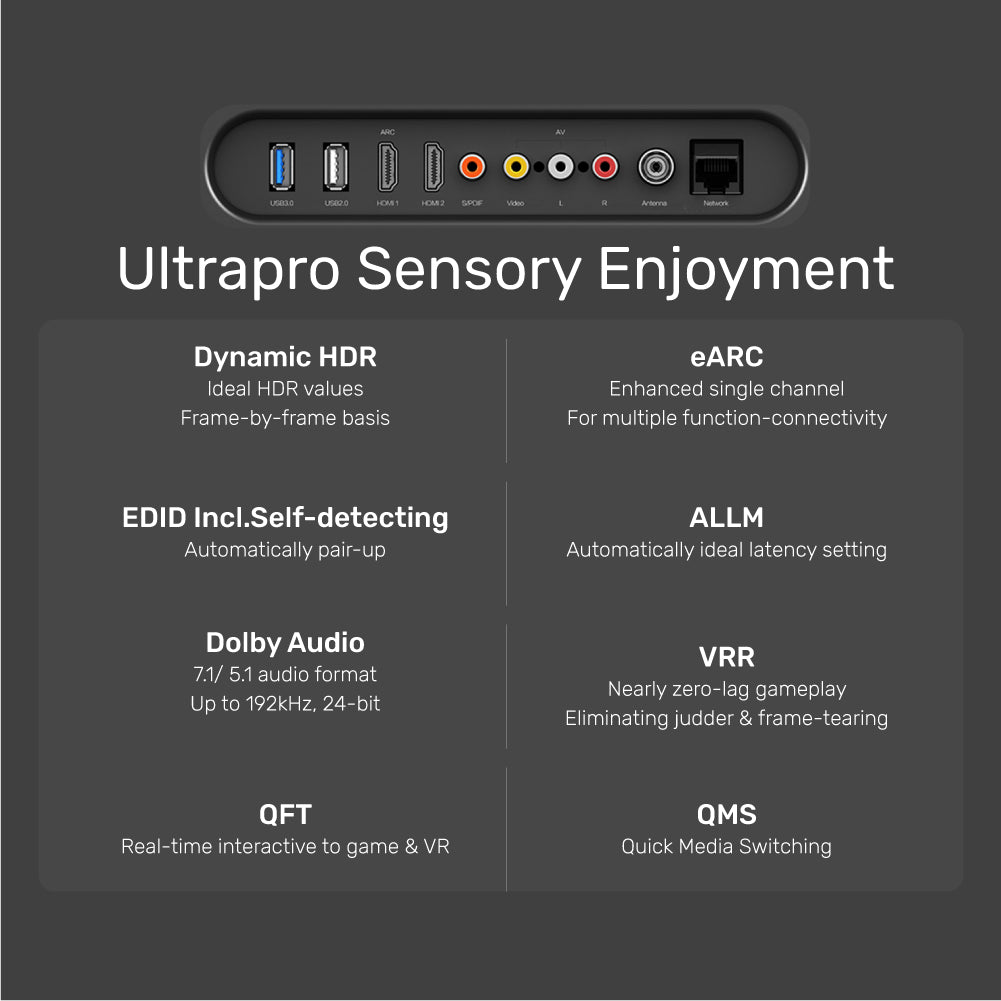
Enhanced Bandwidth with HDMI 2.1
Experience five times the bandwidth compared to conventional HDMI cables with HDMI 2.1, extending to an impressive 48Gbps. This ensures that signals are delivered flawlessly, including uncompressed 8K video with dynamic HDR and high-fidelity audio quality. The cable supports advanced features such as Dynamic HDR, Dolby Vision, HDR10, and 3D video, making it the perfect choice for immersive entertainment experiences.

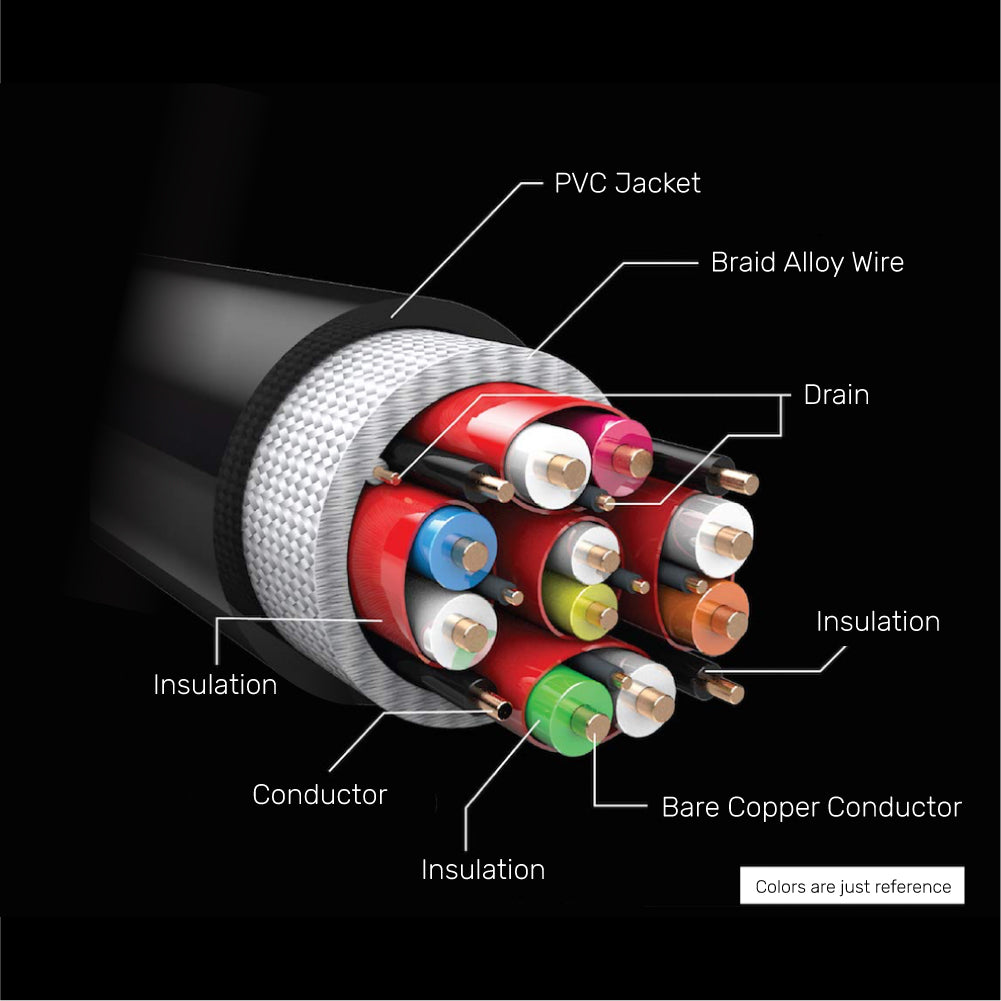
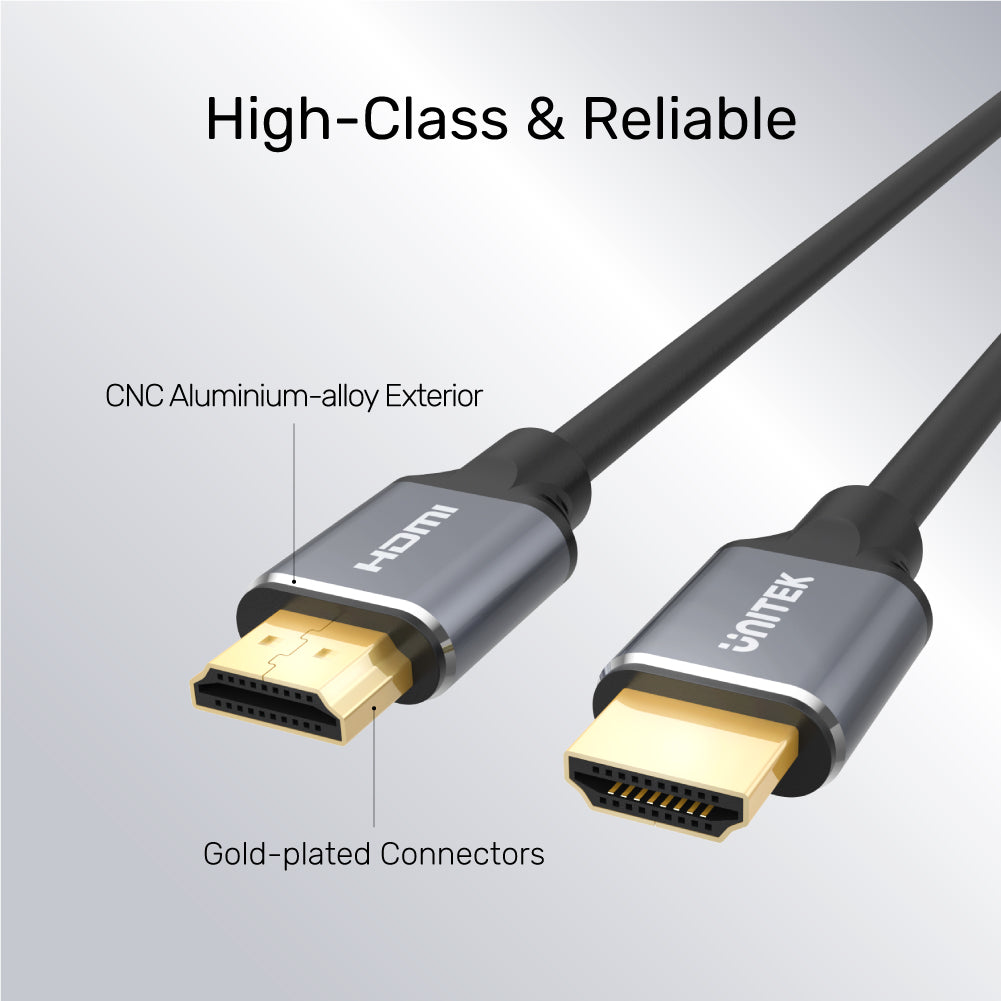
Multi-Layer Shielding and Multi-Drain
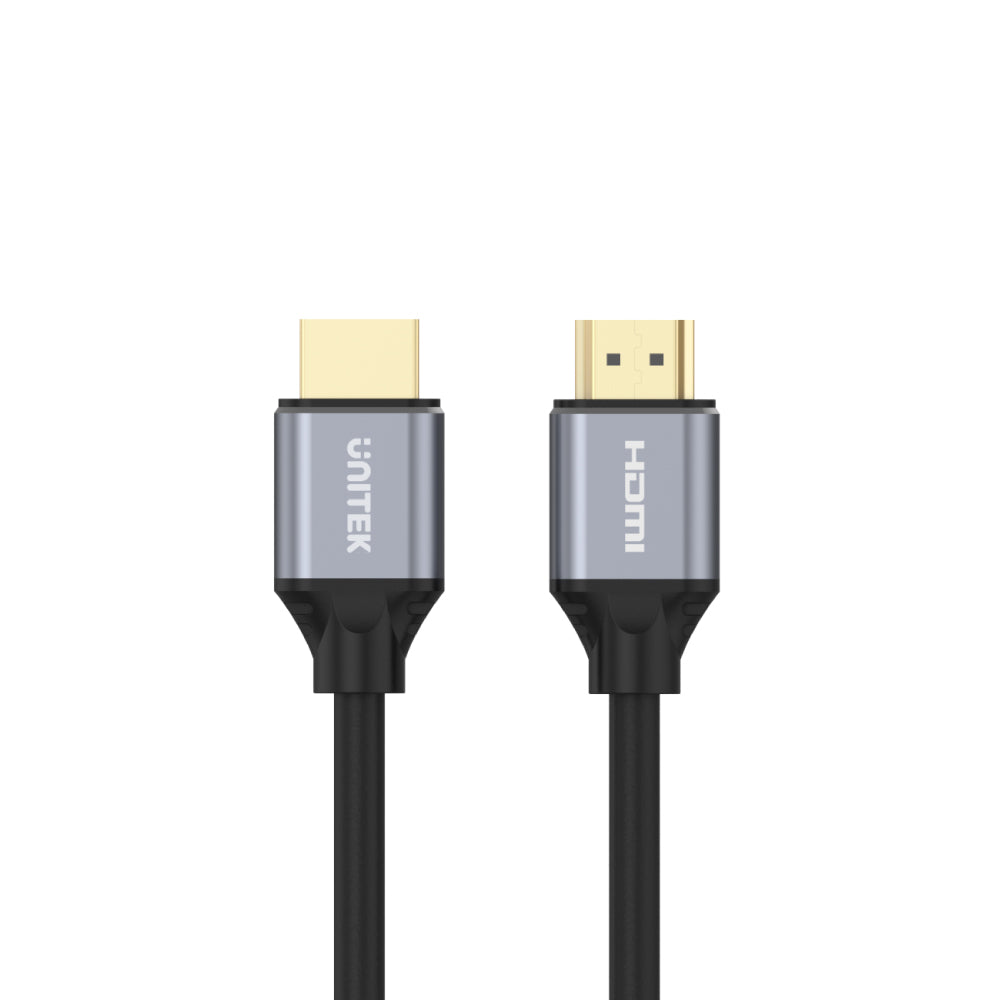
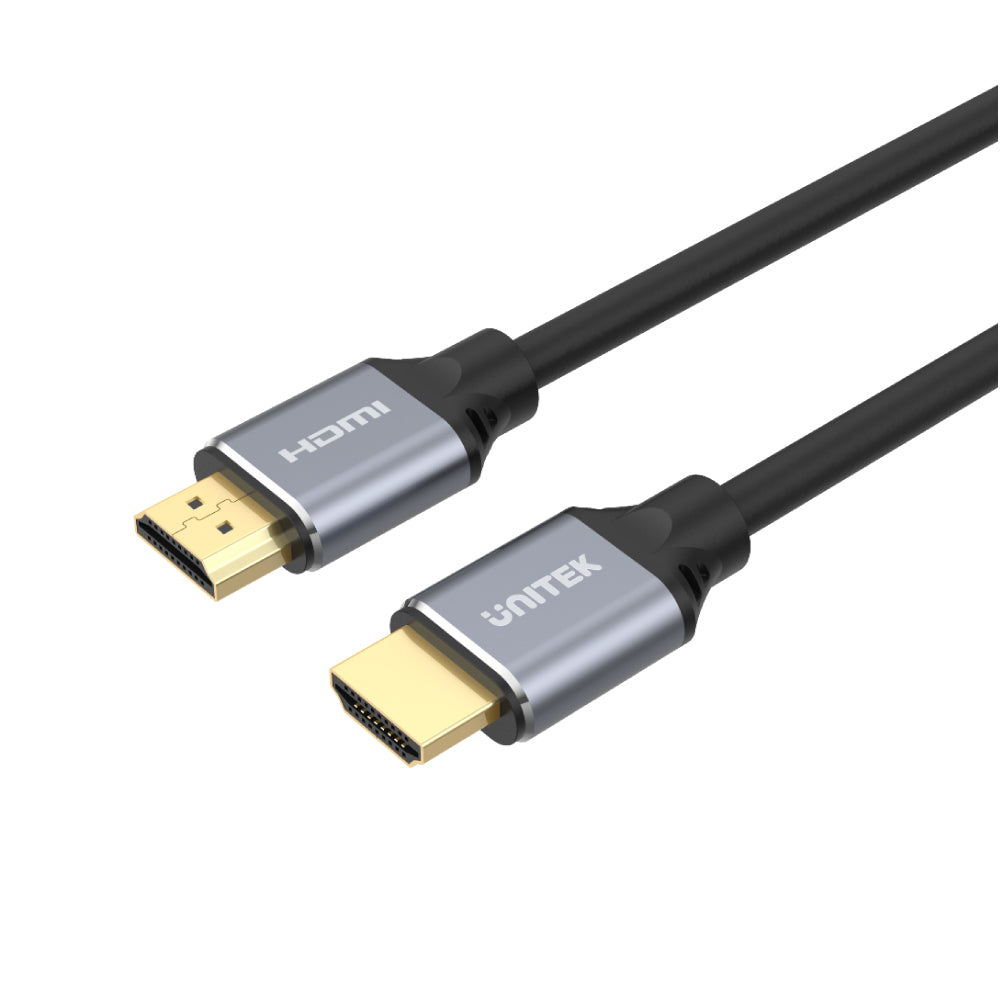
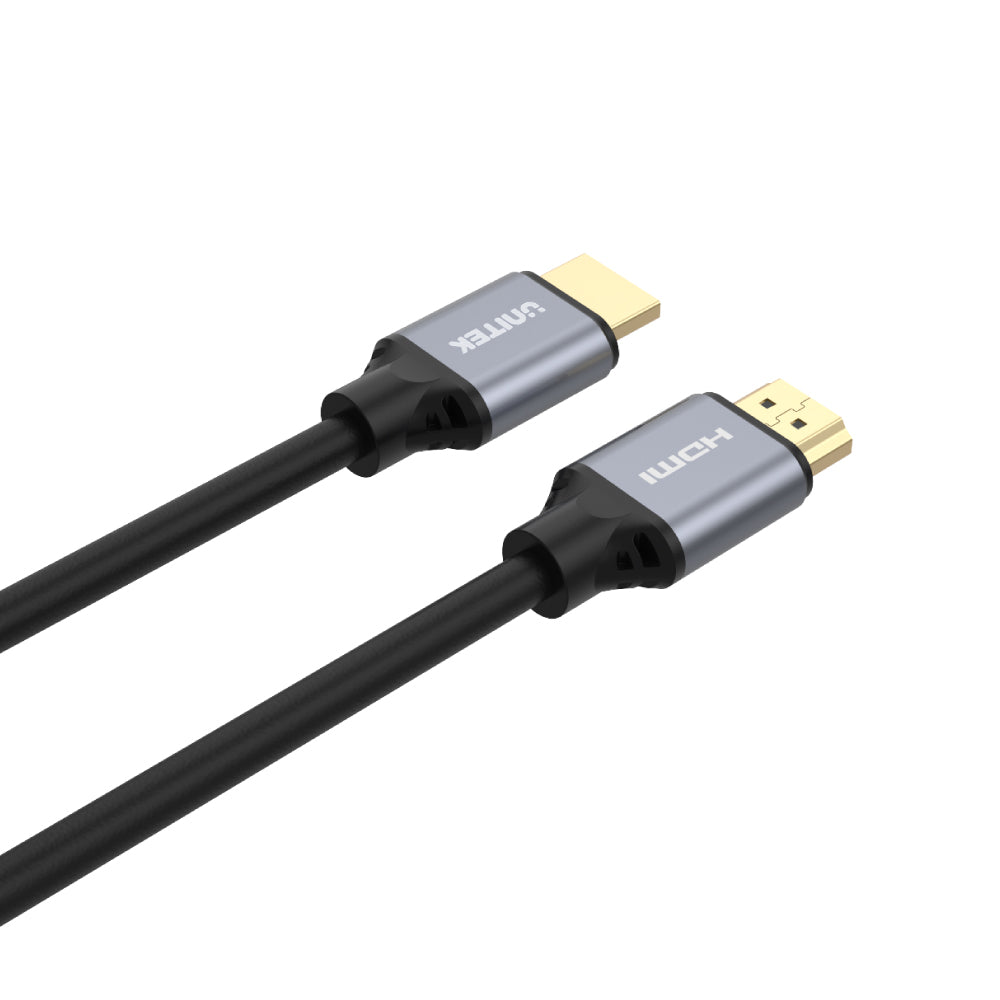
Supporting 4K@120Hz for PS5, featuring multi-layer shielding with braid alloy wire, tinned copper drain, and HDPE insulation to protect against EMI, RFI, and interference. With 24K gold-plated aluminum connectors and 100% copper wire, it ensures durability and a stable connection for an immersive gaming and viewing experience.
Experience unparalleled visual and audio quality with the UNITEK 8K Ultra High Speed HDMI Cable. Designed for the latest technology, this cable is perfect for gamers, movie enthusiasts, and anyone looking to elevate their home entertainment setup.
Ultimate Audio / Visual Enjoyment
Experience stunning visuals with our Ultra High-Speed HDMI cable, supporting up to 8K resolution for movies and games. This cable is designed for backward compatibility, allowing resolutions up to 8K @ 60Hz and 4K @ 120Hz, as specified in HDMI 2.1. Perfect for your PS5 and other high-performance devices, it ensures you enjoy every detail with crystal-clear clarity and smooth refresh rates.
Enhanced Bandwidth with HDMI 2.1
Experience five times the bandwidth compared to conventional HDMI cables with HDMI 2.1, extending to an impressive 48Gbps. This ensures that signals are delivered flawlessly, including uncompressed 8K video with dynamic HDR and high-fidelity audio quality. The cable supports advanced features such as Dynamic HDR, Dolby Vision, HDR10, and 3D video, making it the perfect choice for immersive entertainment experiences.
Multi-Layer Shielding and Multi-Drain
Supporting 4K@120Hz for PS5, featuring multi-layer shielding with braid alloy wire, tinned copper drain, and HDPE insulation to protect against EMI, RFI, and interference. With 24K gold-plated aluminum connectors and 100% copper wire, it ensures durability and a stable connection for an immersive gaming and viewing experience.
| Max Output Resolution | 8K@60Hz, 4K@120Hz |
|---|---|
| HDMI | 2 |
| Data transfer rate | 48Gbps |
| Cable Length | 1.5M/2M/3M/5M |
| Cable Type | HDMIからHDMIへ |
| Material | Gold-Plated, Aluminum Alloy |
| Colour | Black |
- 8K 超高速 HDMI ケーブル x 1
- ユーザーマニュアル x 1
オプションを選択