uHUB N9+ 9-in-1 USB-C イーサネット ハブ、デュアル モニター、100W 電力供給、デュアル カード リーダー付き
モデル番号: D1026B
製品概要:
認定


製品の特徴:
ハードウェア & 寸法:
パッケージ内容:
1×uHUB N9+
1×ユーザーマニュアル
製品概要:
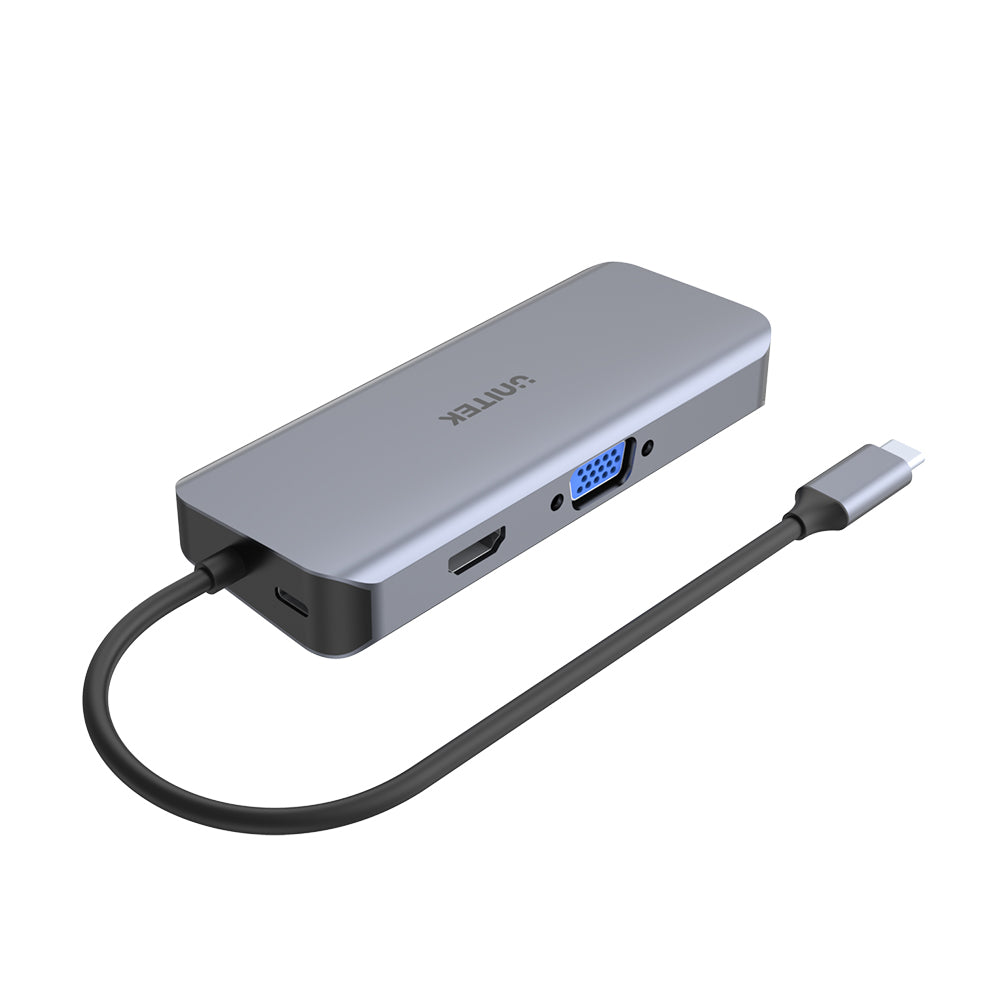
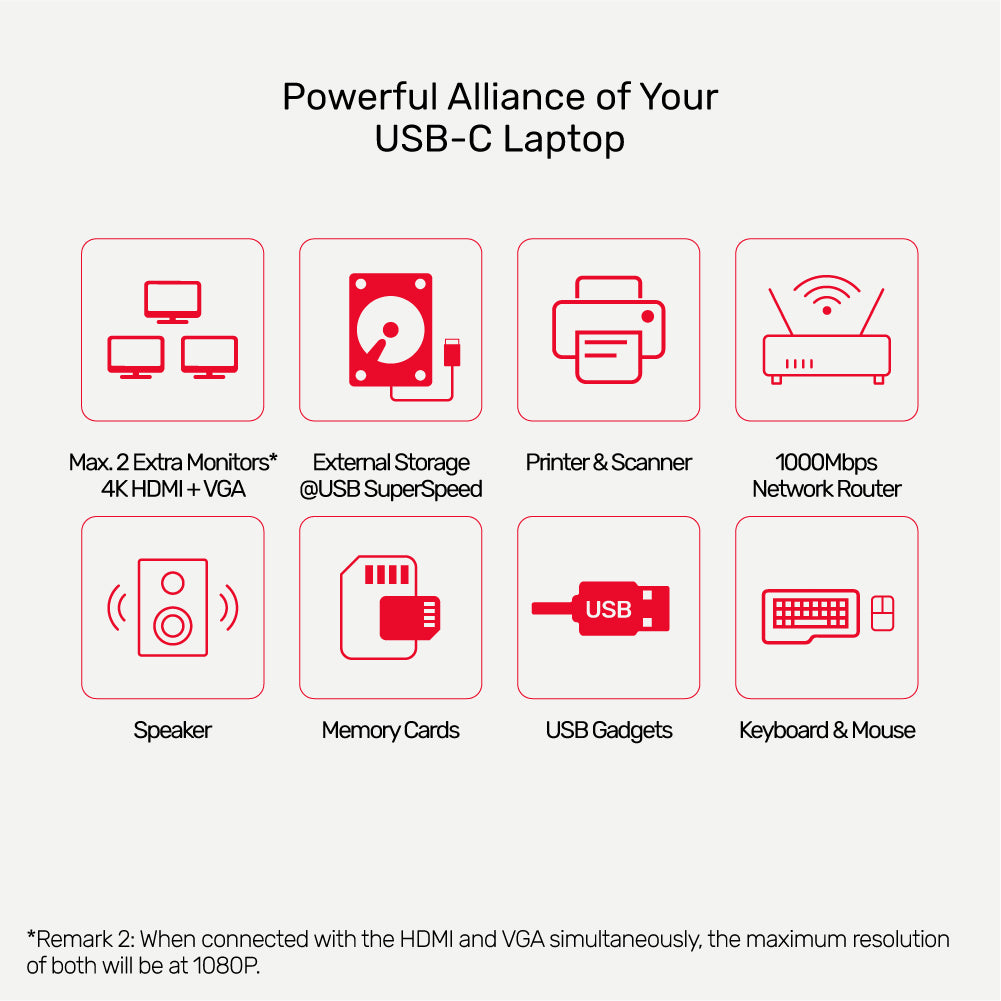
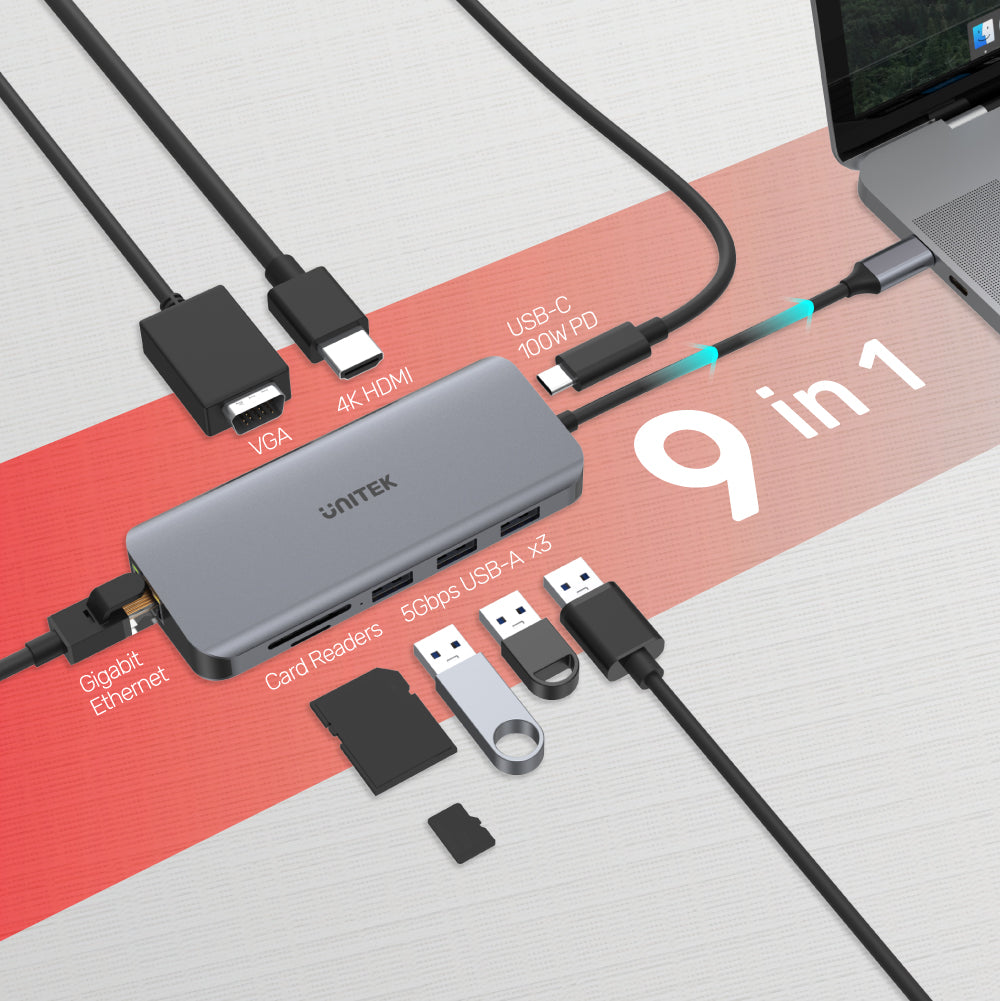
- 4K@30Hz UHD HDMI & フル HD VGA
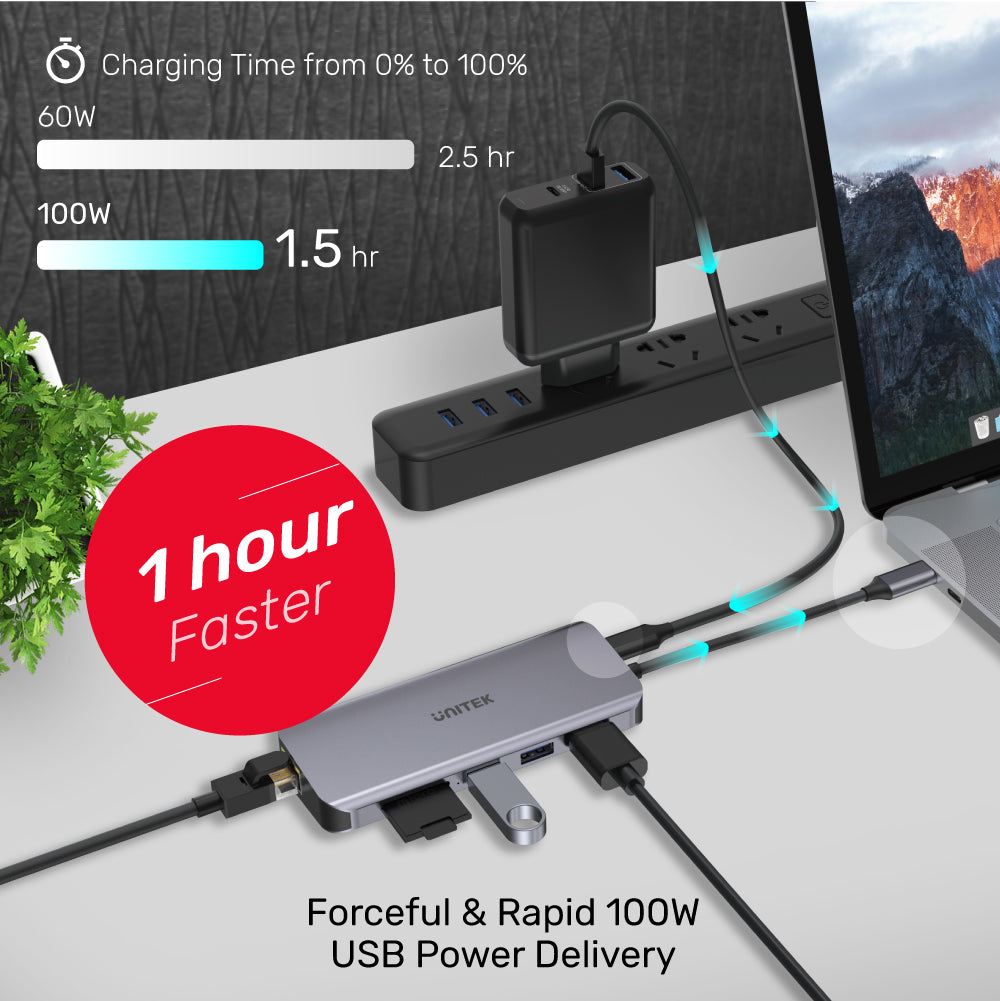
- USB-C Power Delivery 100W 充電
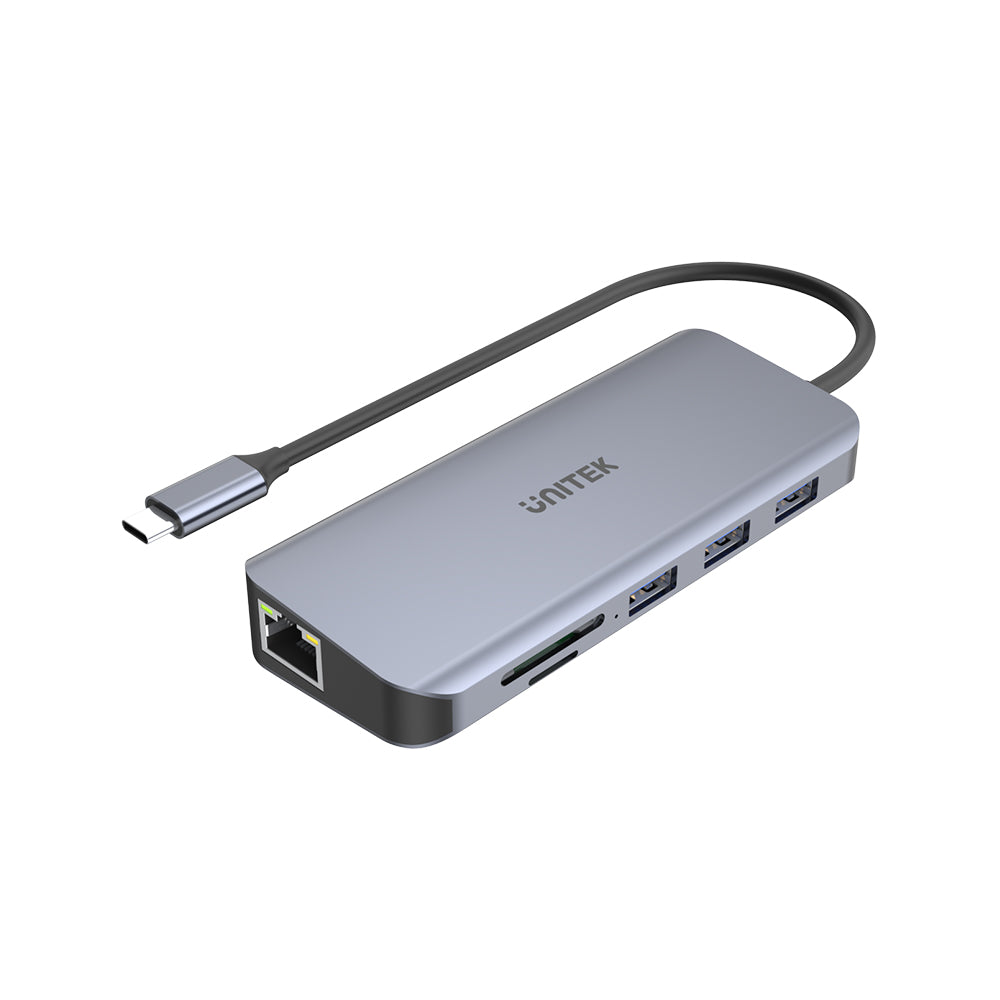
- 5Gbps SuperSpeed USBx3 & カードリーダー
- ギガビット イーサネット
認定
製品の特徴:
- 簡単に拡張できる 3 つの USB-A ポート。 USB3.0 5Gbpsのデータ転送速度。 USB2.0/1.1との下位互換性あり。
- USB-C Power Delivery ポートを使用すると、最大をサポートします。アップストリームコンピュータへの100W/20V5A充電。
- USB PD 電源の実際の出力は、電源アダプターによって異なります。
- HDCP2.2 仕様の 4K@30Hz Ultra HD ビデオ出力で HDMI をサポートします。
- フル HD 1080P@60Hz の VGA をサポートします。
- HDMI と VGA を同時に接続した場合、両方の最大解像度は 1080P になります。
- メモリーカードリーダーは、24mmサイズと11mmサイズのメモリーカードを同時にサポートし、SDHC/SDXC仕様で最大2TBの容量。
- ギガビット イーサネットは、高速で安定したインターネット接続を提供します。
- IPv4/IPv6、COE、Wake-on-LAN、全二重および半二重、自動フリップおよびフロー制御をサポートします。 IEEE 802.3規格を完全にサポートし、10/100/1000Mbpsのデータ転送と互換性があります。
- USB-C コネクタにより、Thunderbolt 3 ポートまたはデータ転送機能と DP Alt モードをサポートする USB-C ポートを搭載したデバイスと接続できます。
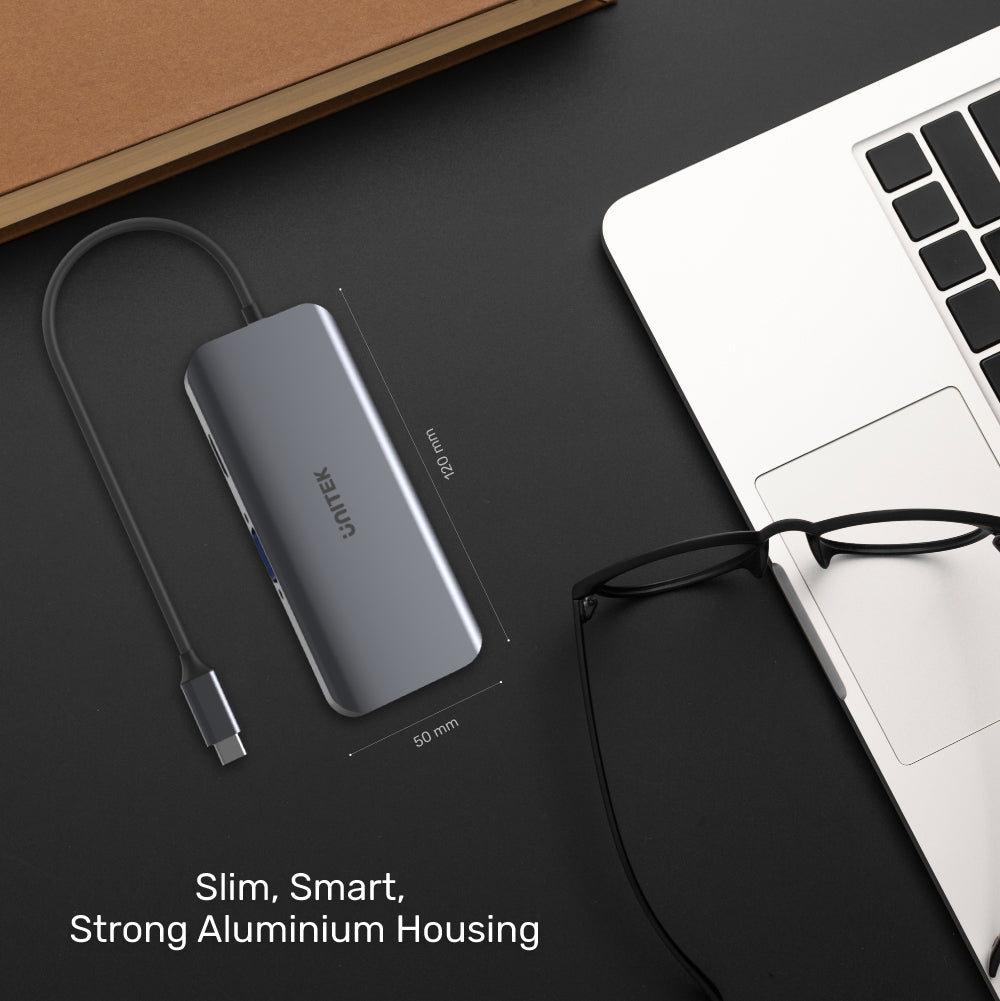
ハードウェア & 寸法:
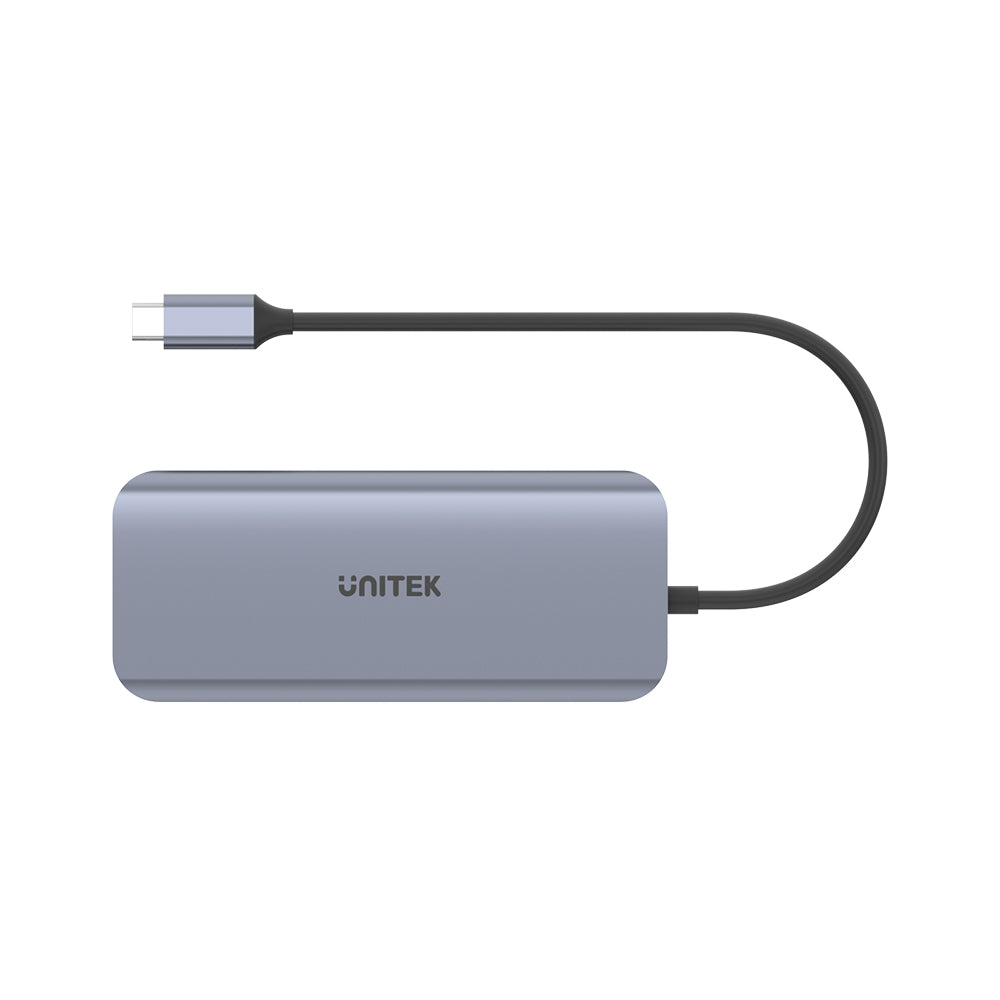
- 色: スペースグレイ
- アップストリーム: USB-C オス
- ダウンストリーム: USB-A x3、HDMI、VGA、充電用 USB-C PD、RJ45、SD、Micro SD
- 寸法: 120mm x 50mm x 18mm
パッケージ内容:
1×uHUB N9+
1×ユーザーマニュアル
送料はチェックアウト時に計算されます。国際関税と税金が適用される場合があり、チェックアウト時に計算されません。