
Cat 6 UTP RJ45 Ethernet Cable over 20M
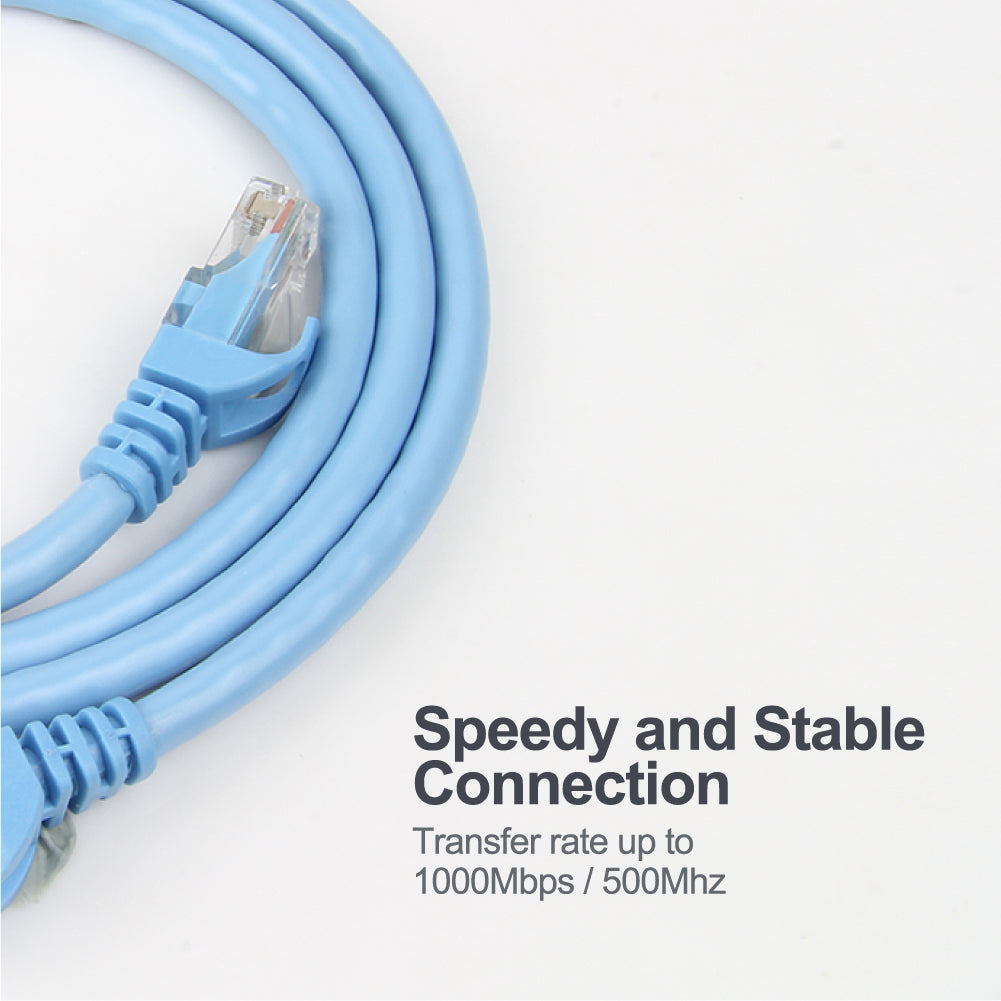
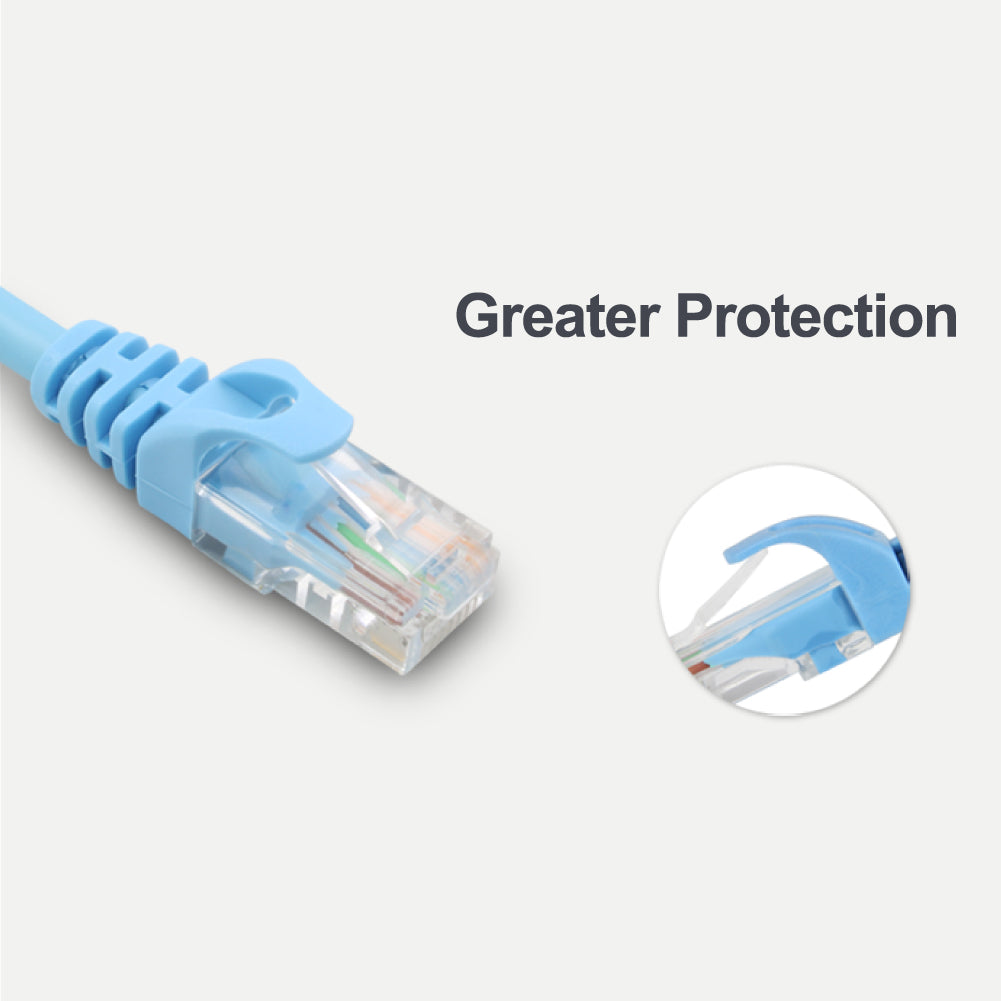
Ensure a speedy and stable signal connection with our High-Quality Ethernet Cable. Designed for optimal performance, this cable is perfect for all your networking needs.

Cat 6 UTP RJ45 Ethernet Cable – Fast, Stable Gigabit Connectivity
Experience reliable high-speed connections with this Cat 6 Ethernet cable, supporting up to 1000Mbps/1Gbps transfer rates. Made with quality copper wires, it’s ideal for computers, laptops, printers, modems, and routers, ensuring stable performance for all your networking needs.

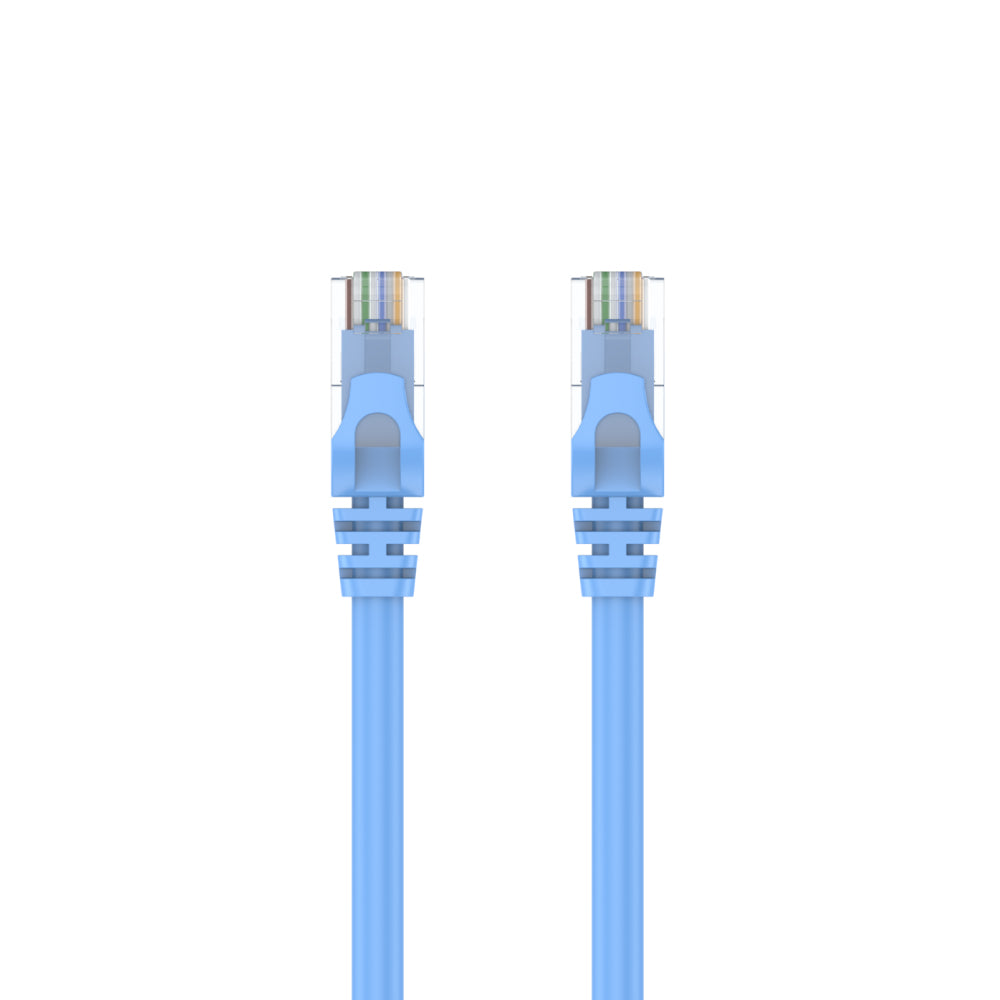
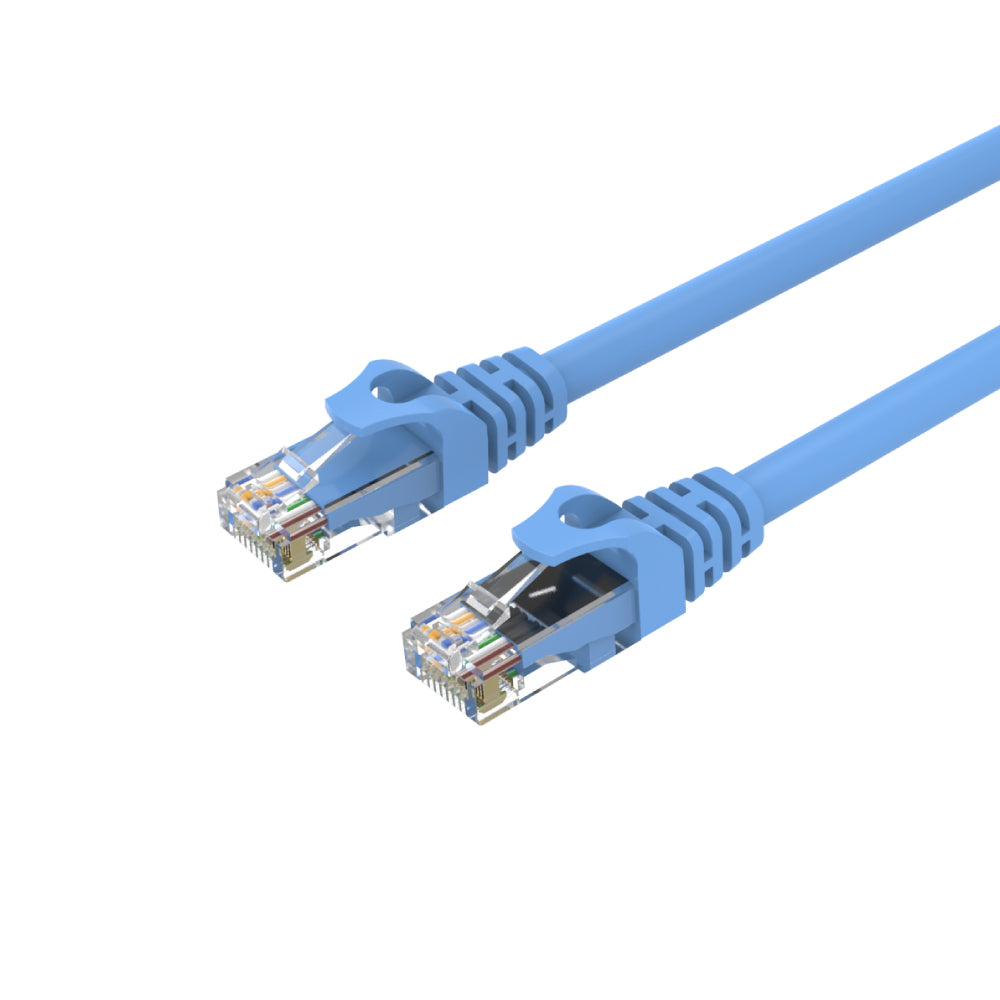
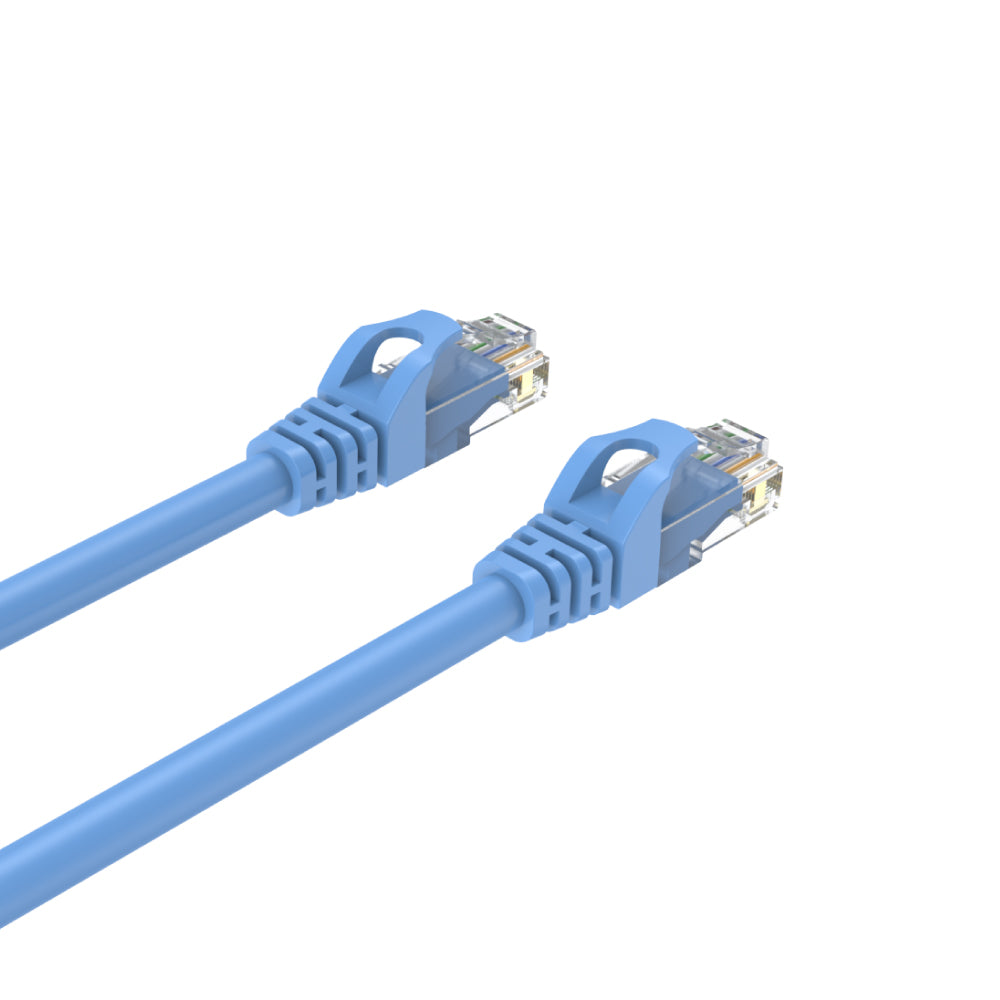
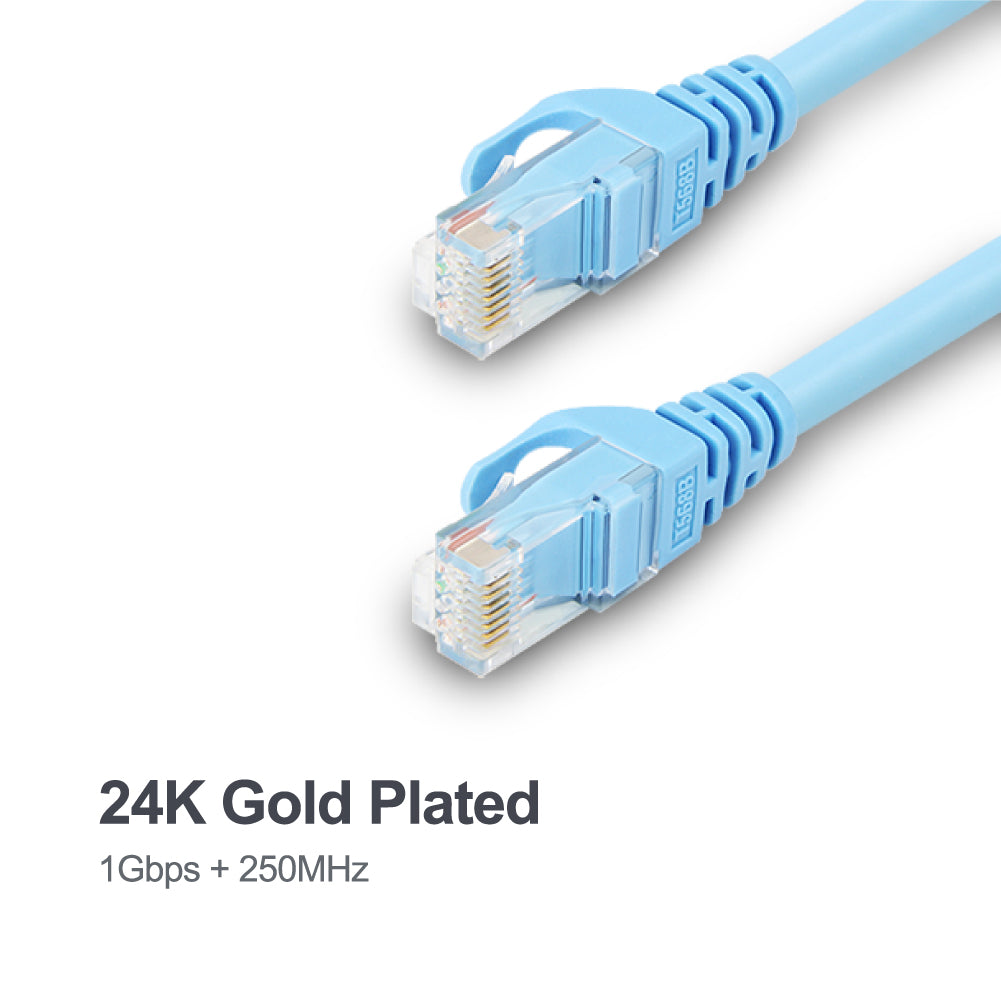
Cat 6 UTP Ethernet Cable with 24K Gold-Plated Connectors – 1Gbps High-Speed
Experience fast and stable Gigabit Ethernet with this Cat 6 UTP cable, featuring 24K gold-plated RJ45 connectors and high-quality copper wires. Supports up to 1Gbps and 250MHz bandwidth—ideal for computers, laptops, printers, modems, and routers.
Ensure a speedy and stable signal connection with our High-Quality Ethernet Cable. Designed for optimal performance, this cable is perfect for all your networking needs.
Cat 6 UTP RJ45 Ethernet Cable – Fast, Stable Gigabit Connectivity
Experience reliable high-speed connections with this Cat 6 Ethernet cable, supporting up to 1000Mbps/1Gbps transfer rates. Made with quality copper wires, it’s ideal for computers, laptops, printers, modems, and routers, ensuring stable performance for all your networking needs.
Cat 6 UTP Ethernet Cable with 24K Gold-Plated Connectors – 1Gbps High-Speed
Experience fast and stable Gigabit Ethernet with this Cat 6 UTP cable, featuring 24K gold-plated RJ45 connectors and high-quality copper wires. Supports up to 1Gbps and 250MHz bandwidth—ideal for computers, laptops, printers, modems, and routers.
| Network Speed | 250MHz |
|---|---|
| Data transfer rate | 1000Mbps |
| Cable Length | 1M |
| Cable Type | RJ45 to RJ45 |
| Cable OD | 6.0mm |
| Material | Gold-Plated, Bare Copper, PVC |
| Colour | Blue |
- 1 x CAT 6 UTP Ethernet Cable
Scegli le opzioni